
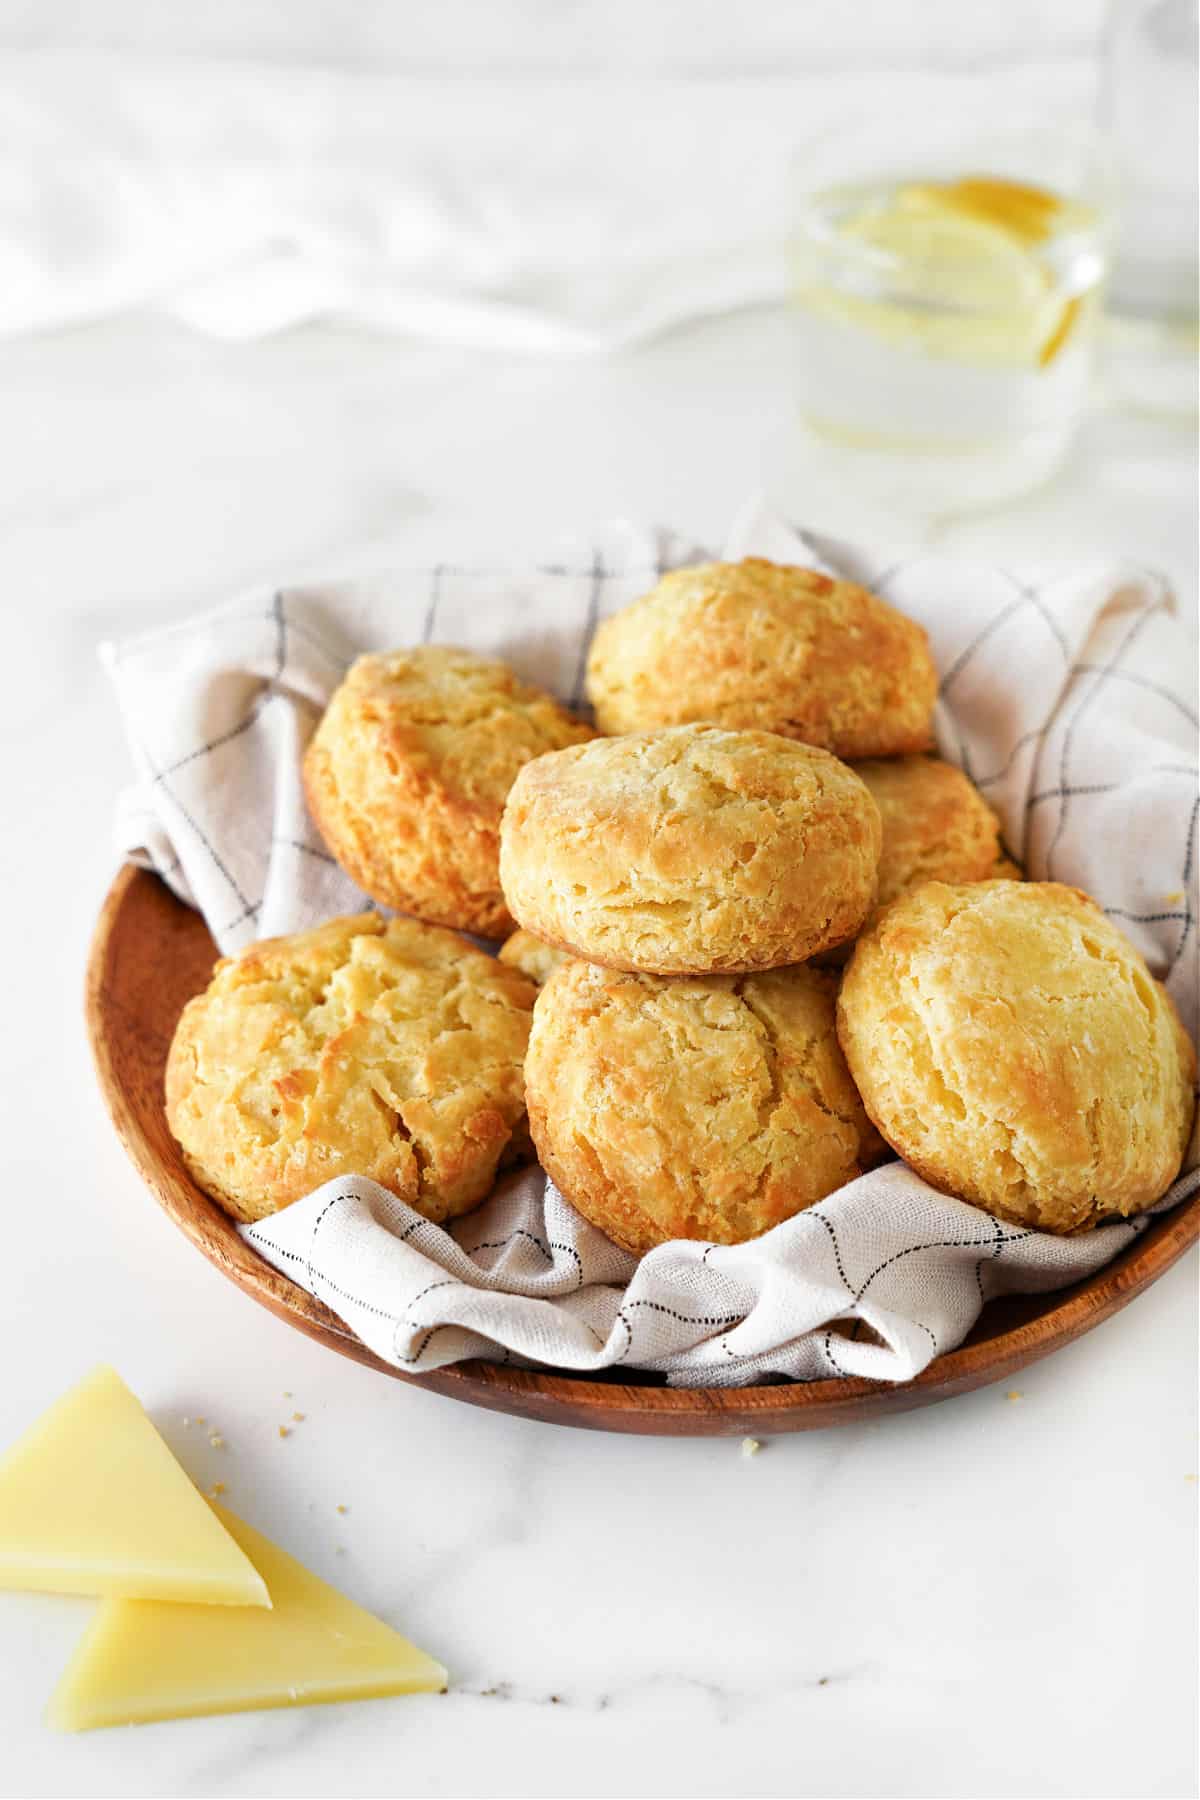
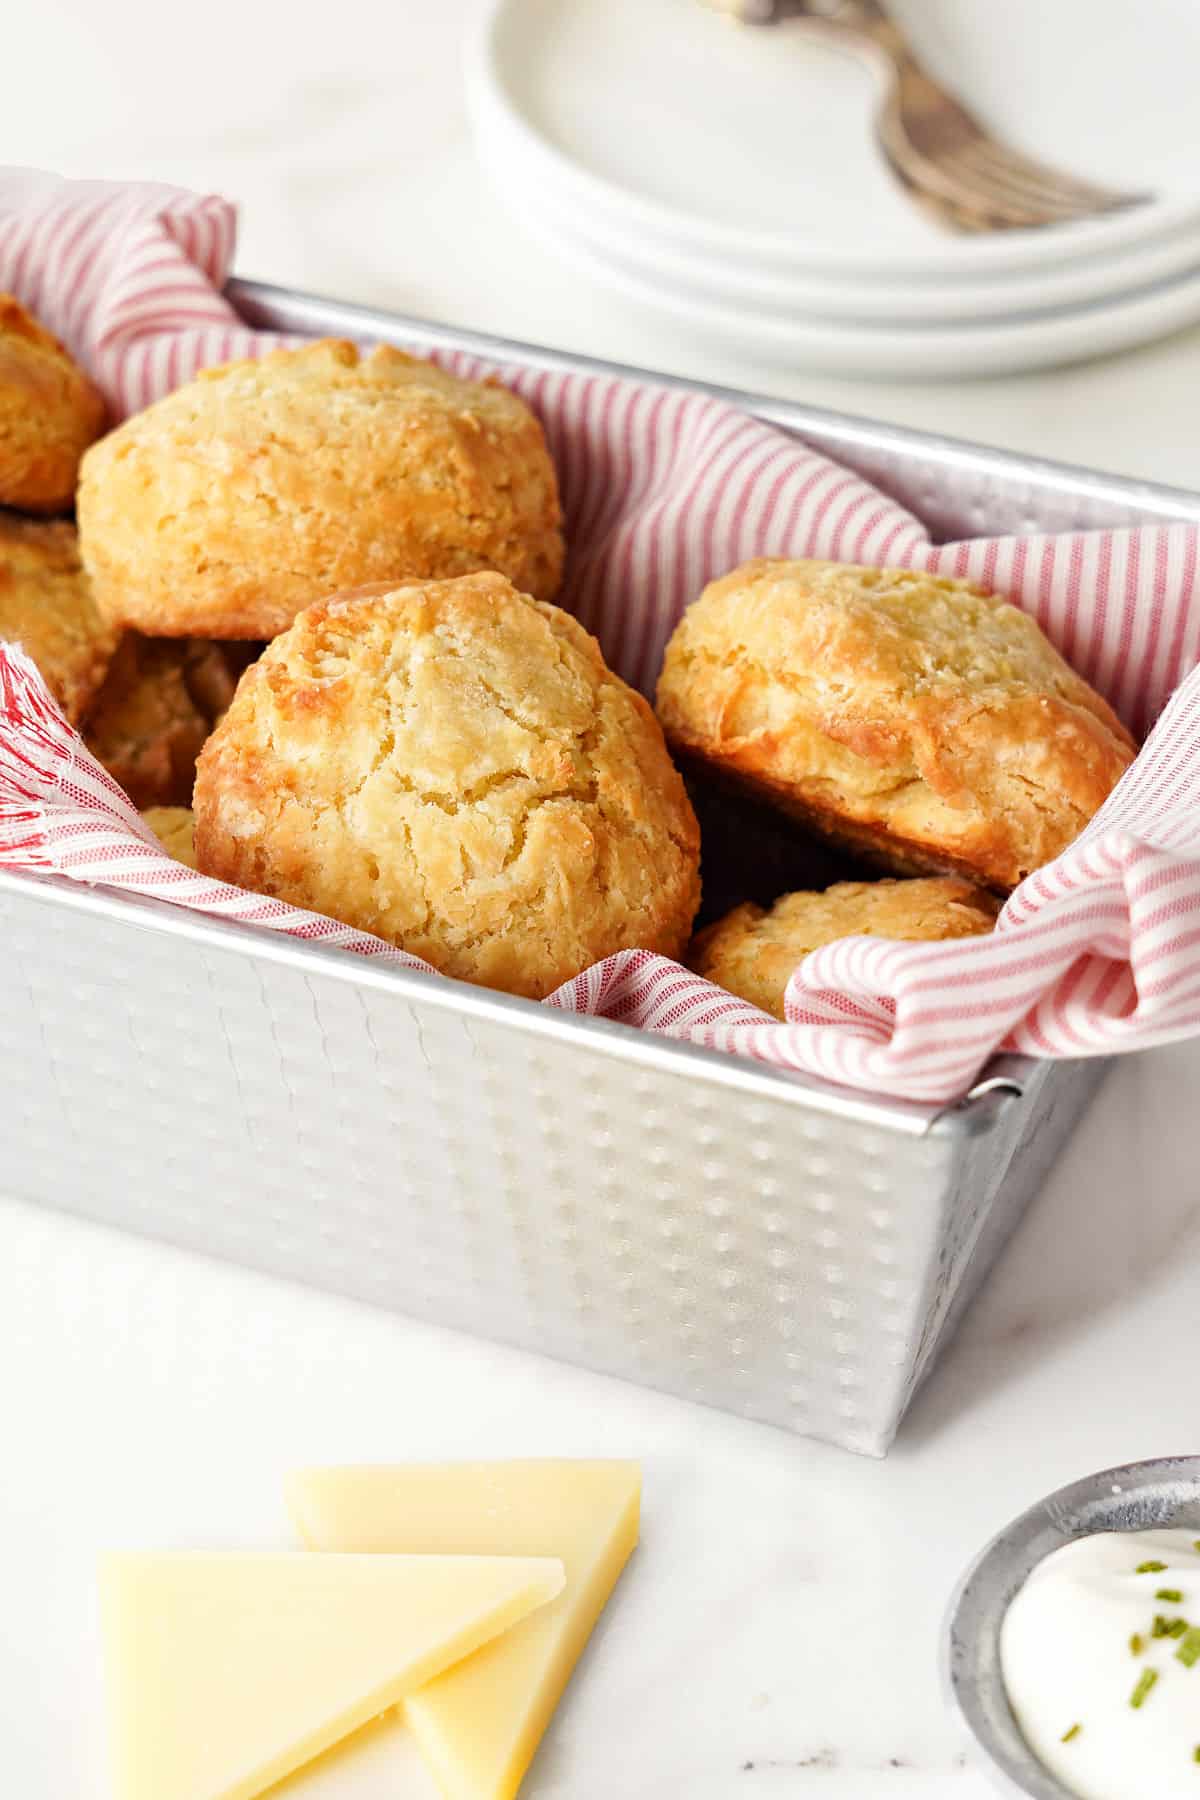
This vintage recipe makes tender, flaky and absolutely irresistible biscuits, especially when served warm with a pat of melting butter. The best part? You only need a handful of pantry staples, and you can freeze the unbaked rounds and have freshly baked biscuits when the craving hits.
SAVE THIS RECIPE
A versatile classic
They are light and dense simultaneously, with enough butter flavor but not heavy.
Making biscuits from scratch might seem intimidating at first, but I promise it's one of the most rewarding basic baking skills you can master. Once you nail the technique, you'll have the option of not leaning only on store-bought versions again.
These come together in minutes, making them perfect for busy mornings or as a last-minute addition to your dinner table. They're great year-round, making a fantastic side dish to hearty lentil stew on chilly days or being part of your 4th of July recipes.
These biscuits are foolproof once you get the hang of my must-follow tips, like keeping everything cold and handling the dough gently.
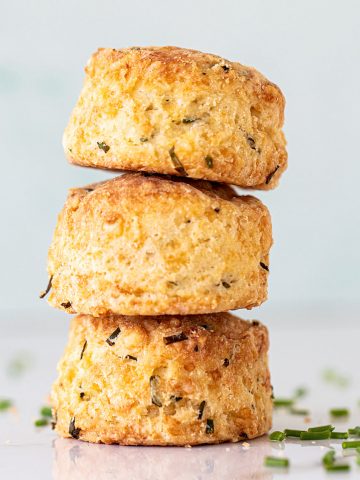
Biscuits can be similar to scones, especially when they don't have eggs, but the proportions differ. A good biscuit recipe has more butter and less sugar and is slightly saltier than traditional scones.
And just like them, they're also good eaten warm with honey butter or jam, even though they're salty.

Tips for scones and biscuits
- Baking powder: It's essential to help the scones rise, so make sure it's not expired.
- Very cold ingredients: I'm not kidding when I say very cold butter. I cut it and put the pieces in the freezer for 5 minutes before using it. And don't take the liquid ingredients out before you start mixing the scones. They belong in the fridge until you need them.
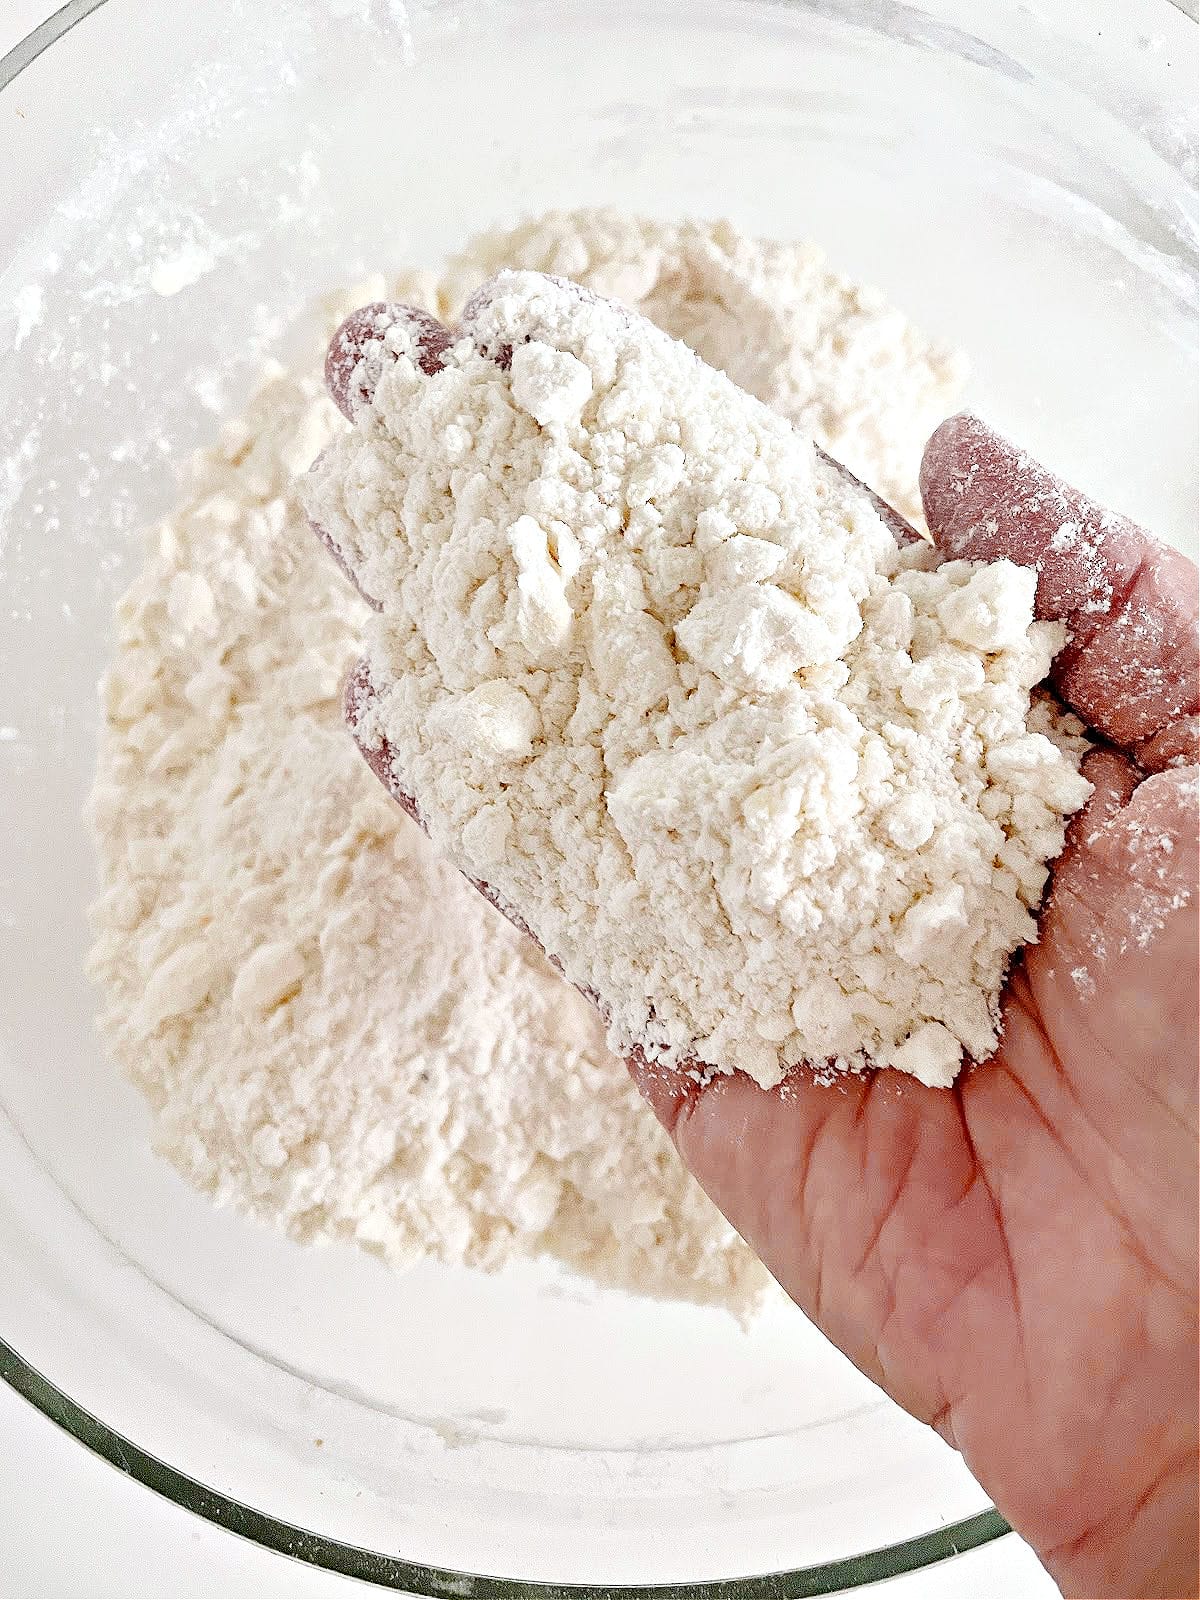
- Don't work the dough much. It should come together but might still have floury patches. You don't need to work it until it's smooth, like pie dough. It is uneven, with dry spots sometimes, and that's good for flakiness later.
- A rather high oven is necessary: they need that extra heat (and baking powder) to rise. If you happen to forget to turn the oven on before you start mixing, please don't leave the baking sheet with the cut scones waiting on the counter. Put them in the fridge or freezer for the ten or fifteen minutes it takes for the oven to reach its temperature.
Steps to make biscuits
The mixing of dry ingredients with butter can be made in 2 ways:
- By hand - a bowl where you integrate the cold butter with your hands or with a pastry cutter. This can take a few minutes as the butter needs to be the size of peas and small beans because it will be irregular.
- Food processor - the butter and dry ingredients are integrated by pulsing a few times. This is way faster and less messy (no hands involved), and the only thing to watch out for is not getting carried away and processing the butter too much.
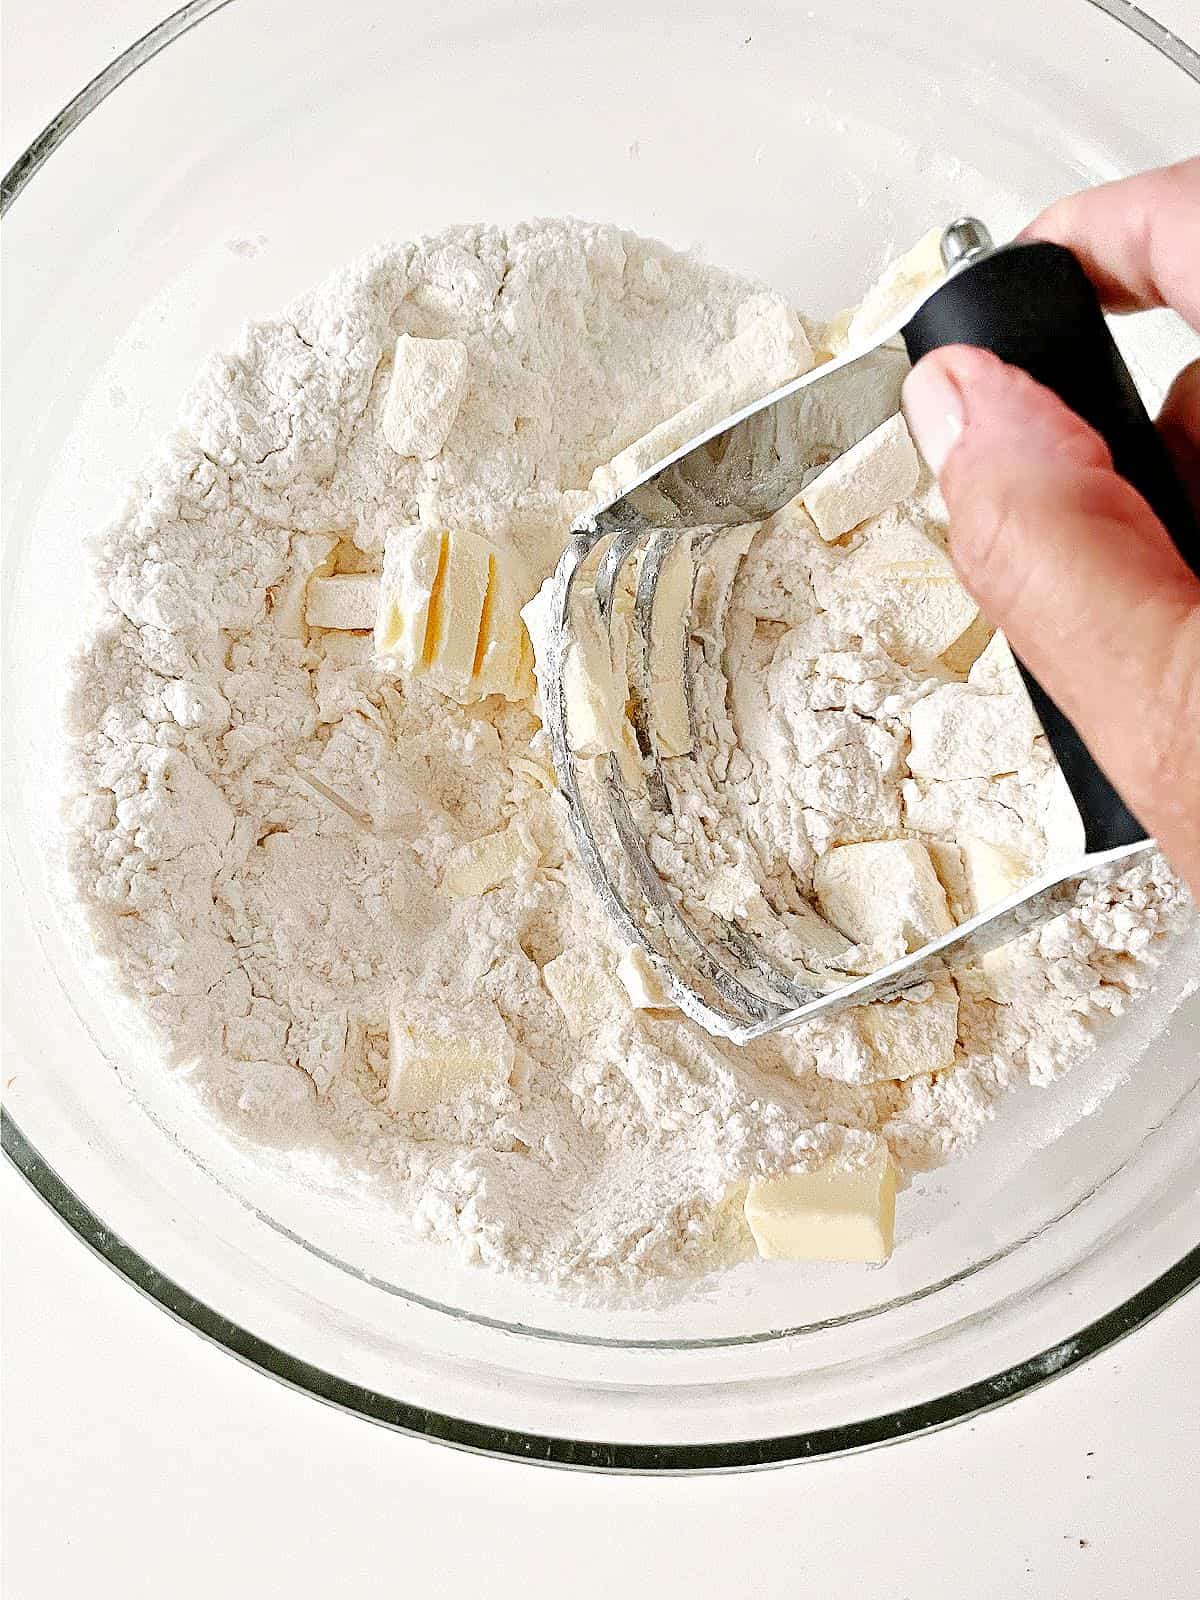
- Stir to combine the dry ingredients in a large bowl and add cold butter pieces.
- Work the cold butter with your hands or a pastry blender until the pieces are the size of small beans. It will be irregular.
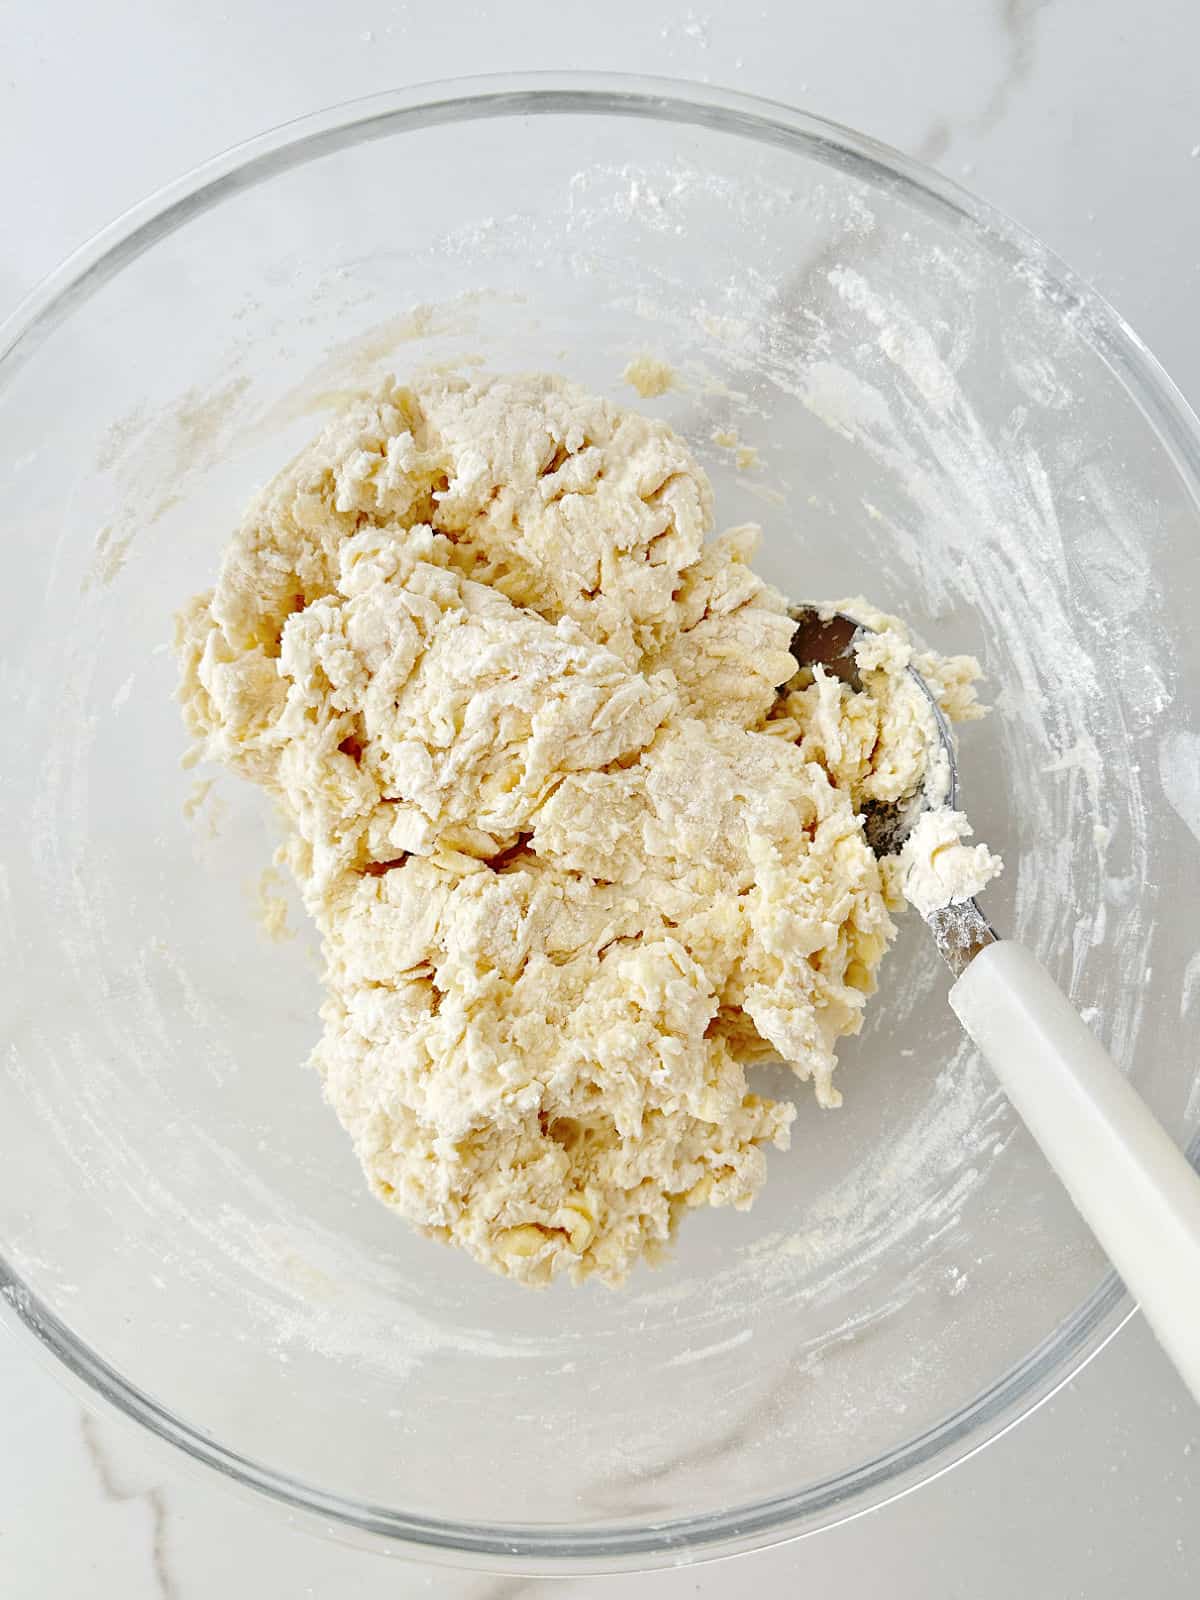
- Add the milk and stir with a fork or spoon until almost integrated. There will be a few dry spots. Don't overwork the dough! Or the biscuits will be tough and dense.

- Transfer the shaggy dough to a lightly floured surface. Gather it into a loose rectangle, working it as little as possible. It will be irregular.
First, fold it in half and then roll or pat it into a larger rectangle about 1 or 1.5 inches tall and fold it in three parts, as you would a letter. This will create the flaky layers.
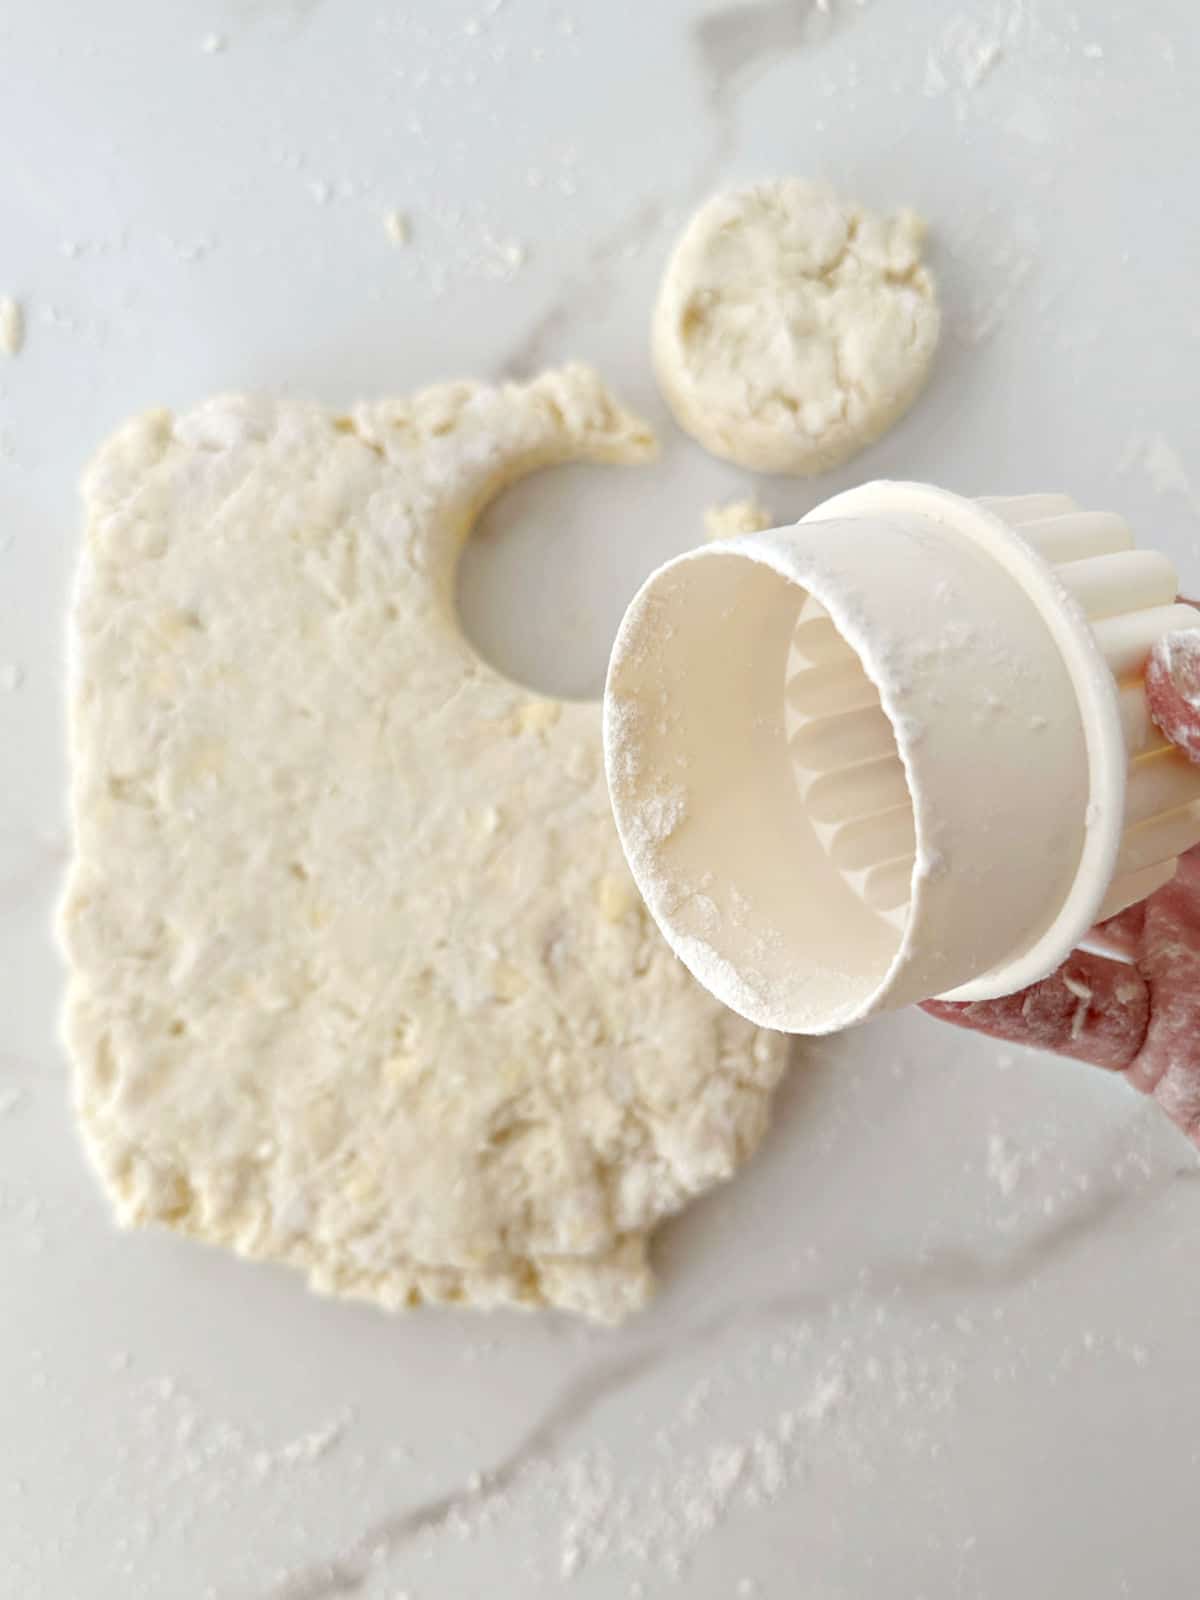
- Use a medium round cookie cutter. I usually use a 2.5-inch cutter or similar. Biscuits are meant to be a good size, so don't make them too small.
Flour it between cuts so it doesn't stick to the dough. Press straight down with your cutter - don't twist, as this can seal the edges and prevent proper rising.
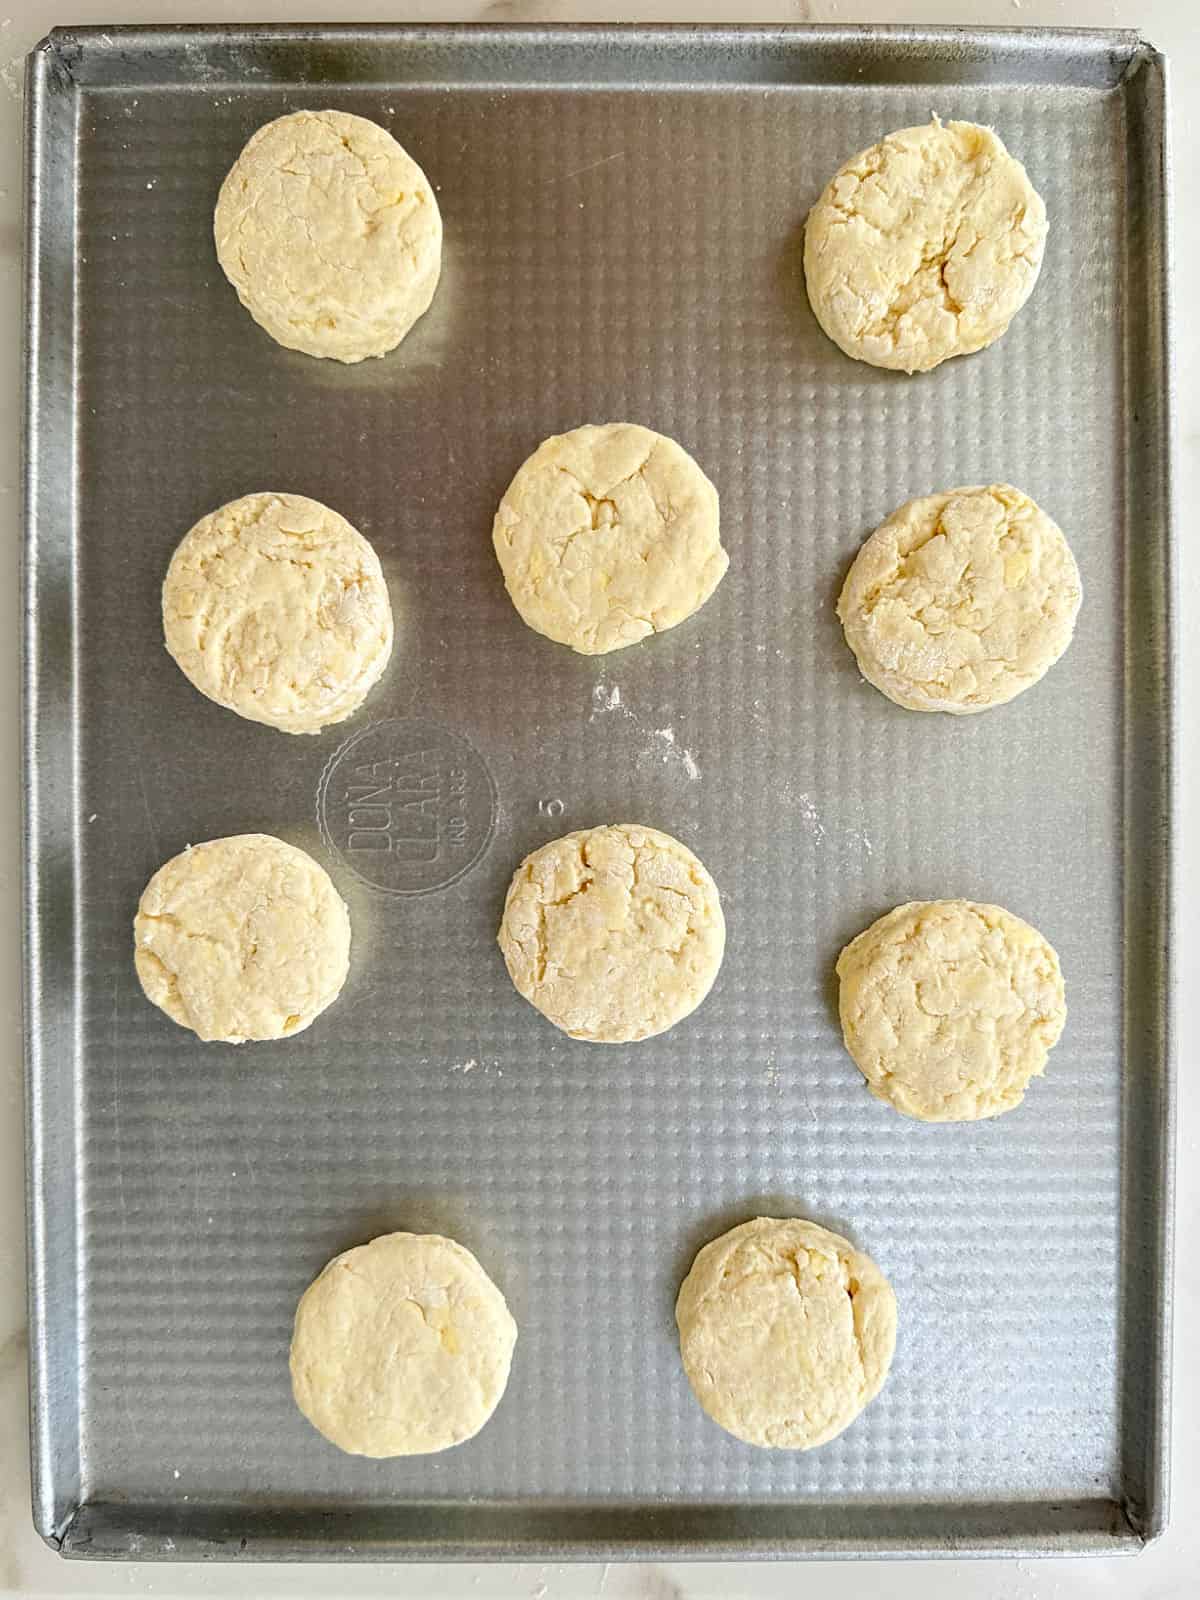
- Place them on a clean cookie sheet. They should not stick after being baked, but if you're more comfortable lightly buttering the sheet or using parchment paper, go ahead.
Baking
- Preheated oven: this is non-negotiable. Biscuits and scones need the first spring the hot oven gives them. If you forgot to turn it on, put the baking sheet in the fridge or freezer while the oven preheats to the correct temperature.
- When are they baked? The best way is to open one a little with a fork and check that the inside is fully baked.
⭐️ Vintage Kitchen Tip
To get tender and fluffy results, the biscuits need to be cold before being baked. So, place the tray with the cut rounds in the freezer for 15 minutes before popping them in the oven.
Freezing biscuits
They freeze like a dream. I like to keep a batch frozen at all times and bake them to order!
Freeze the already-cut rounds until they are rock solid, then transfer them to a freezer-safe bag. That way, they will be covered and occupy much less space in your freezer.
Bake them directly from the freezer in a 375°F/190°C oven. They might take a few more minutes.
Related recipes you might like:


As an Amazon Associate, I earn from qualifying purchases. Read my disclosure policy.

Baking Powder Biscuits
Ingredients
- 2 cups all-purpose flour
- 1 tablespoon baking powder
- 1 ¼ teaspoons salt
- 1 tablespoon sugar
- ½ cup cold unsalted butter, in pieces
- ¾ cup cold milk
Instructions
- Preheat your oven to 425°F (220°C) and line a baking sheet with parchment paper. Make sure the butter and milk are cold.
- In a large bowl, whisk together 2 cups all-purpose flour, 1 tablespoon baking powder, 1 ¼ teaspoons salt and 1 tablespoon sugar until well combined.
- Add ½ cup cold unsalted butter, in small pieces, to the flour mixture. Using your fingertips or a pastry cutter, work the butter into the flour until it resembles coarse crumbs with some pea-sized pieces remaining. This is crucial for flaky biscuits so don't overwork it!
- Pour in ¾ cup cold milk and stir with a fork just until the dough comes together. It should look a bit shaggy; that's perfect!
- Turn the dough onto a lightly floured surface and gently pat it into a 1-inch thick rectangle. Fold the dough into thirds like a letter, then pat it down again. Repeat this process twice more; this creates those lovely flaky layers. Don't overwork the dough or the biscuits will be tough!
- Finally, pat the dough to about ¾ inch thickness (I use my hands, but, if you use a rolling pin, don't press too hard so it doesn't compact the dough too much) and cut biscuits with a 2-inch biscuit cutter for smaller and 2.5 to 3-inch cutter for larger biscuits. Gather the biscuit dough scraps without kneading them too much, and cut more rounds.
- Flour the cutter between cuts so it doesn't stick to the dough. Press straight down with your cutter - don't twist, as this can seal the edges and prevent proper rising.
- Place rounds on the prepared baking sheet, leaving some space between each. Bake for 12-15 minutes until golden brown on top.
Rate and review this recipe