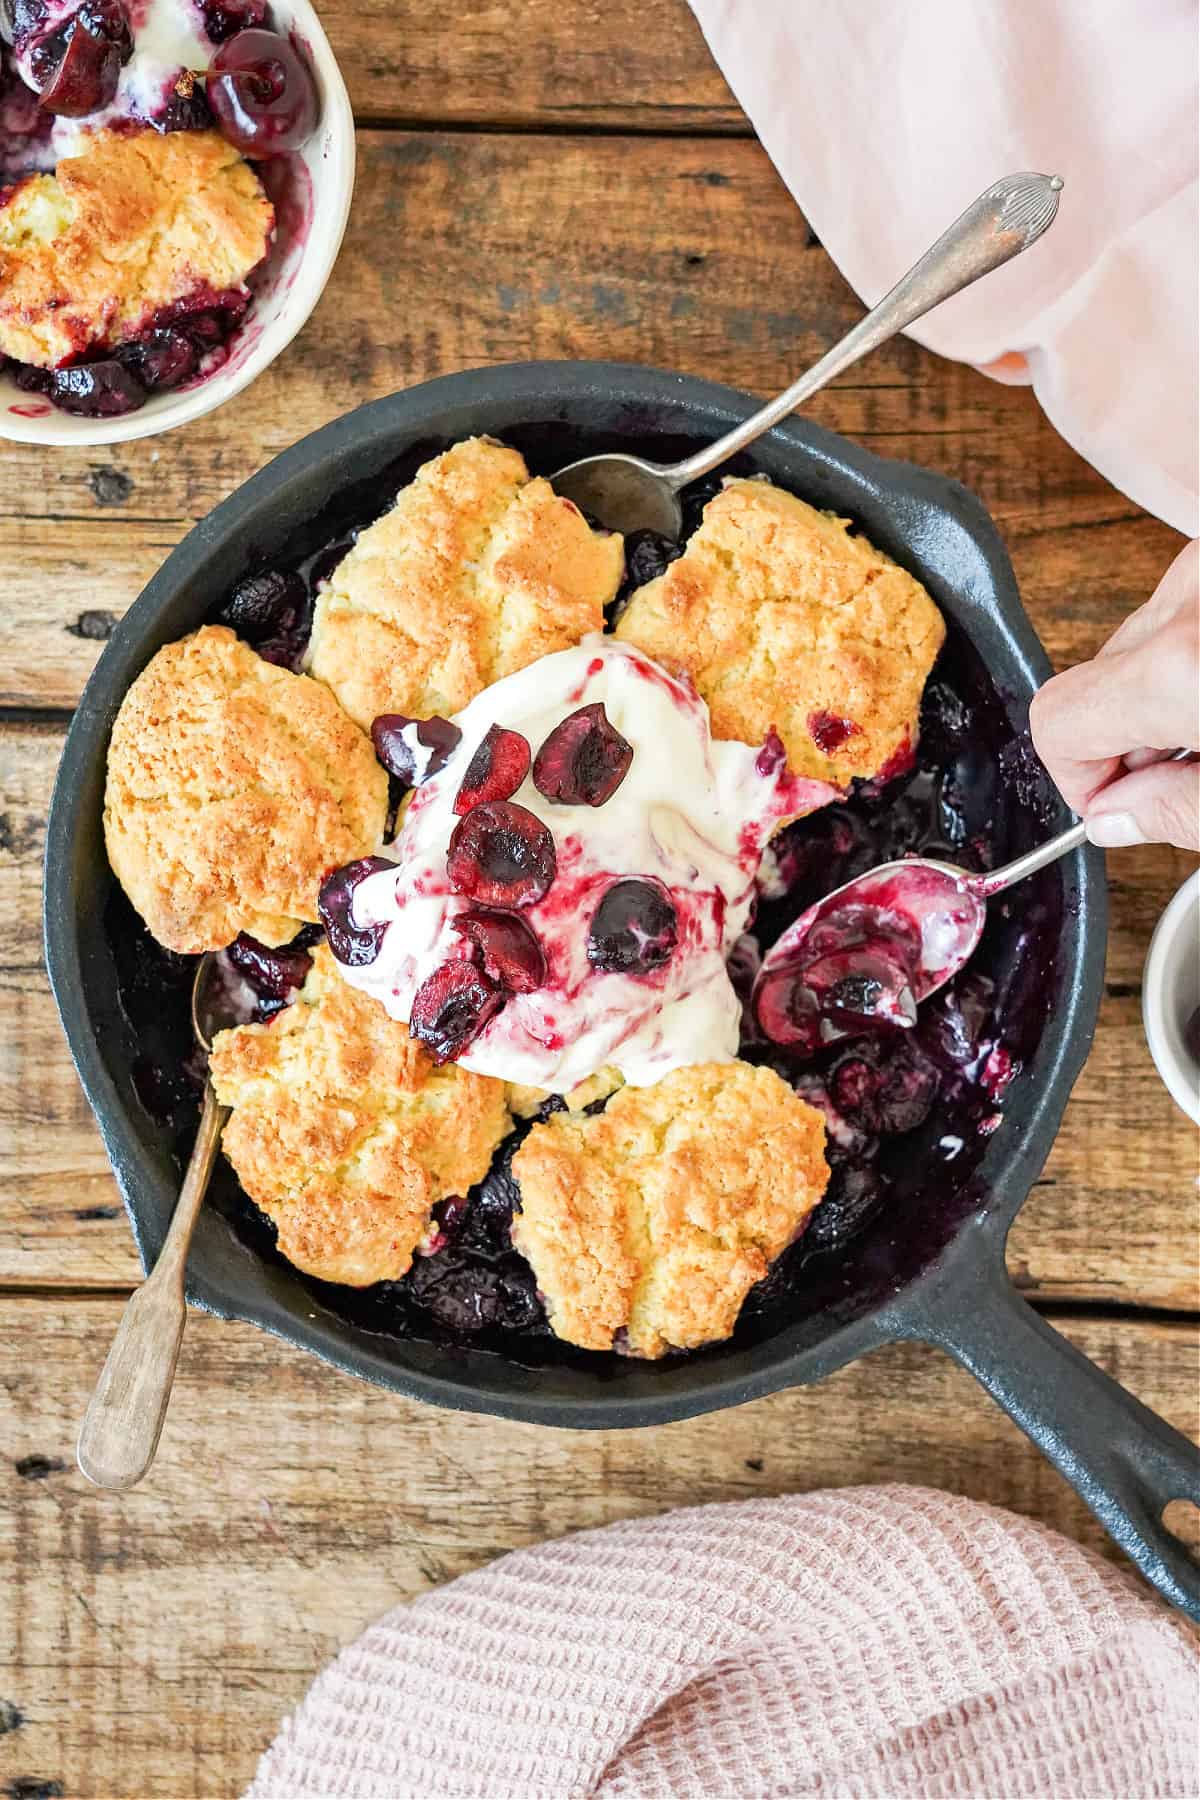
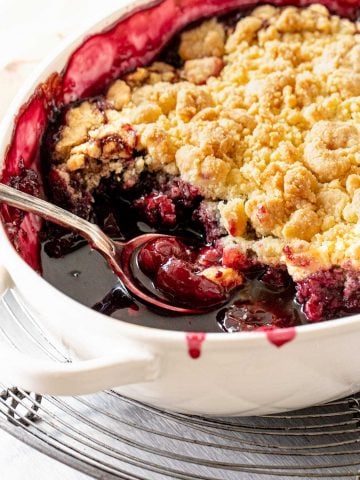
Old-fashioned desserts are a must on this blog, and this cherry cobbler is no exception. It's pretty simple and quick to put together and the result is fantastic: sweet, syrupy and floury. With whipped cream or ice cream, it's perfect for barbecues, cookouts and Summer holidays. You can make it in a cast iron skillet or a regular baking dish.
Old-fashioned cherry dessert
My stand on seasonal cherries (and peaches) is that they're great on their own but are almost better when used for baking.
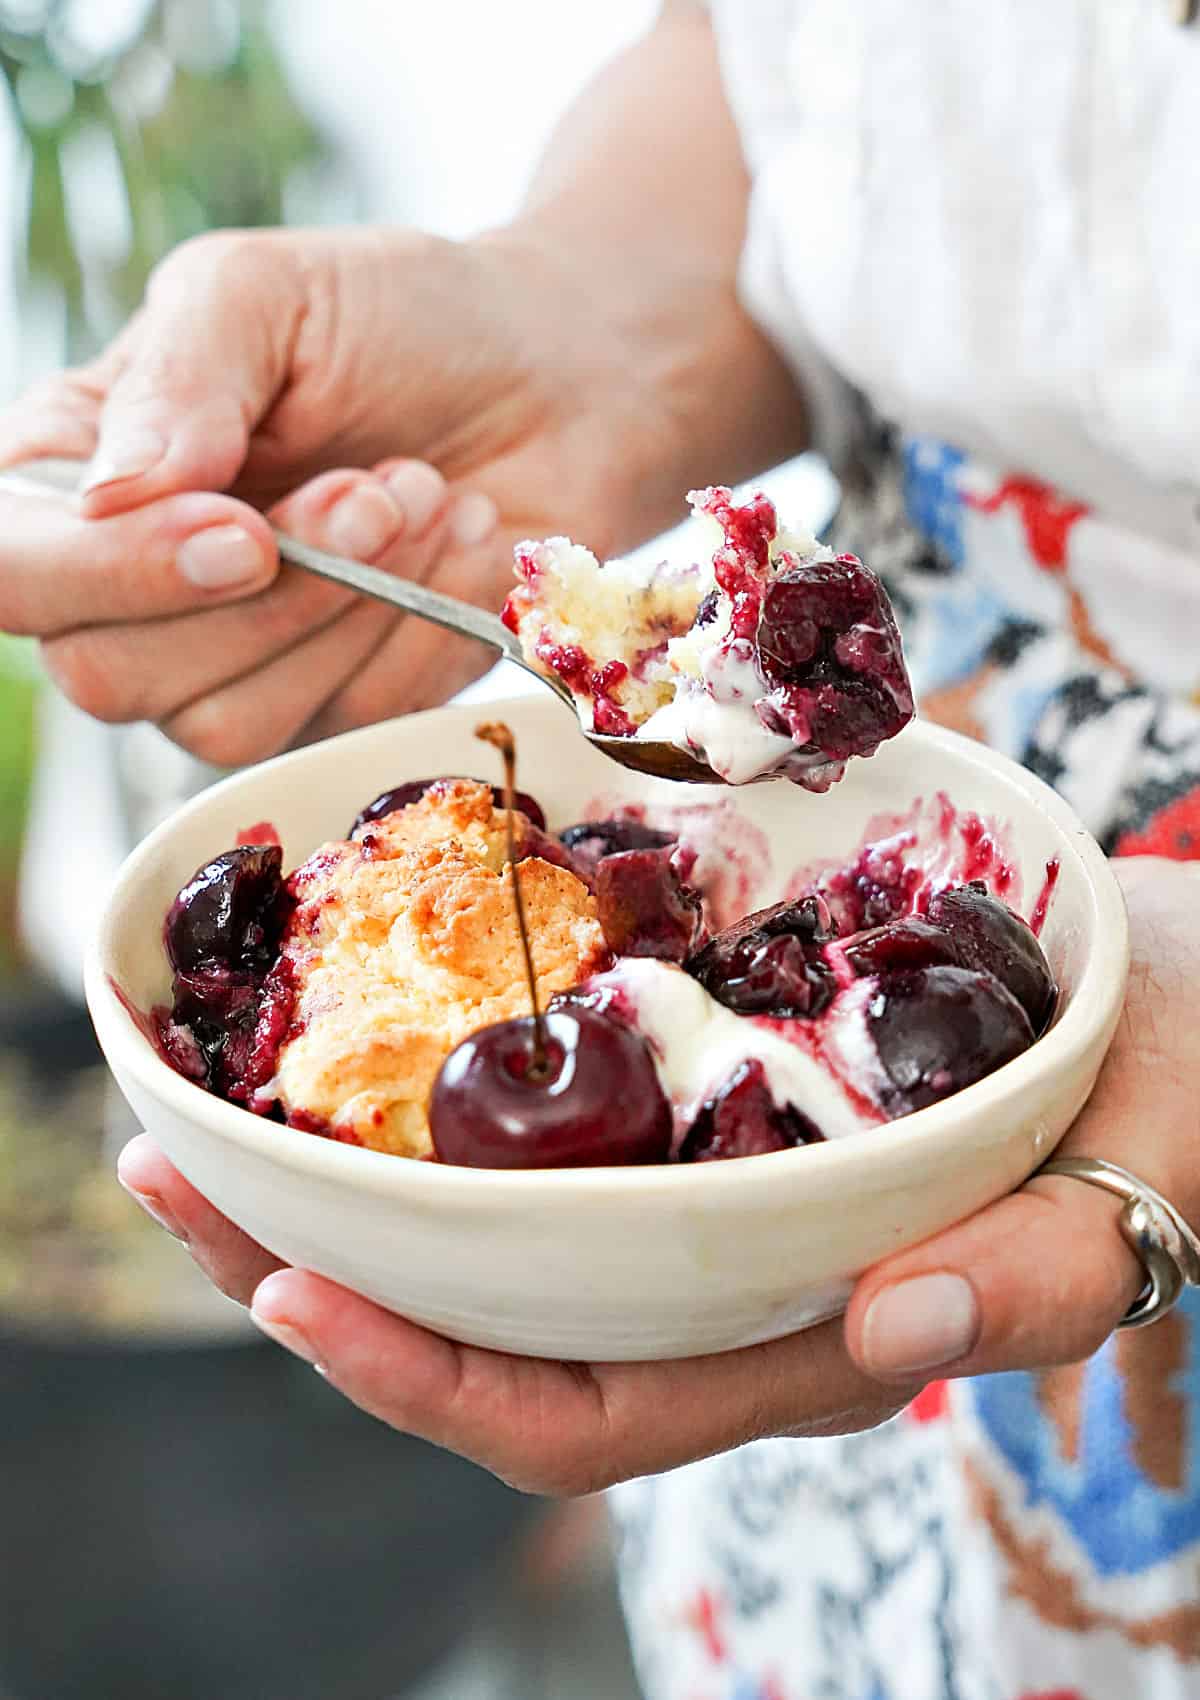
In this particular cobbler recipe, there's something about the combination of biscuits and a syrupy filling that is simply outstanding, both in flavor and looks. I don't know any cherry lover who can resist a bowl of this warm cherry cobbler with whipped cream on top.
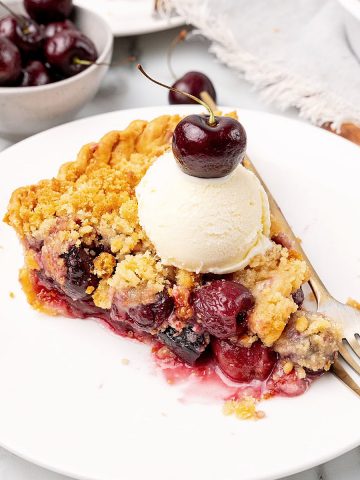
We have many other fruit cobbler recipes in the blog. These vintage desserts never get boring and never disappoint.
FAQ
No, it isn't. But it makes for a wonderful, almost dramatic, presentation, don't you think? You can also use regular baking dishes that are perfect for family-style desserts.
Yes, you can, but I recommend fresh ones when available. If making a cherry cobbler during off-season months, look for frozen cherries that are already pitted.
Steps to make cherry cobbler
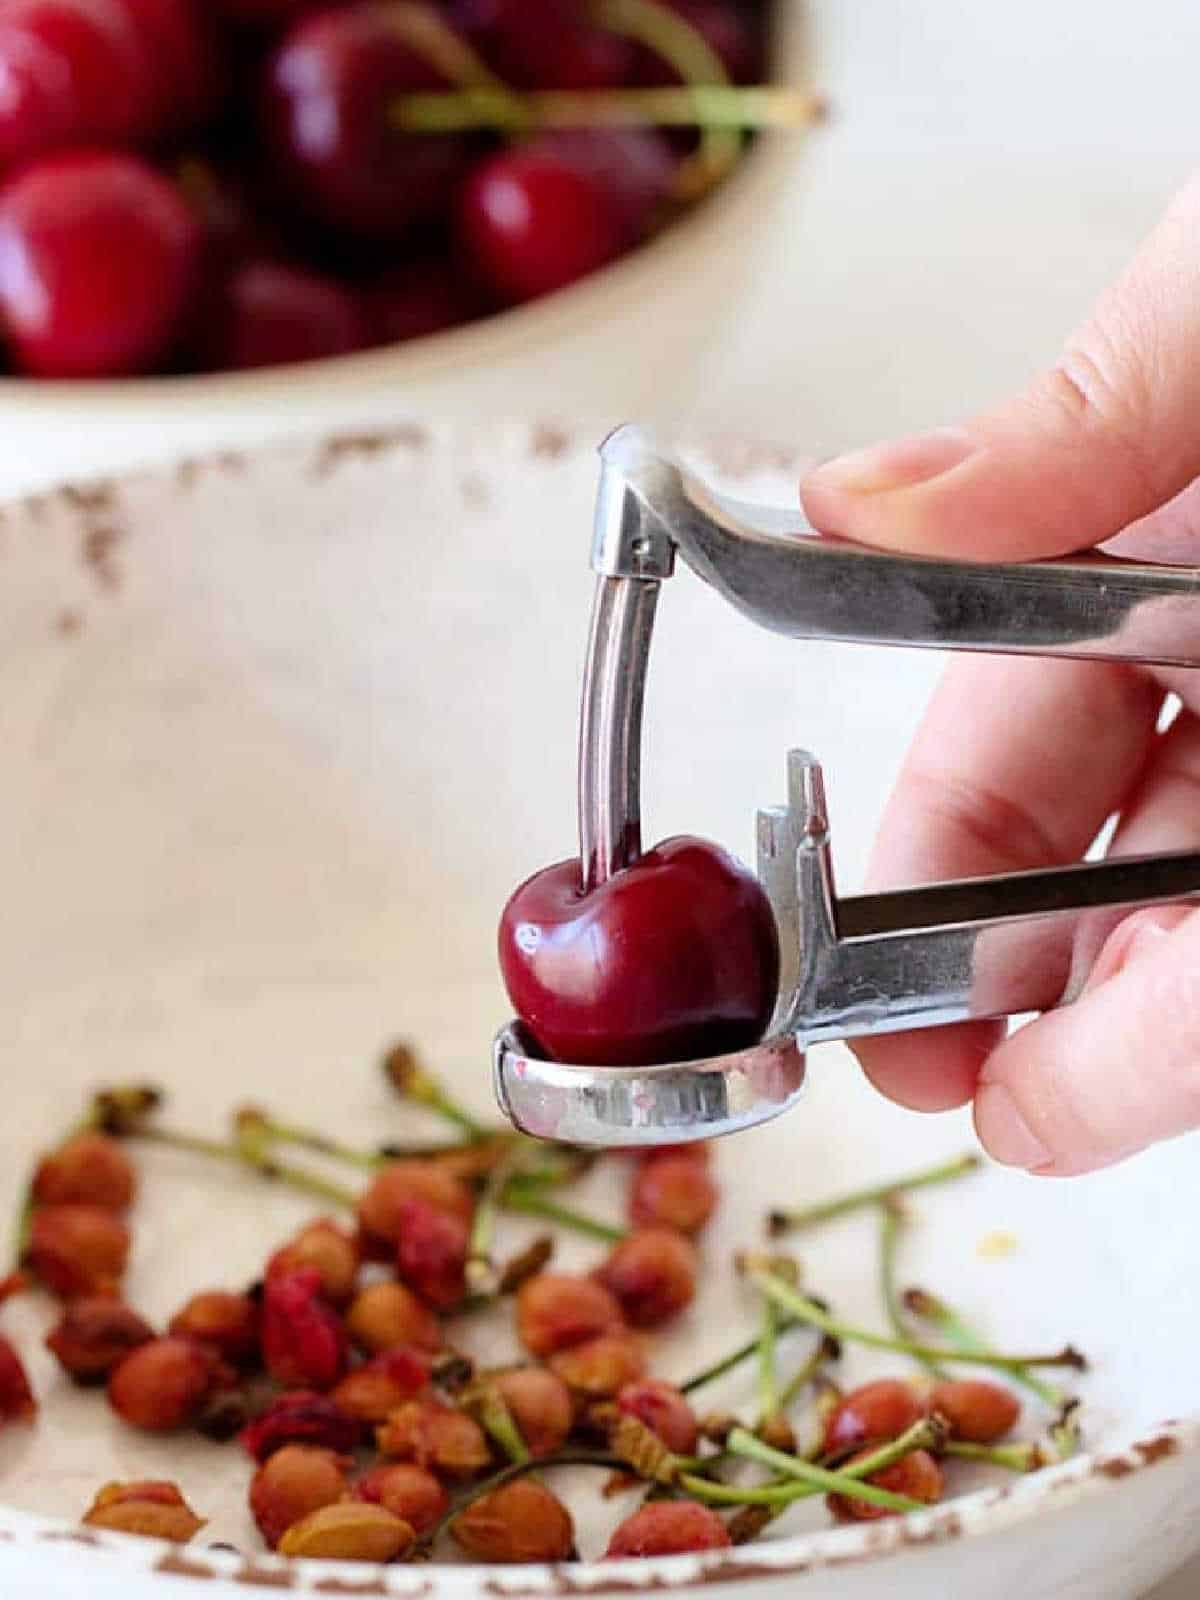
- Pitting cherries: it's the only part of this dessert that is somewhat laborious. And you'll need a cherry pitter.
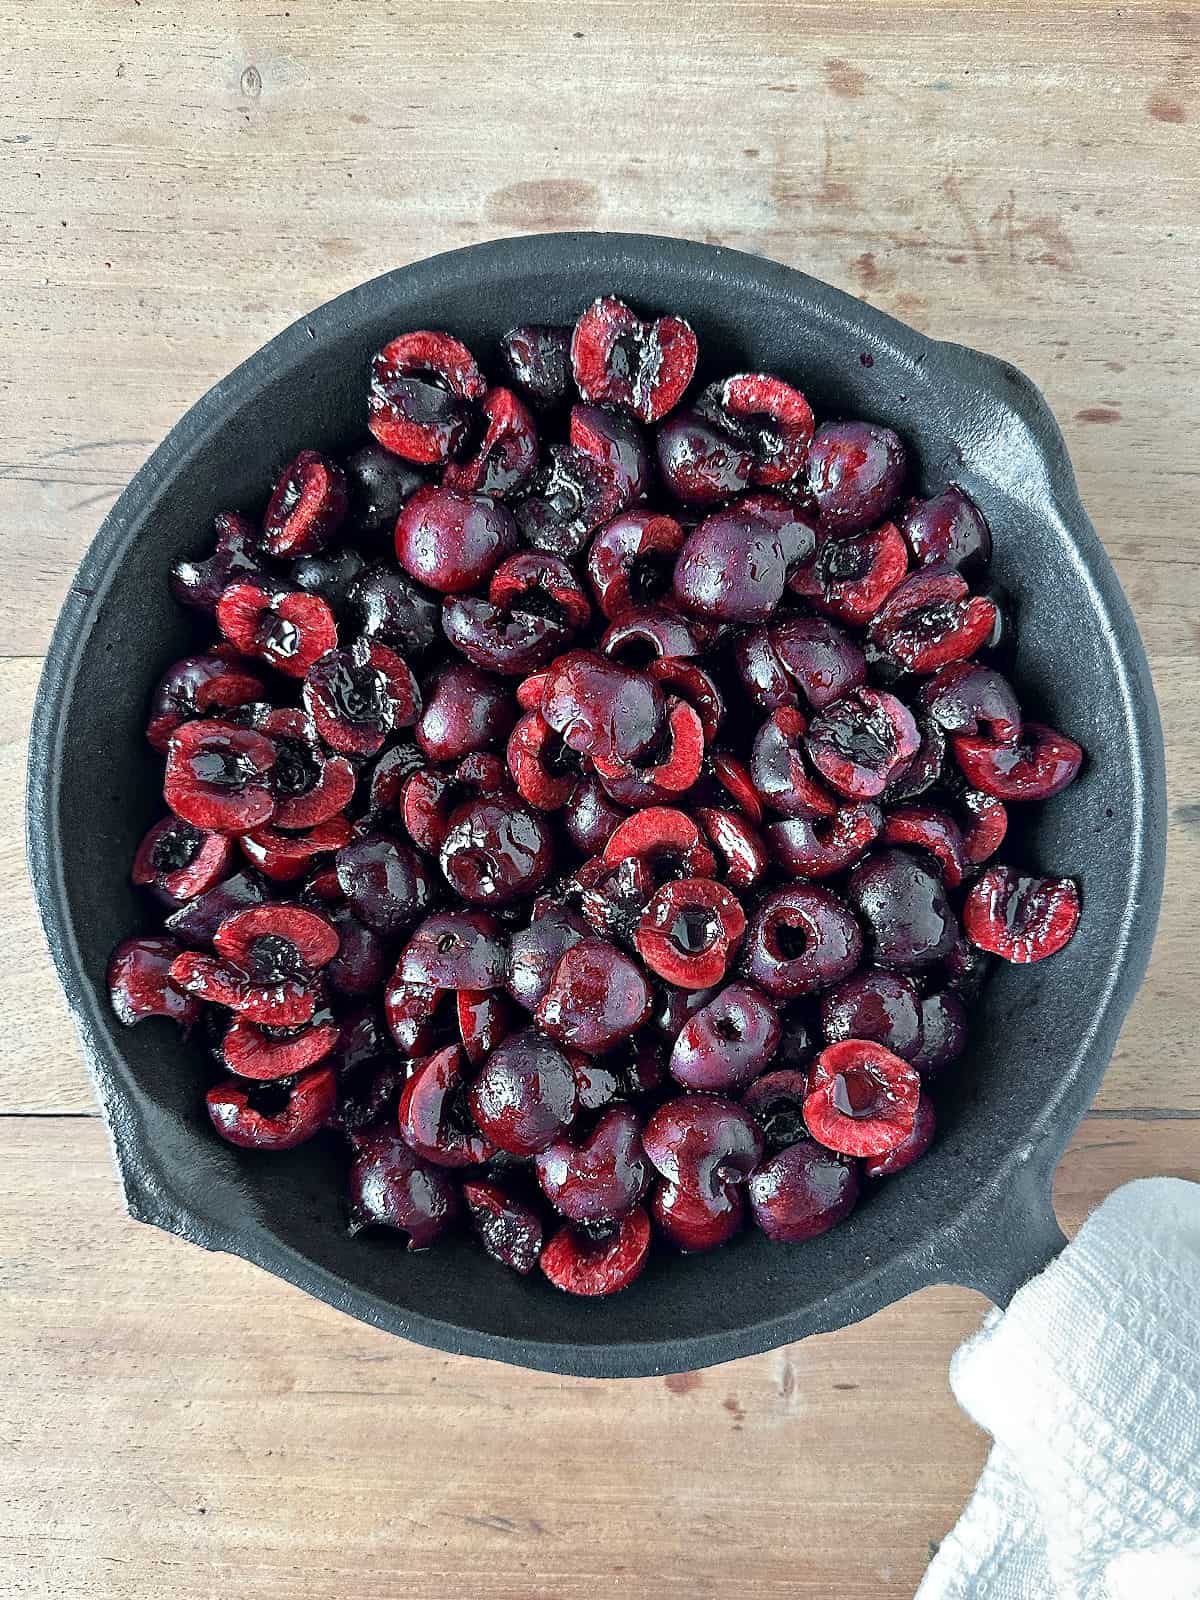
- For the filling, cut the cherries in half so they're easier to eat. Whole cherries can be a mouthful (pun intended).
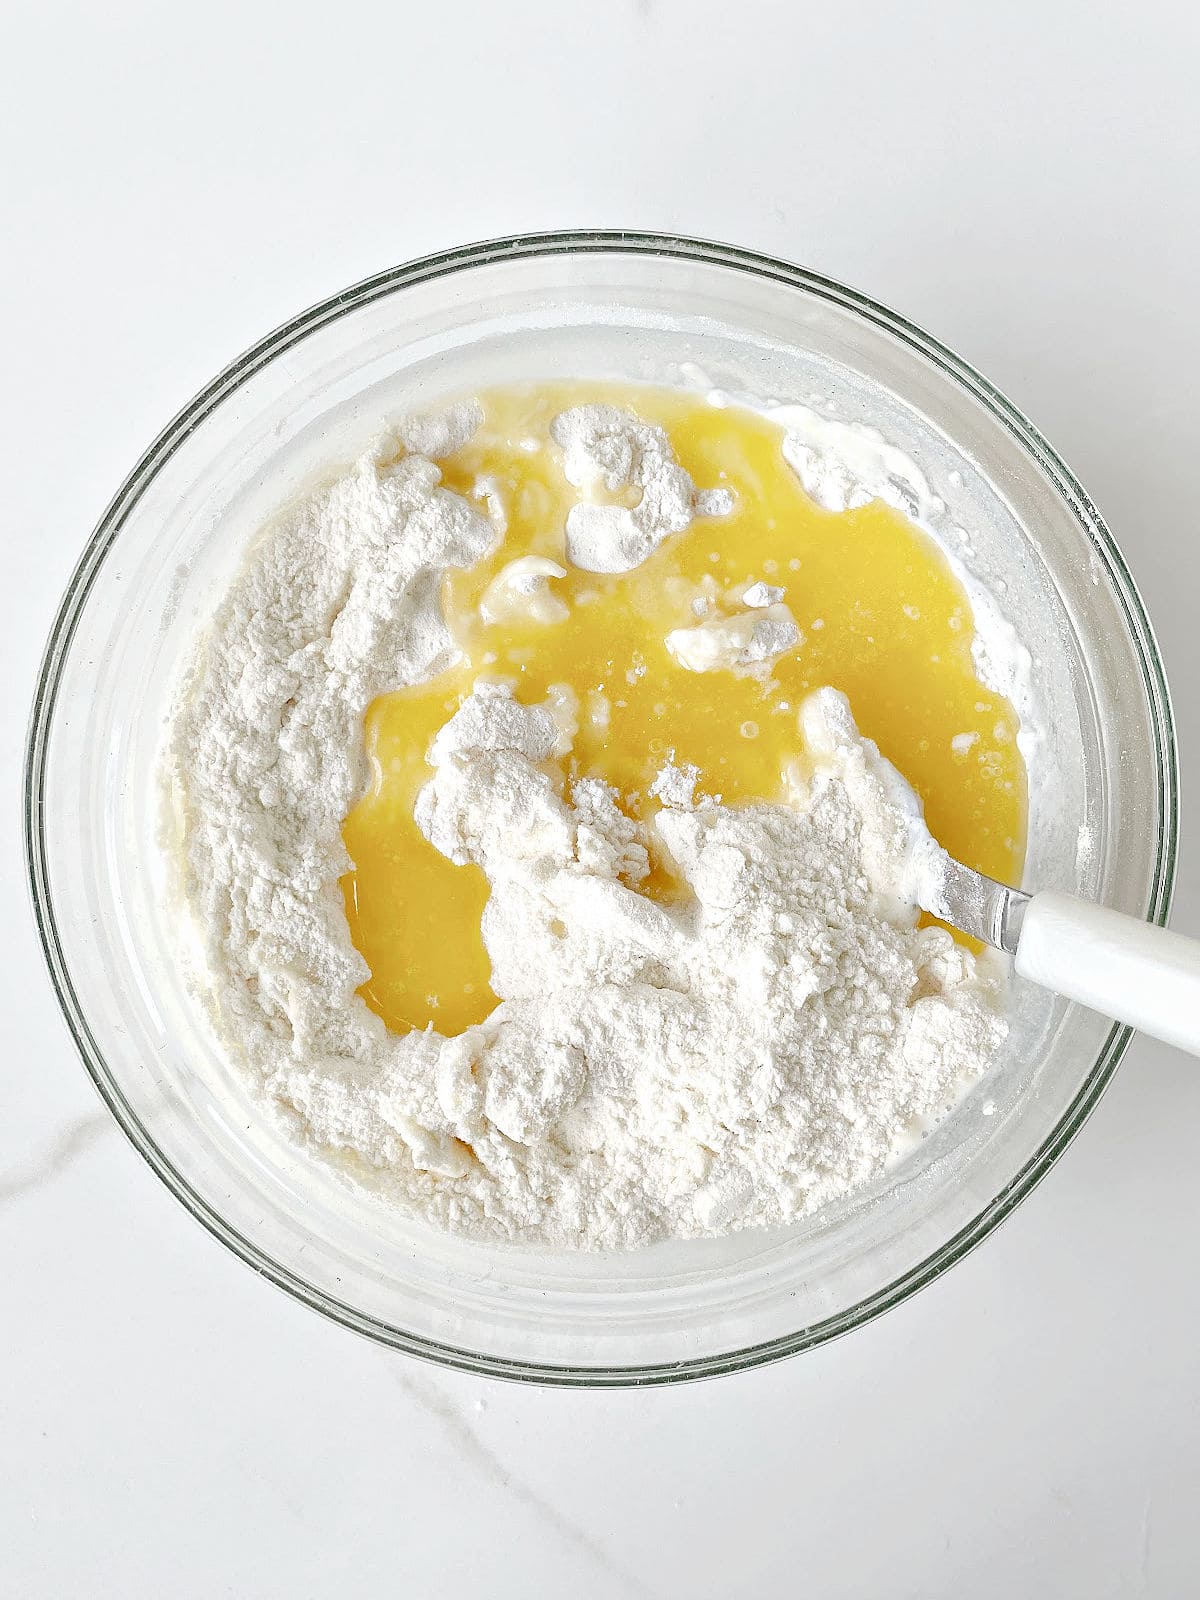
- The biscuit topping is very quick and easy to make. Simply stir the ingredients in a bowl, being careful not to overmix or beat them.
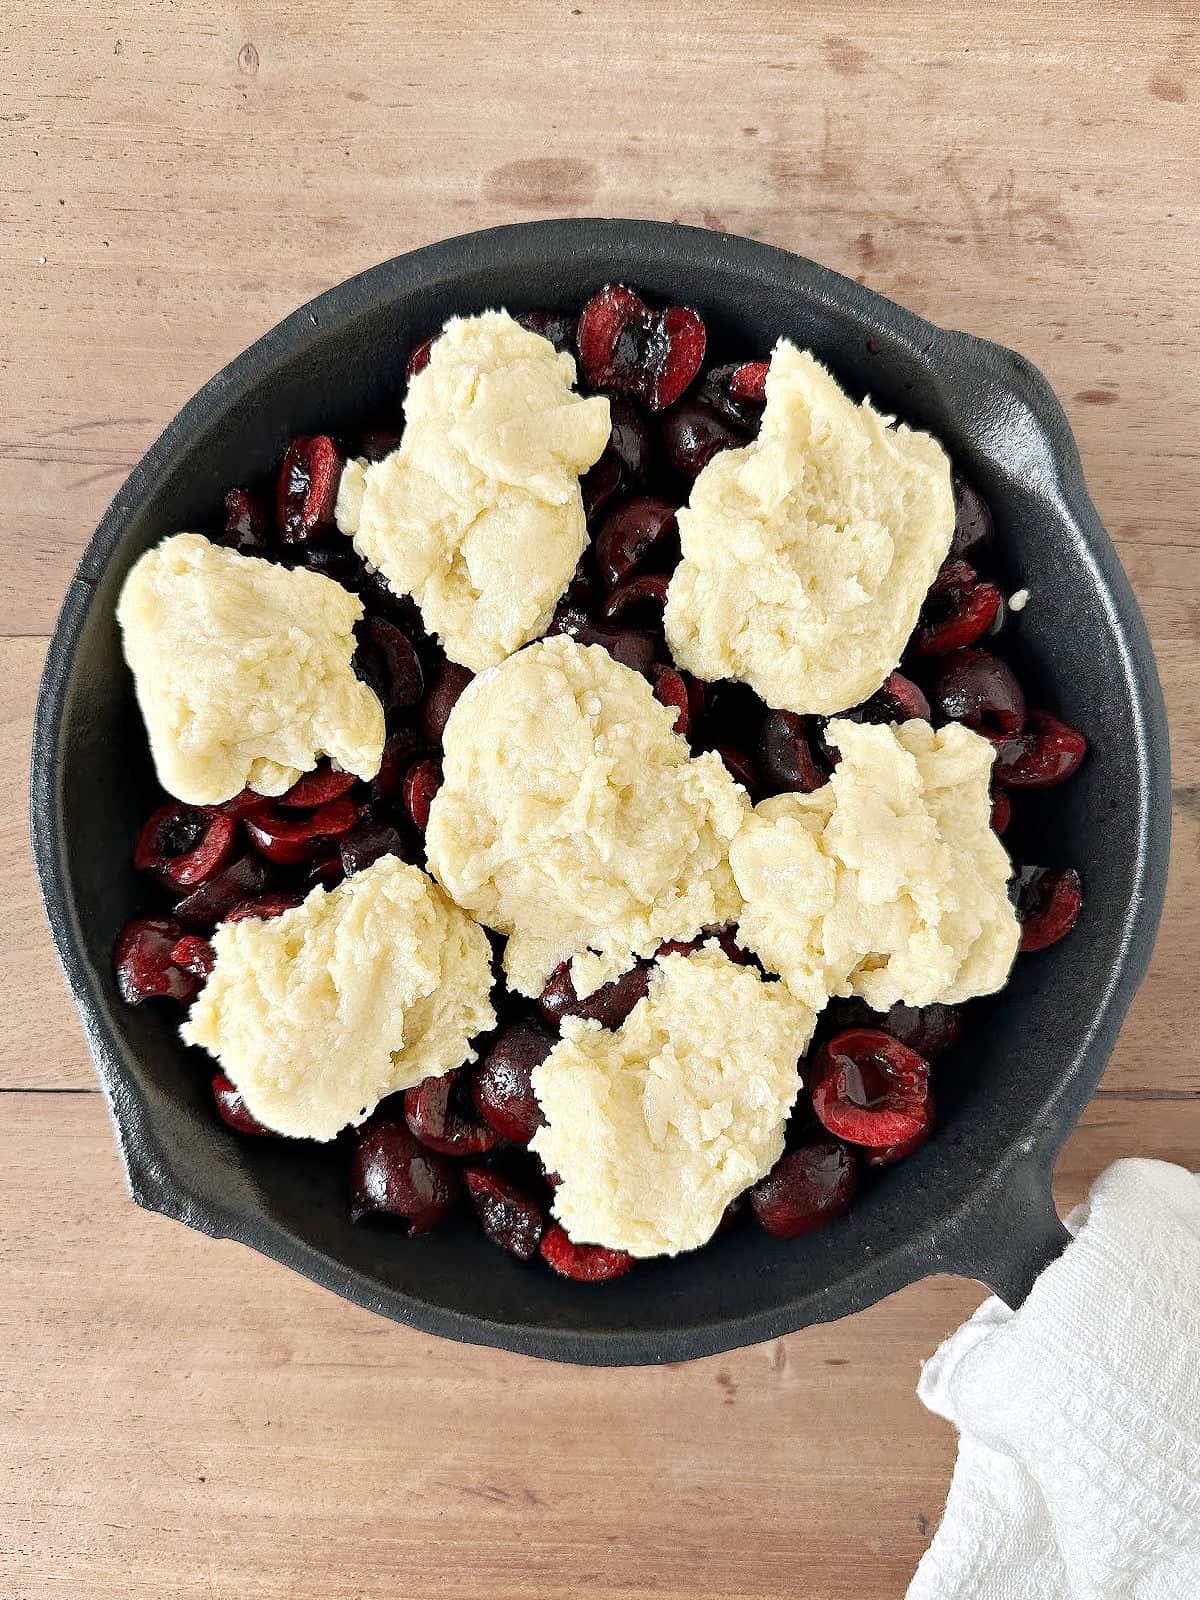
- Make mounds with the mixture. Leave space between them so the juices can bubble up comfortably and the biscuits bake well.
Baking
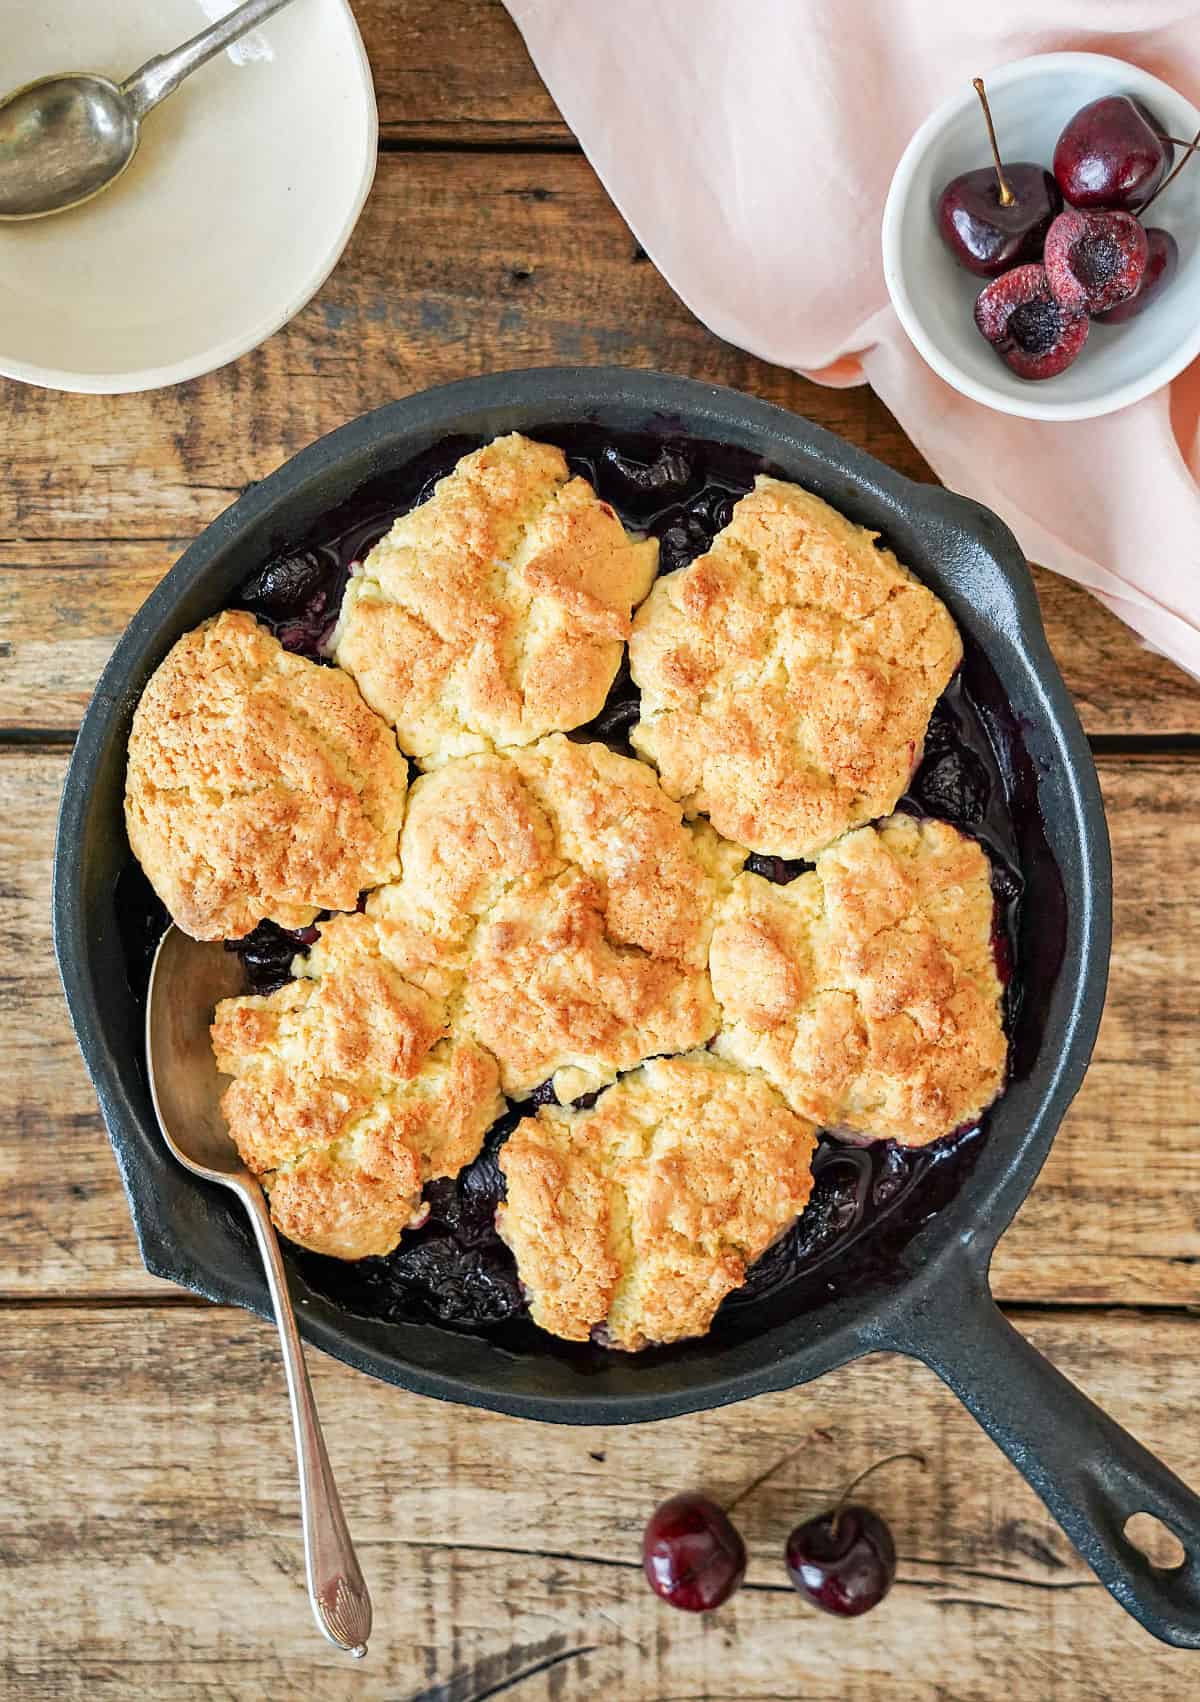
The key is to make sure the biscuit topping is fully baked.
This sounds obvious, but sometimes it's golden brown and the cherry juices are bubbling, but if you carefully lift a biscuit, you'll see it's still wet in the middle. So make sure you check!
Kitchen Notes
- Organization: read the recipe first and ensure you have ingredients at the correct temperature, utensils and equipment needed, and enough workspace. This will make the process so much easier.
- Baking time: consider that all ovens and pans are different, even if they look similar. The baking time in my recipes is as accurate as possible, but it might take you more or less time. You can use a thermometer(like the OXO oven thermometer) to check that your oven is at the right temperature. I recommend keeping track of how your oven works and what tiny details you might need to adjust.
- Storage: as with any cobbler, it's best eaten the day it's baked. Leftovers need to be refrigerated, well-covered with plastic wrap or in an airtight container. You can also freeze the baked cobbler. Always warm it in the oven briefly before eating it so the biscuits are soft and tender again and the filling juicy.
- Frozen cherries: if making this cherry recipe when no fresh ones aren't available, make sure you buy pitted ones. Use them directly from the freezer without thawing.
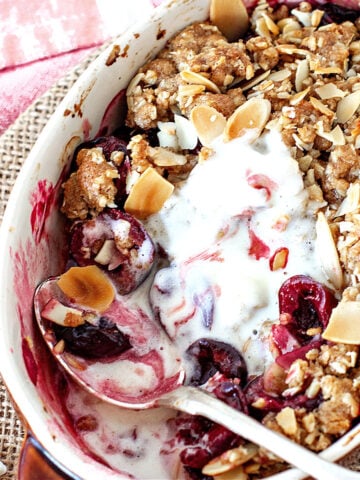
- Served warm with a dollop of whipped cream, vanilla or cinnamon ice cream is our (me and everyone else around here) favorite way. You can also eat it plain. I highly recommend not eating it cold as the flavors are a bit masked by the low temperature.
Related recipes you might like:
One last thing
If you made this recipe and loved it, you can comment below and leave a five-star ⭐️ review. Also, if you had issues, let me know so we can troubleshoot together. I appreciate honest feedback and suggestions.
You can also subscribe to our FREE email series 'Baking the Best' and our regular newsletter. Or follow and save my recipes on Pinterest.
As an Amazon Associate, I earn from qualifying purchases. Read my disclosure policy.
Cherry Cobbler (old-fashioned recipe)
Ingredients
For the cherry filling:
- 5 cups whole cherries, (about 3 ¾ cups pitted, halved cherries)
- 4 tablespoons lemon juice
- 4 tablespoons brown sugar
- 2 tablespoons cornstarch
- 4 tablespoons water
For the topping:
- 1 ½ cups all-purpose flour
- ⅓ cup light brown sugar
- 1 tablespoon baking powder
- ¼ teaspoon salt
- ⅔ cup whole milk
- 3 tablespoons unsalted butter, melted and warm
Instructions
- Preheat the oven to 350°F (180°C).
- Have an 8-inch cast iron skillet or 9x6 inches baking dish ready. For more servings, see Notes below.
For the filling:
- Wash and pit 5 cups whole cherries. Cut them in half.
- Put them in a medium saucepan with 4 tablespoons lemon juice and 4 tablespoons brown sugar. Stir and place over medium heat.
- Meanwhile, completely dissolve 2 tablespoons cornstarch with 4 tablespoons water.
- Add in a thin stream to the cherries, stirring constantly, and cook for 1 minute after it starts to boil.
- Remove from heat and put in the pan, spreading to cover completely.
For the biscuit topping:
- In a medium bowl, mix 1 ½ cups all-purpose flour, ⅓ cup light brown sugar, 1 tablespoon baking powder and ¼ teaspoon salt.
- Add ⅔ cup whole milk and 3 tablespoons unsalted butter and stir with a fork or spoon just until moistened. Do not overmix.
- Place this mixture over the filling in small mounds, leaving space between them for the juices to bubble up. Do not cover all of the cherries.
- Bake for about 25 minutes.
- Reduce the oven temperature to 325°F (165°C) and bake for another 15 minutes, or until golden brown and dry. Lift it carefully at the end with a fork and check that the inside of the biscuits is completely baked.
- Remove from oven and let cool on a wire rack.
- Serve warm with ice cream or whipped cream and extra cherries.


Rate and review this recipe