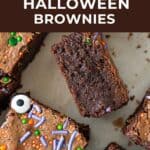
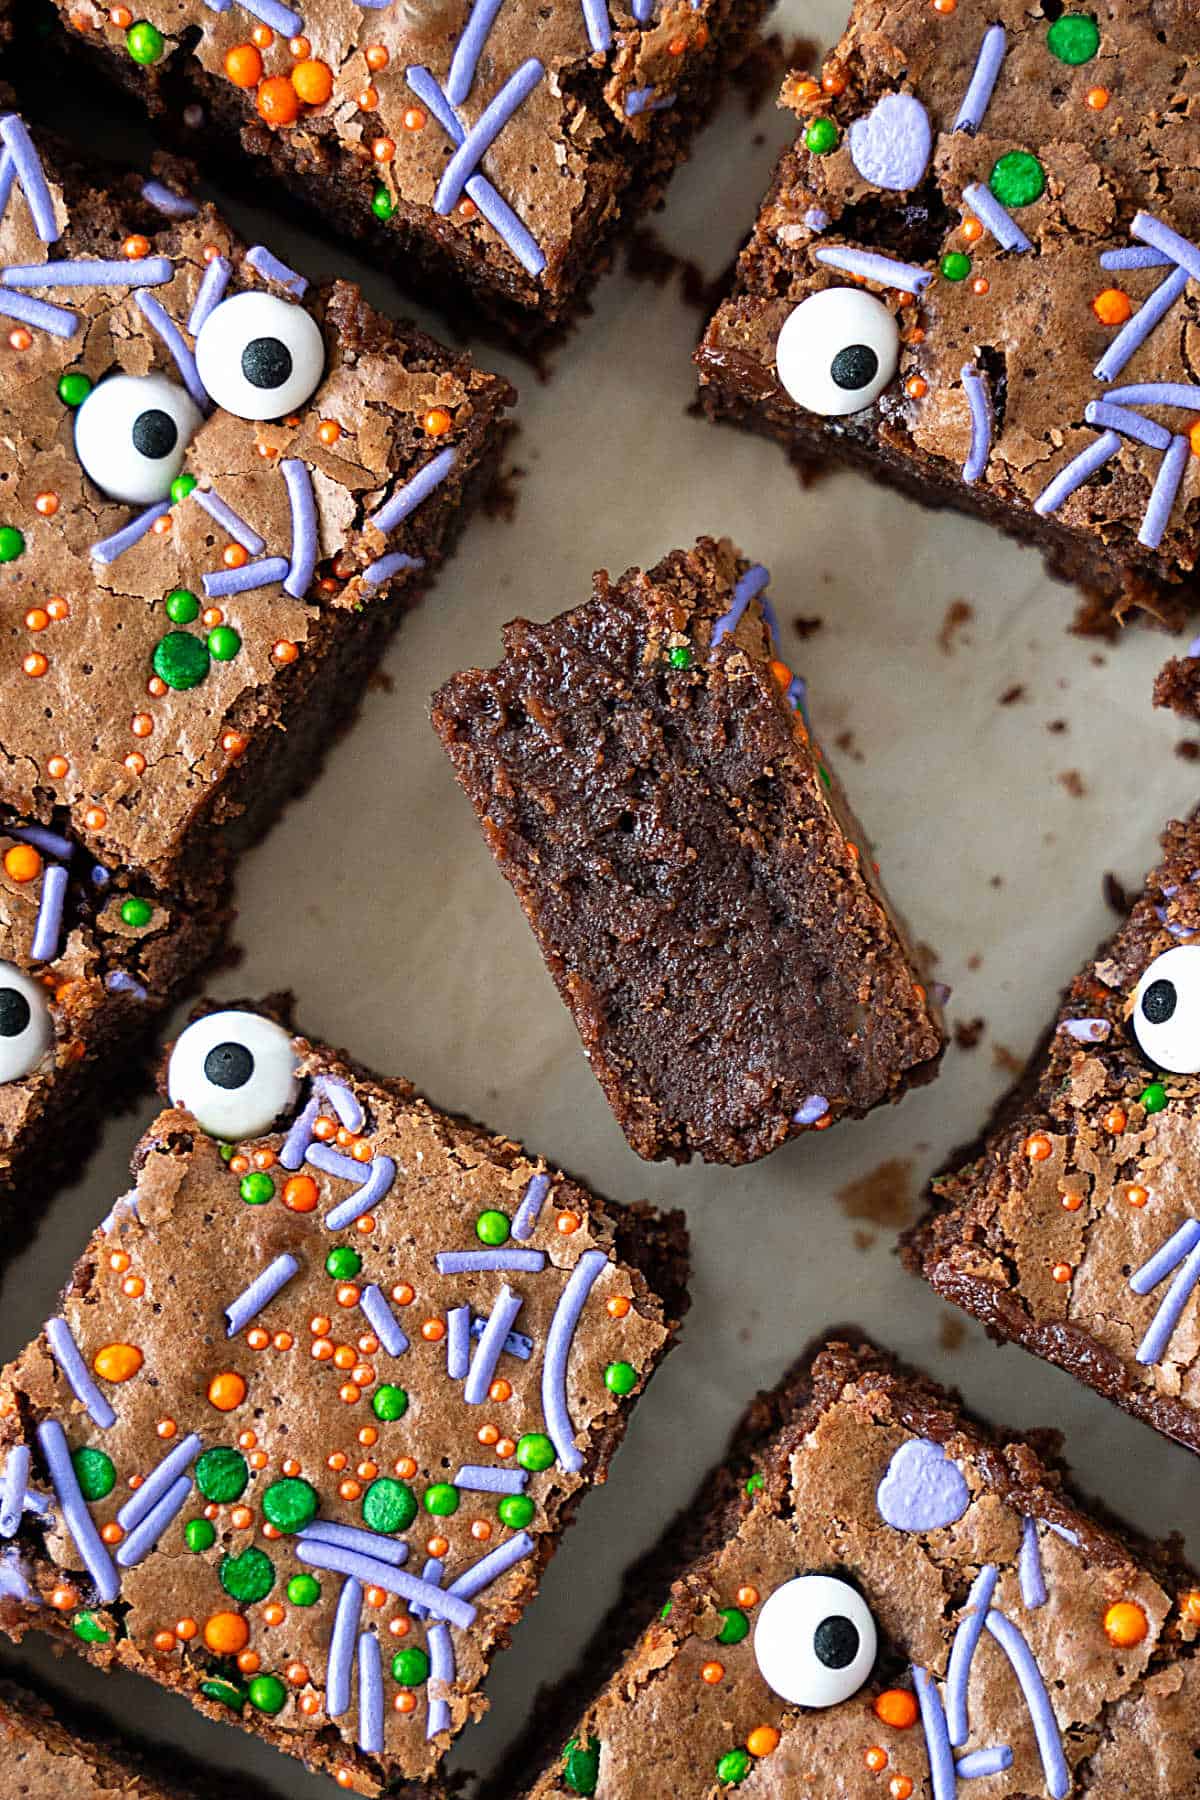
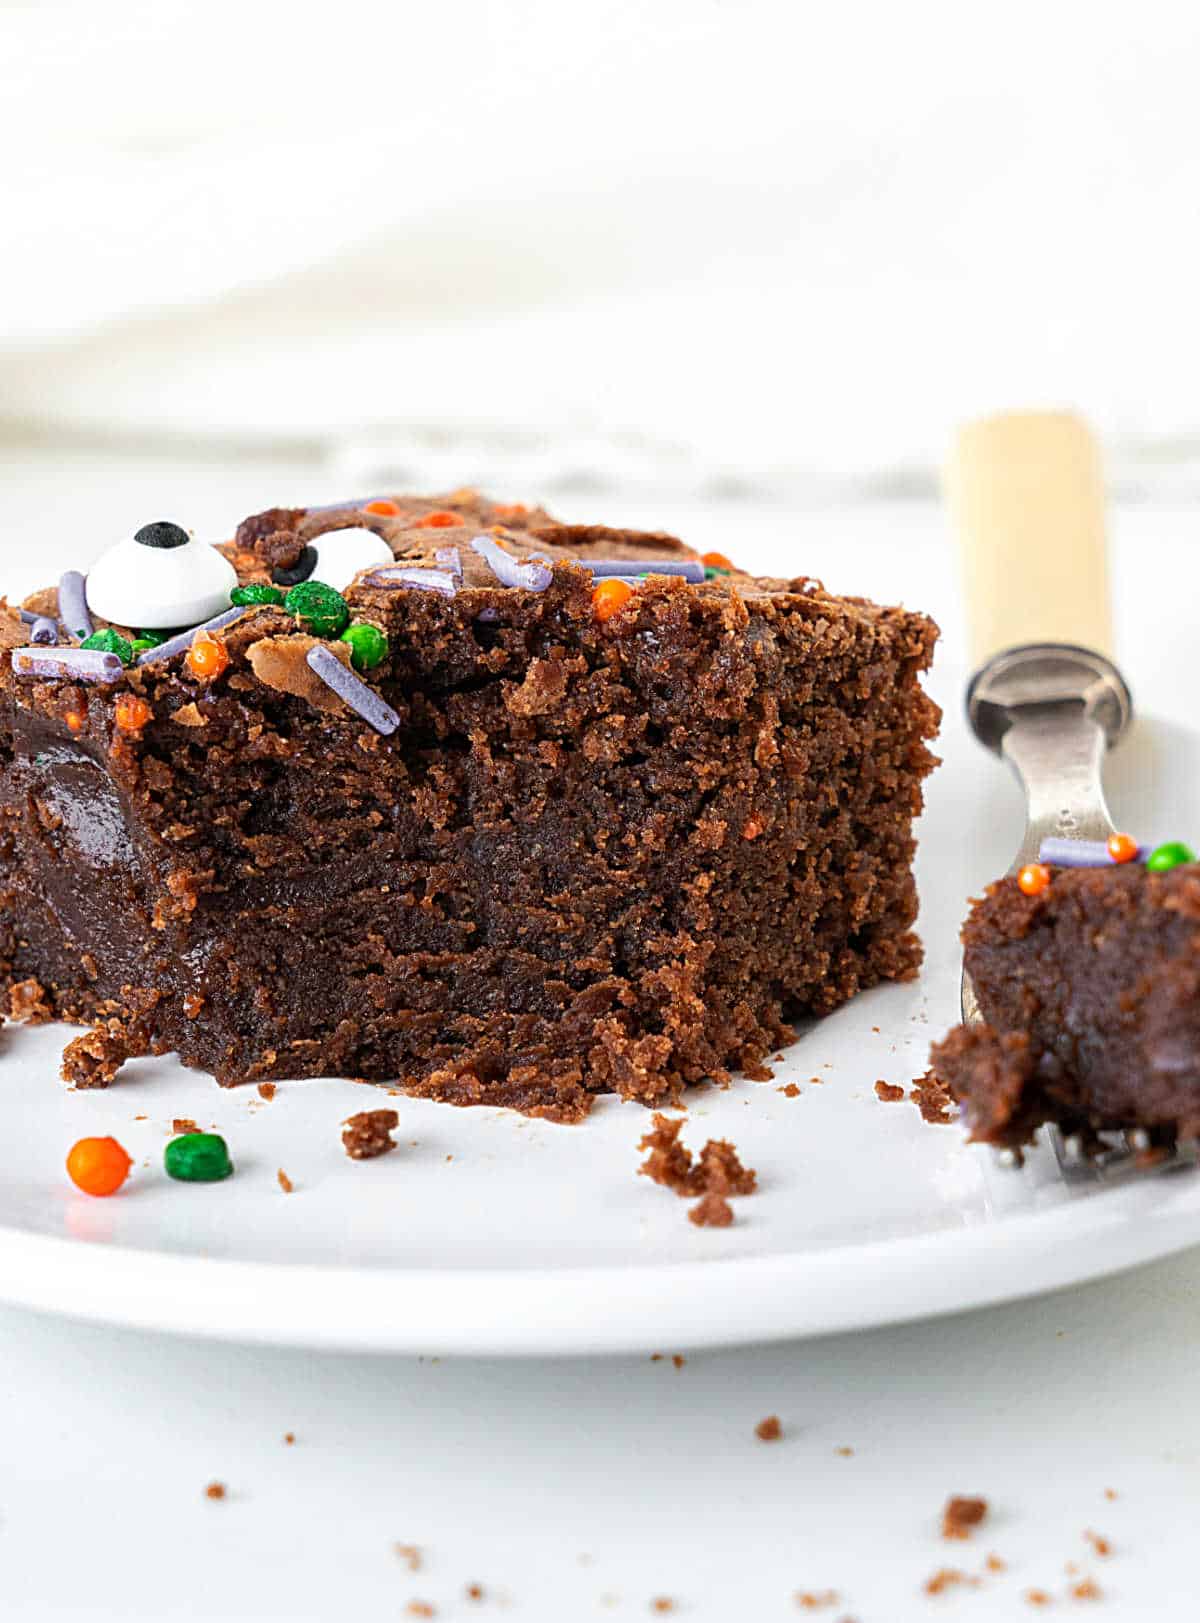
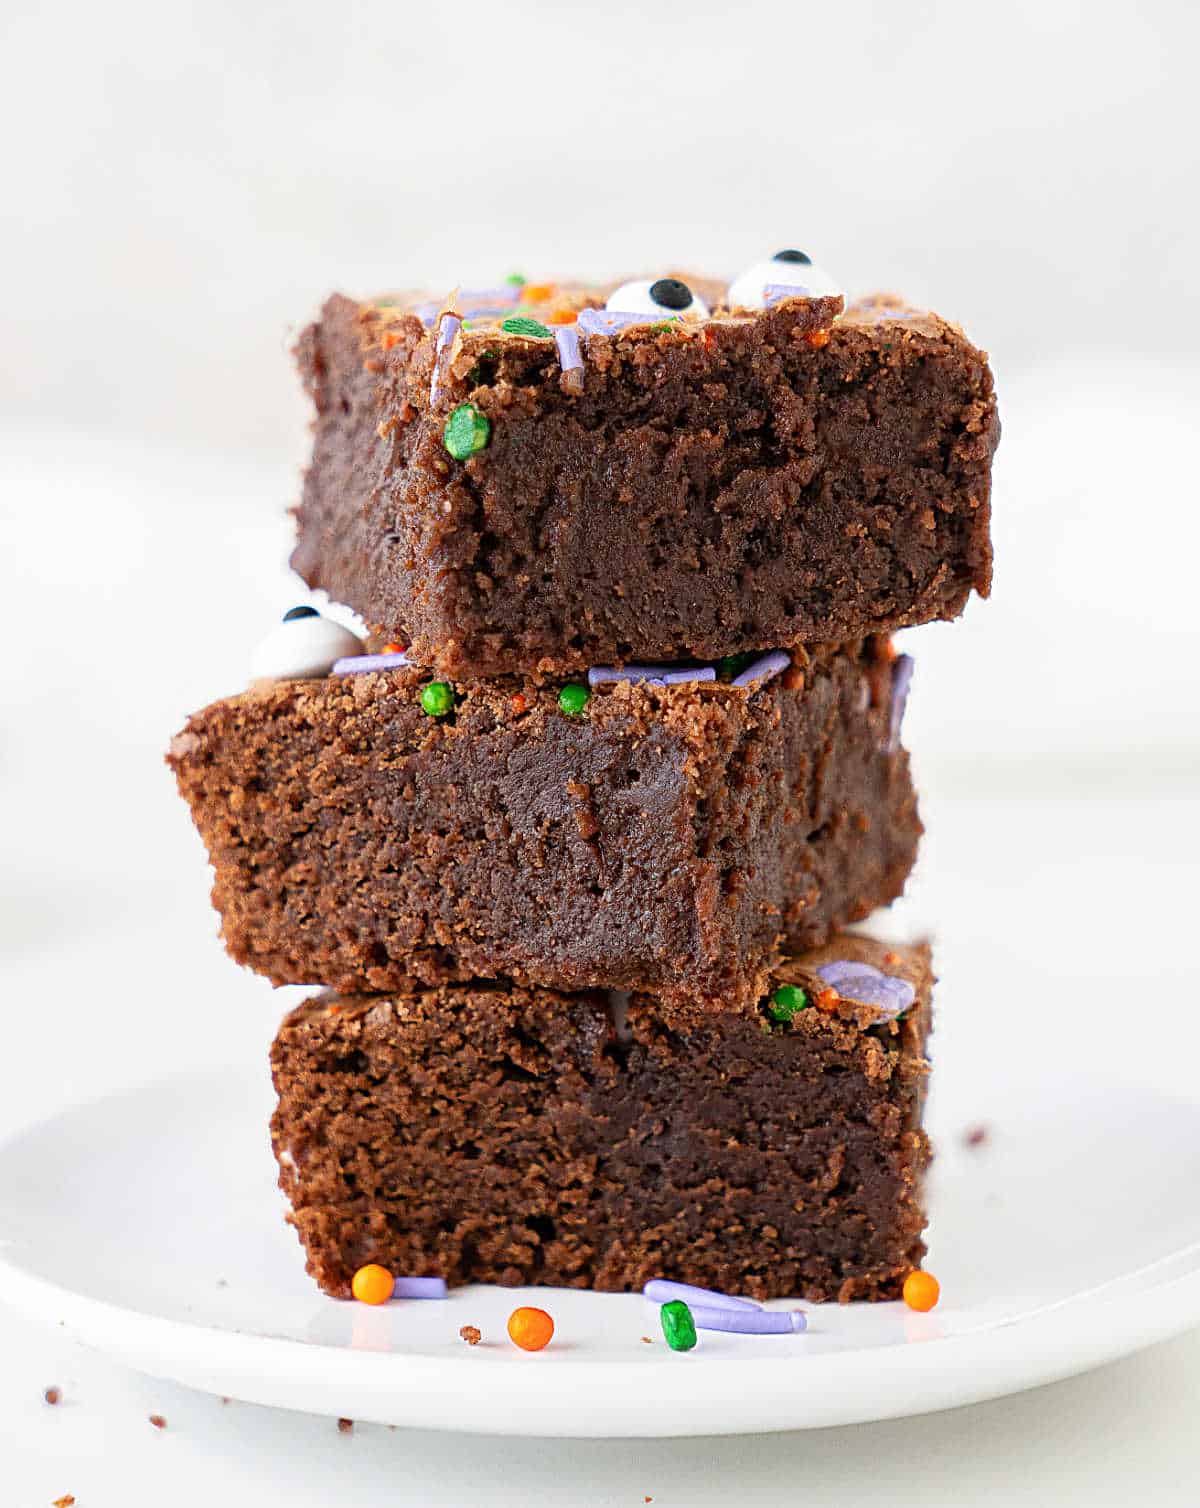
This fudgy brownie recipe is one-bowl simple, gooey and can hold toppings wonderfully without compromising its texture. We added colorful Halloween sprinkles and candy eyes. They keep and travel well and can be frozen.
SAVE THIS RECIPE
Quick treat
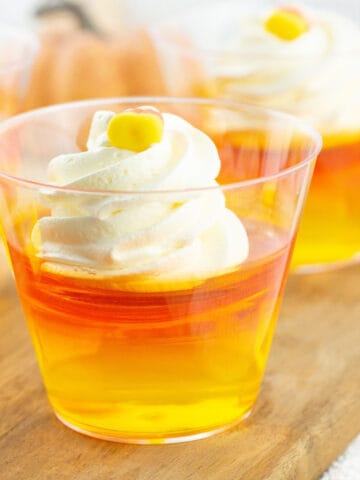
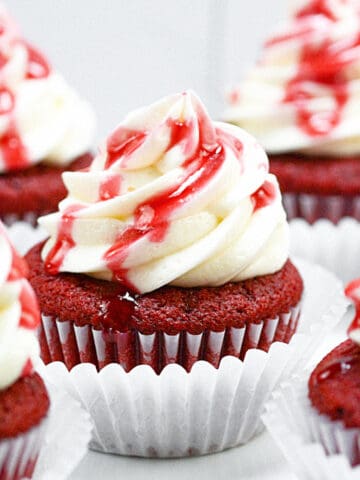
Halloween bakes are fun and should be simple to make if you ask me, like melt-and-mix Halloween bark, using pantry staples for 'bloody' cupcakes, or these one-bowl mummy blondies with pumpkin.
These quick and easy brownies are everything you expect from the best homemade brownie recipe, with the added colorful topping.
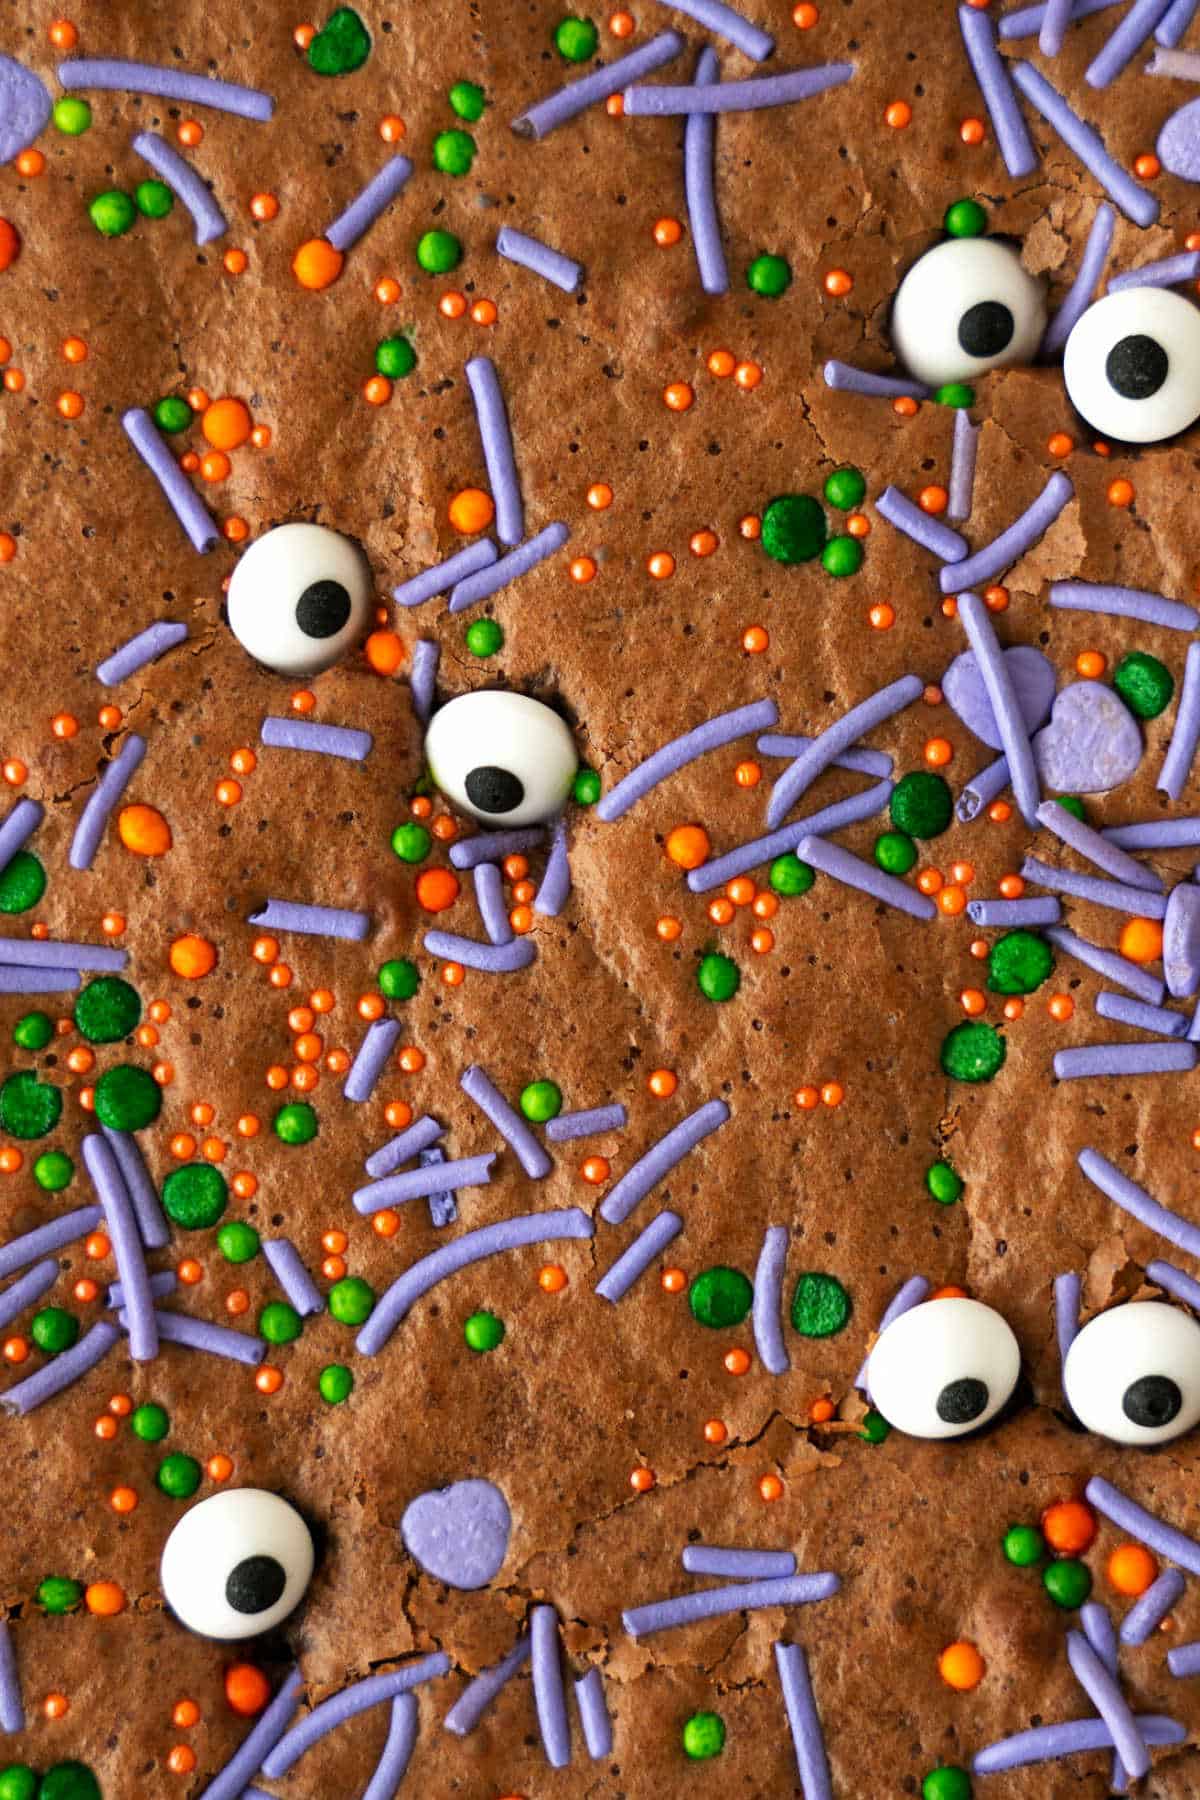
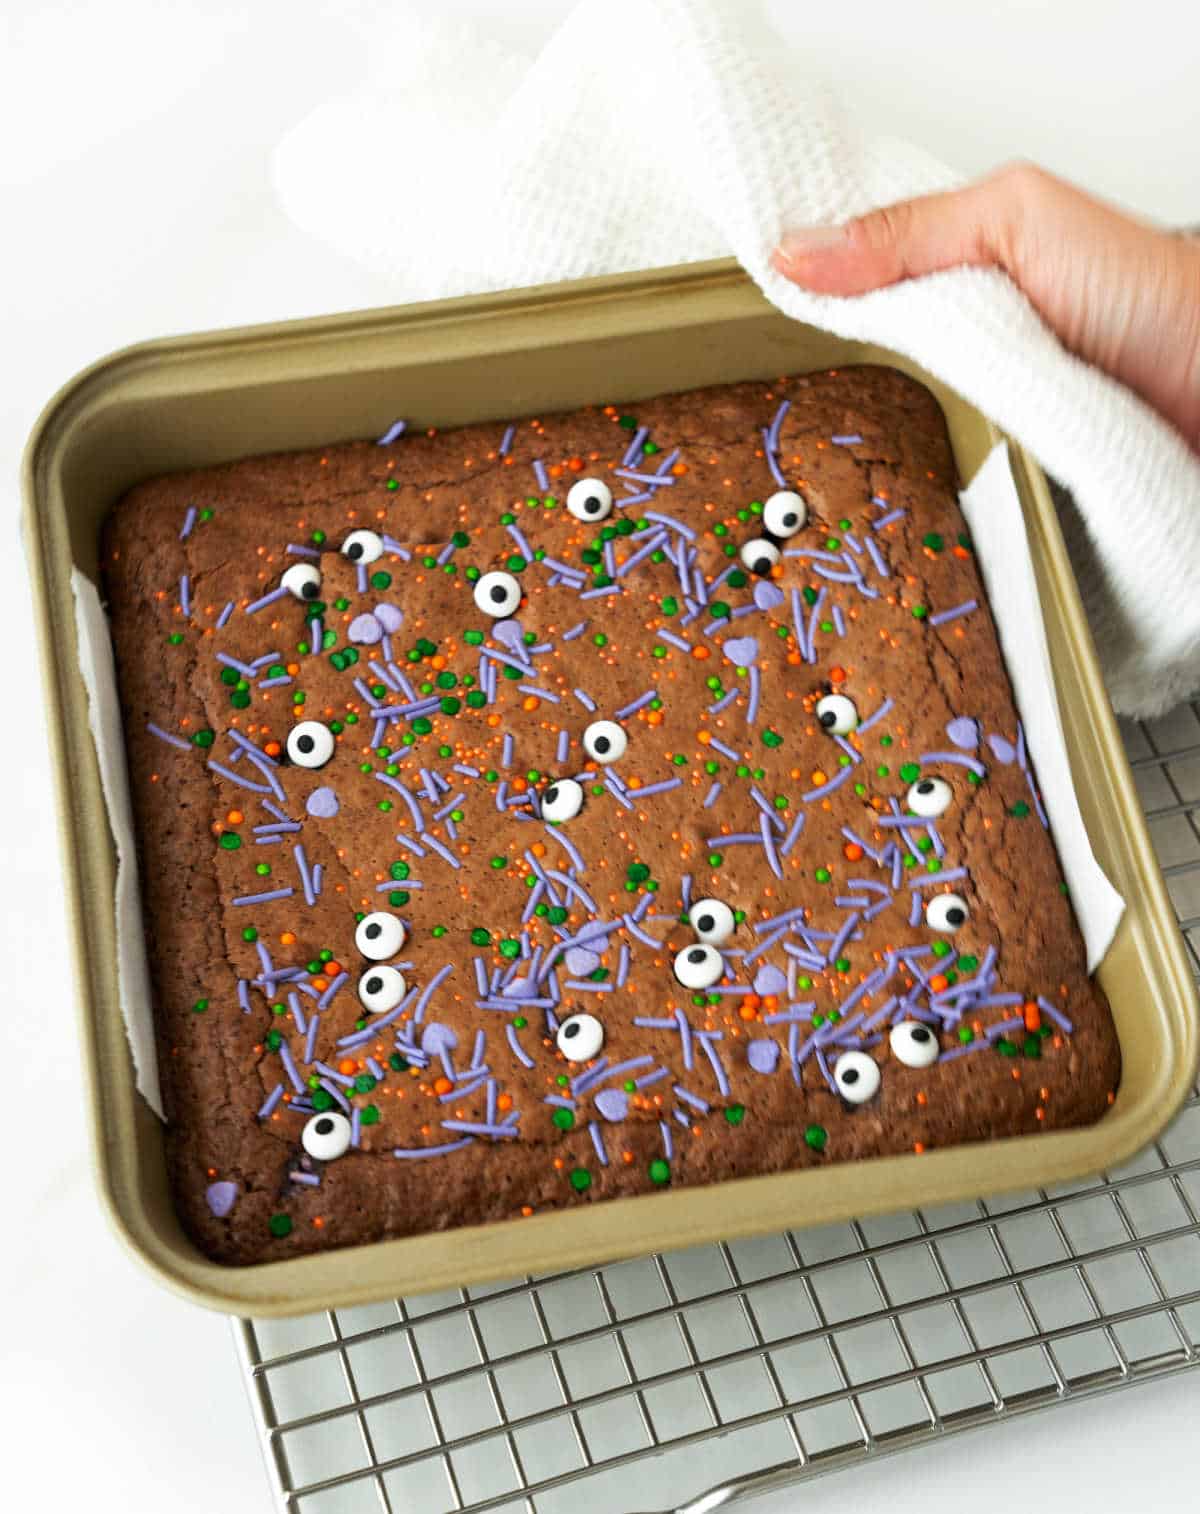
You can add many types of sprinkles and spooky extras on top; just make sure they don't melt when heated. For that reason, we add the candy eyes after they're baked.
- Easy to make: Mix the batter with a wire whisk in one bowl. It doesn't get much easier than that.
- Gooey and fudgy: bake them just right, and you've got yourself a perfect, gooey, fudgy brownie.
- Toppings: You can add any Halloween candy or decoration you want.
- Freezer friendly: They are great for having frozen at all times for last-minute chocolate cravings.
Step-by-step VIDEO
Ingredient Notes
- Chocolate: use your favorite dark semisweet chocolate.
- Cocoa powder: Always use unsweetened cocoa powder. For a super dark Haloween bar, use black cocoa powder (the one used for homemade Oreo cookies).
- Halloween sprinkles: I use an edible sprinkle mix with candy eyes.
Variations
- Chocolate chips: Use ½ cup of semisweet, milk, or white chocolate chips in the batter.
- Toppings: Use other decorations like orange and black colored sprinkles or edible spooky toppers instead of eyes.
- Frosting: Add a thin layer of white chocolate ganache or frosting and add edible bat decorations.
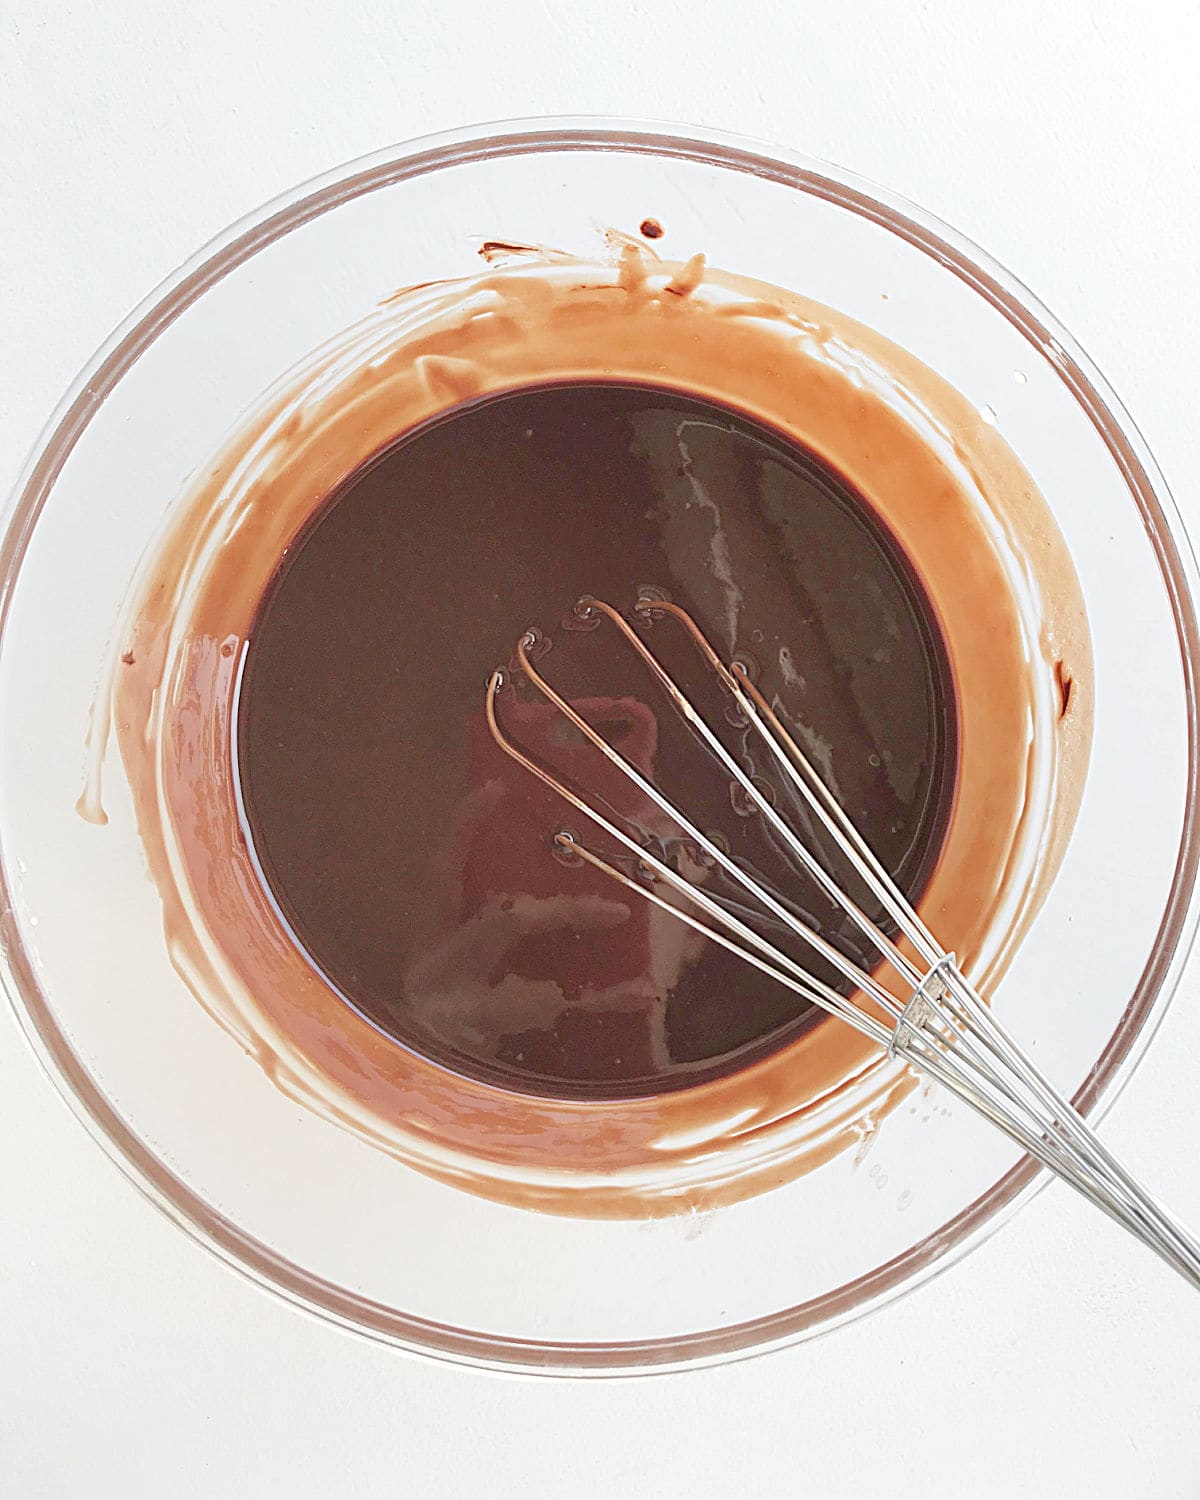
How to melt chocolate and butter
There are 2 ways:
- Microwave: melt the ingredients on high for 10 seconds, take them out, and mix well. Repeat until all the chocolate is melted. Be careful you don't scorch it. That's why it's important to mix it well between each heating.
- Stovetop: put the bowl with chocolate and butter over a smaller pan with a few inches of water. Over medium heat, let the chocolate and butter melt, stirring occasionally. Ensure the bottom of the bowl doesn't touch the water and that no water gets into the bowl. If the water boils too much before the chocolate is melted, turn the heat off and let the hot vapor melt the remaining chocolate.
Preparing the pan
Use parchment paper so removing the brownies from the pan is easier. I tend to use just one long strip covering the bottom and two sides. But you can use two strips (crisscross style) and cover all four sides.
- Measure the width of the pan you're using and cut a strip the same size. The length of the strip is given by the parchment paper you bought.
- Butter or spray the pan and place the strip of parchment paper covering the bottom and two sides, allowing the grease to act as glue.
- Pour in the batter, bake it, and run a smooth-bladed knife along the paperless sides after it's cooled down but before it completely sets so you can unstuck parts that need it.
- When ready to remove the brownies, help yourself by grabbing the two ends of the paper and lifting the whole block of brownies from the pan.
When are they done?
Brownies are similar to cheesecake; they should be removed from the oven while still jiggling a little. If they firm up completely, they'll be dry to eat. The edges might've shrunk a tad.
If you insert a cake tester or toothpick, it should come out with moist crumbs attached but not wet batter.
Vintage Kitchen Tip
Don't add the candy eyes before baking; they will melt and disappear! Add the sprinkles, bake the brownies, and insert the eye candies when you remove the pan from the oven. The brownies will still be hot, and the decorations will stick.
Freezing brownies
They freeze well.
I cut them into squares, wrap them in plastic and place them in a Ziploc-style bag. Label and date them for easier handling afterward. Defrost at room temperature.
There is a whole post devoted to Freezer Baking & Desserts. A simple guide to using your freezer for baked goods!
Related recipes you might like:

As an Amazon Associate, I earn from qualifying purchases. Read my disclosure policy.

Halloween Brownies
Ingredients
- 6 ounces semisweet chocolate, coarsely chopped
- ¾ cup unsalted butter
- 1 cup white sugar
- 3 large eggs, at room temperature
- 1 teaspoon vanilla extract
- ½ teaspoon coffee extract or 1 teaspoon instant coffee, dissolved it in the vanilla first, optional
- ¼ teaspoon almond extract, optional
- ¾ cups all-purpose flour
- 1 tablespoon unsweetened cocoa powder
- ½ teaspoon salt
- edible Halloween sprinkles
- edible candy eyes
Instructions
- Preheat the oven to 350ºF (180ºC).
- Butter or spray a 9-inch (20x20cm) square baking pan and line it with a strip of parchment paper. See Notes below.
- In a large bowl, melt ¾ cup unsalted butter and 6 ounces semisweet chocolate in the microwave or double boiler. See Notes below for methods.
- Add 1 cup white sugar and mix for 30 seconds.
- Add 1 teaspoon vanilla extract, ½ teaspoon coffee extract or 1 teaspoon instant coffee (dissolved in the vanilla first) and ¼ teaspoon almond extract, if using, and mix well.
- Add 3 large eggs and beat by hand until very well mixed.
- Add the dry ingredients, sifted (¾ cups all-purpose flour, 1 tablespoon unsweetened cocoa powder and ½ teaspoon salt). Fold well until the batter is shiny and smooth.
- Pour the chocolate mixture into the prepared pan and sprinkle with edible Halloween sprinkles.
- Bake for 20-25 minutes, until slightly jiggly in the middle.
- Remove from the oven and immediately press edible candy eyes on top.
- Let cool for 10 minutes and run a smooth-bladed knife along the edges to loosen up any stuck bits.
- Let cool completely on a wire rack before removing them. Use the parchment paper to lift the block of brownies. Cut into squares.
- You can pop them into the fridge for a few hours to make cutting them easier. They are better the next day, in my opinion, keep for a few days and can be frozen for up to a month, well-wrapped.
Rate and review this recipe