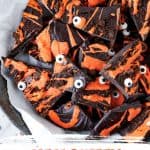
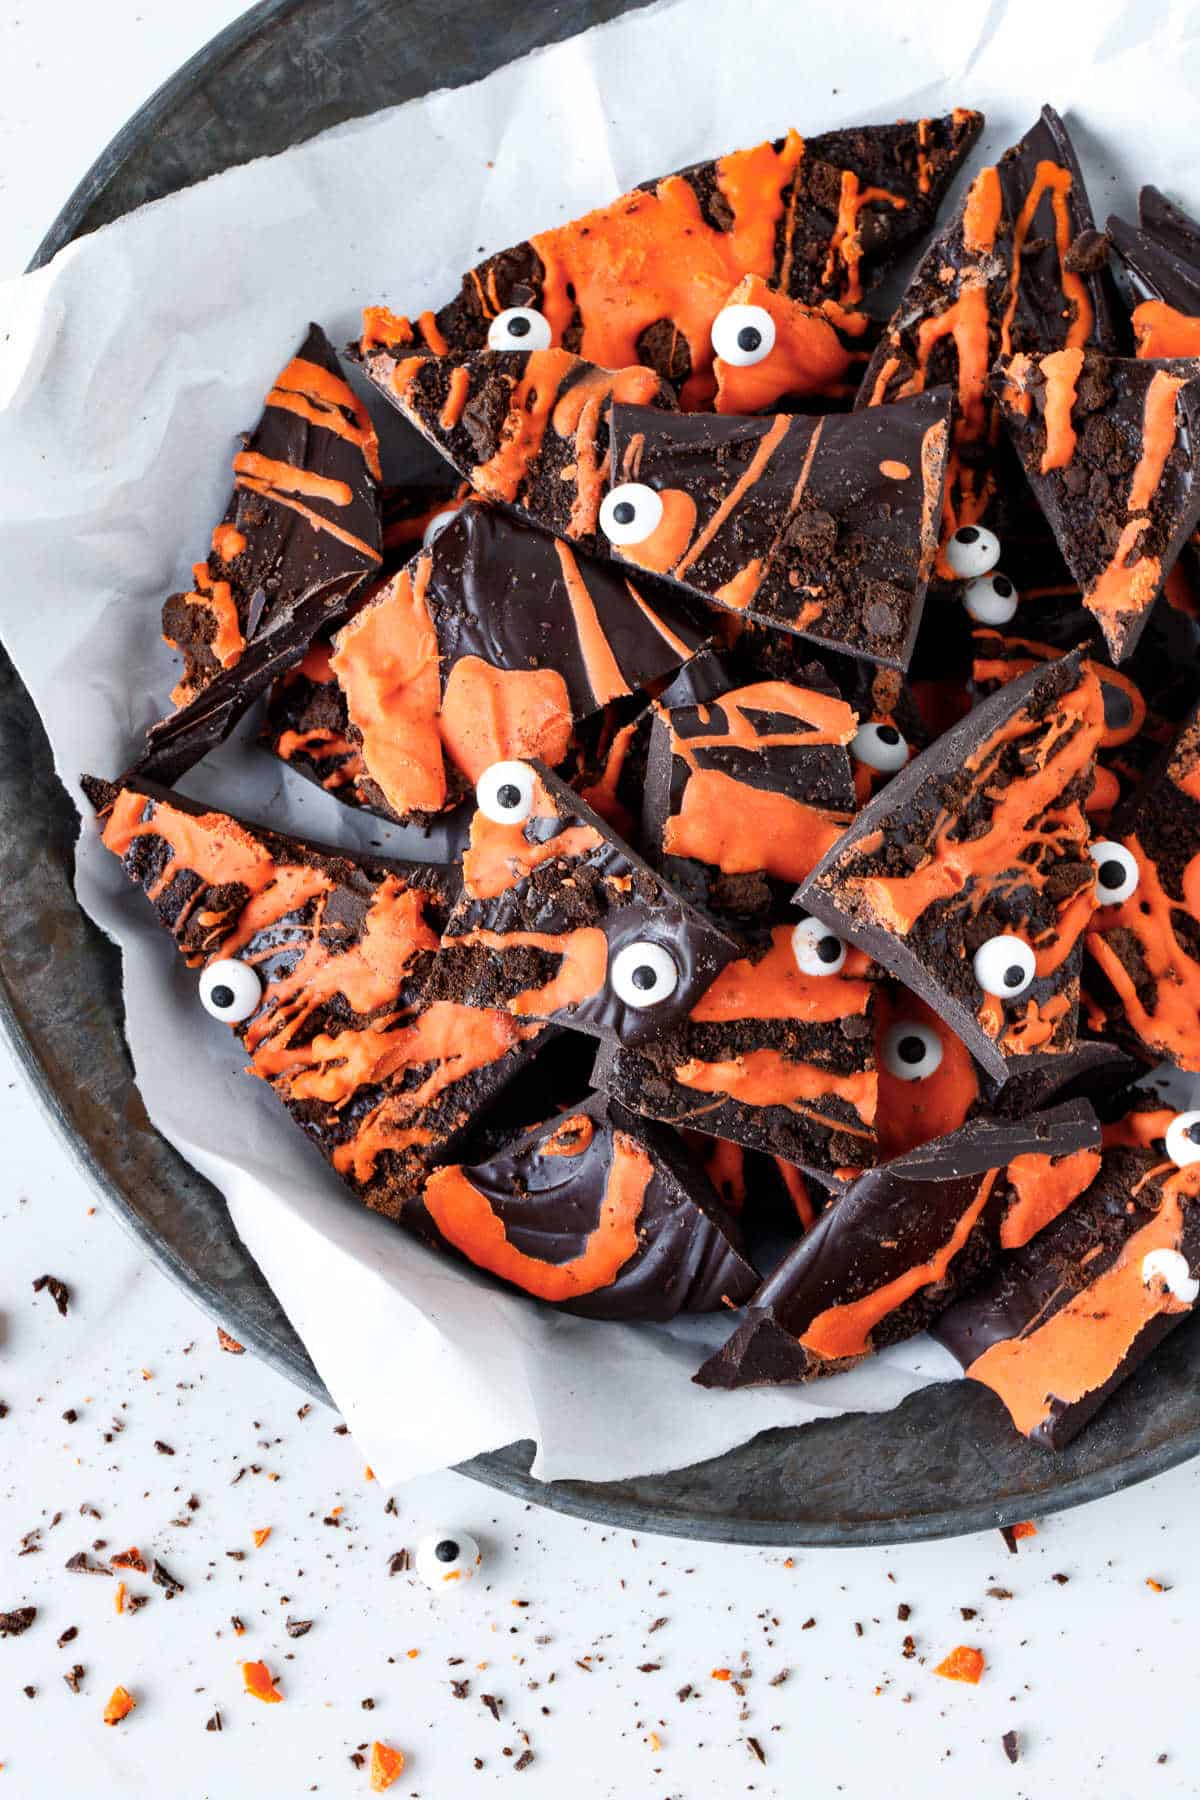
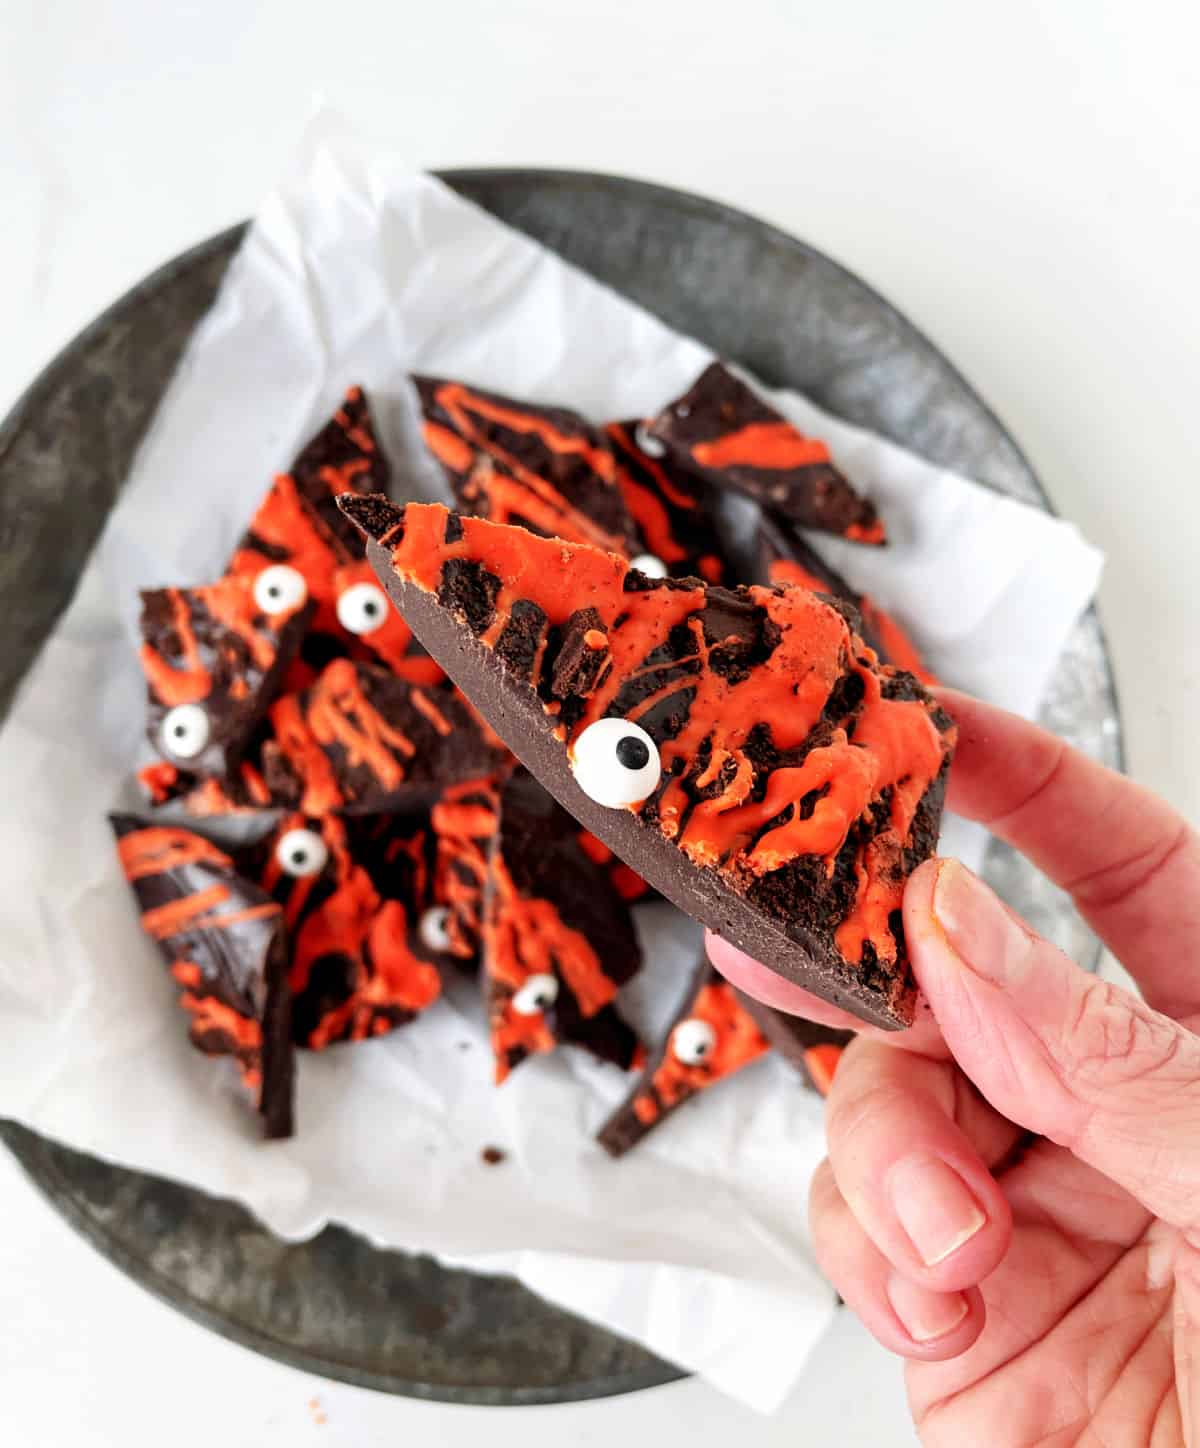
Super easy candy and perfect for celebrating, this Halloween bark has two types of chocolate, crushed chocolate wafers resembling graveyard dirt and candy eyes. It takes 10 minutes to put together and extra time to set, and that's it. A great holiday project to make with kids.
Spooky Halloween candy
It doesn't have to be difficult.
Chocolate bark is a way of making homemade bars with your chosen ingredients. So it can vary with each holiday, like Easter bark with different colors and toppings. We make double chocolate bark year-round, with white and dark chocolate, chopped cookies, and nuts.
This thematical Bark, like Halloween brownies, can be decorated with different things, from sprinkles to chopped candy to spooky edibles. So be creative and choose what you like.
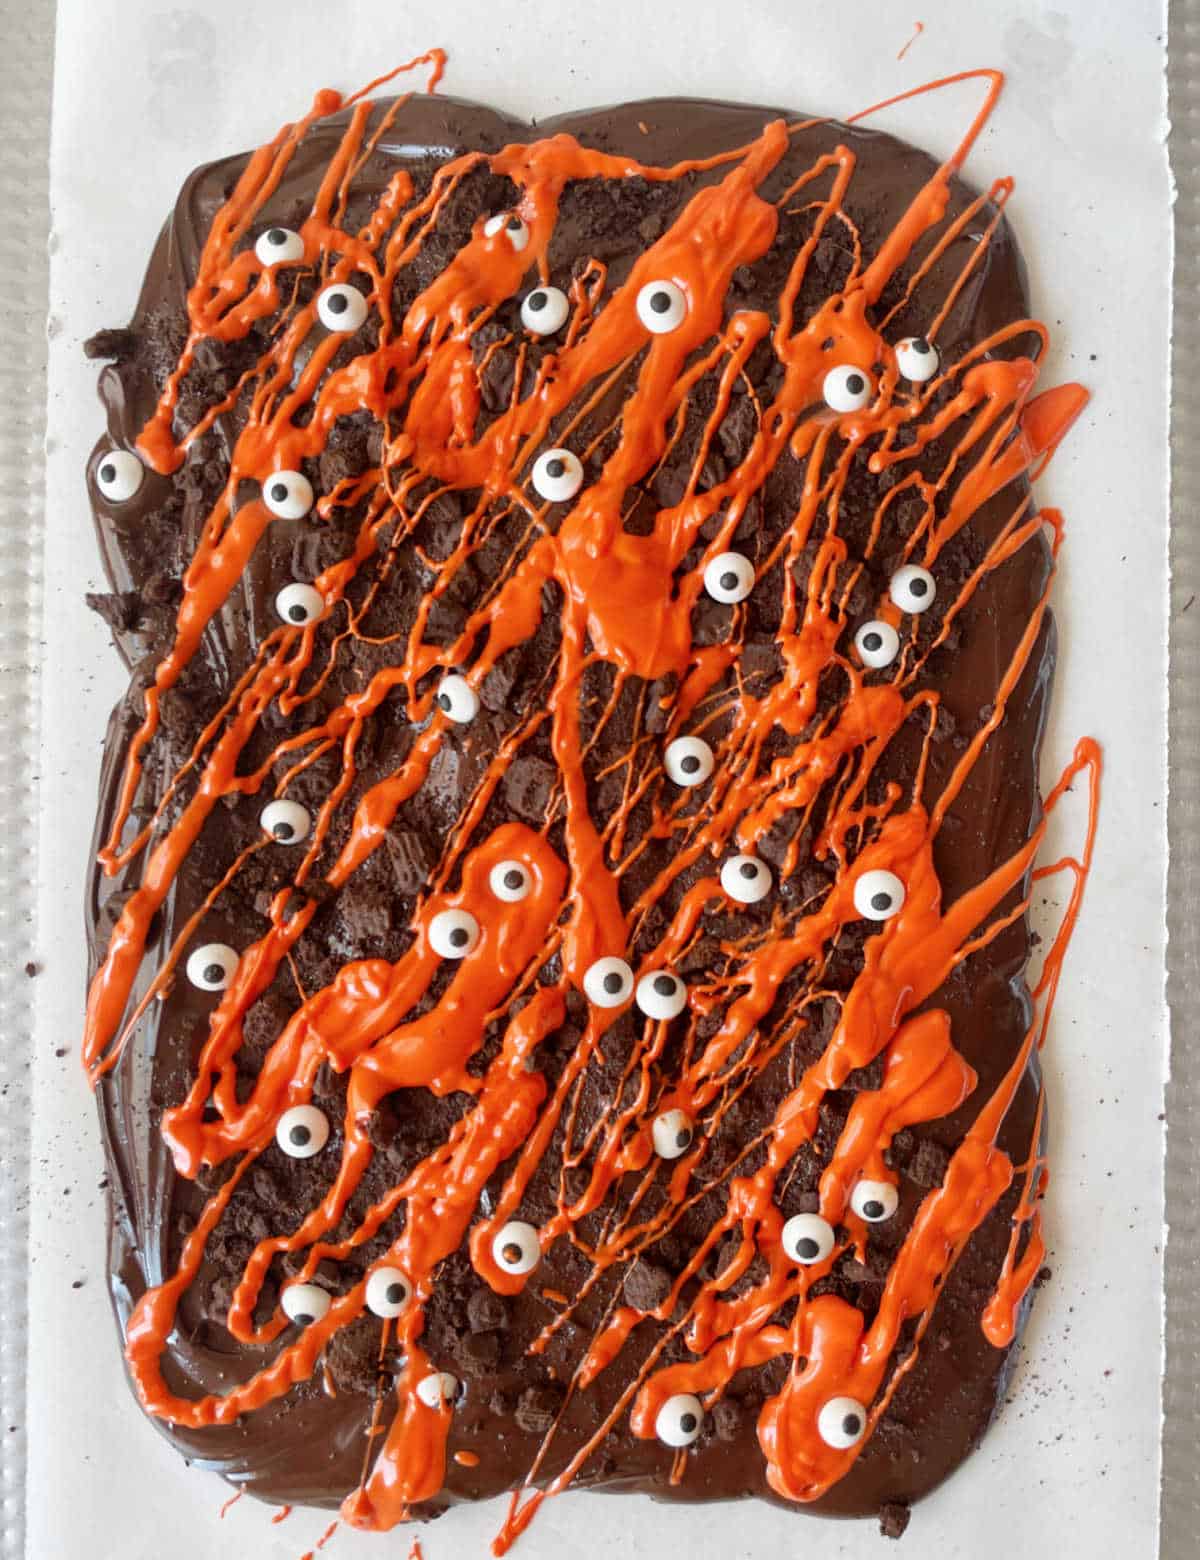
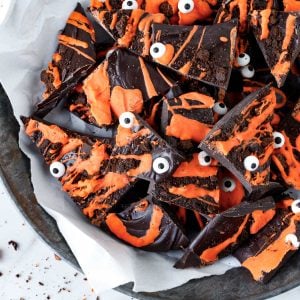
Today's black and orange Halloween candy has semisweet chocolate, orange-dyed white chocolate, chocolate cookie crumbs and candy eyes. Super simple to make as a last-minute treat!
Take this candy bark to a Halloween party, or make it part of your trick-or-treat basket. Serve it with some red jello shots with candy eyes for adults or jello cups for kids, omitting the vodka.
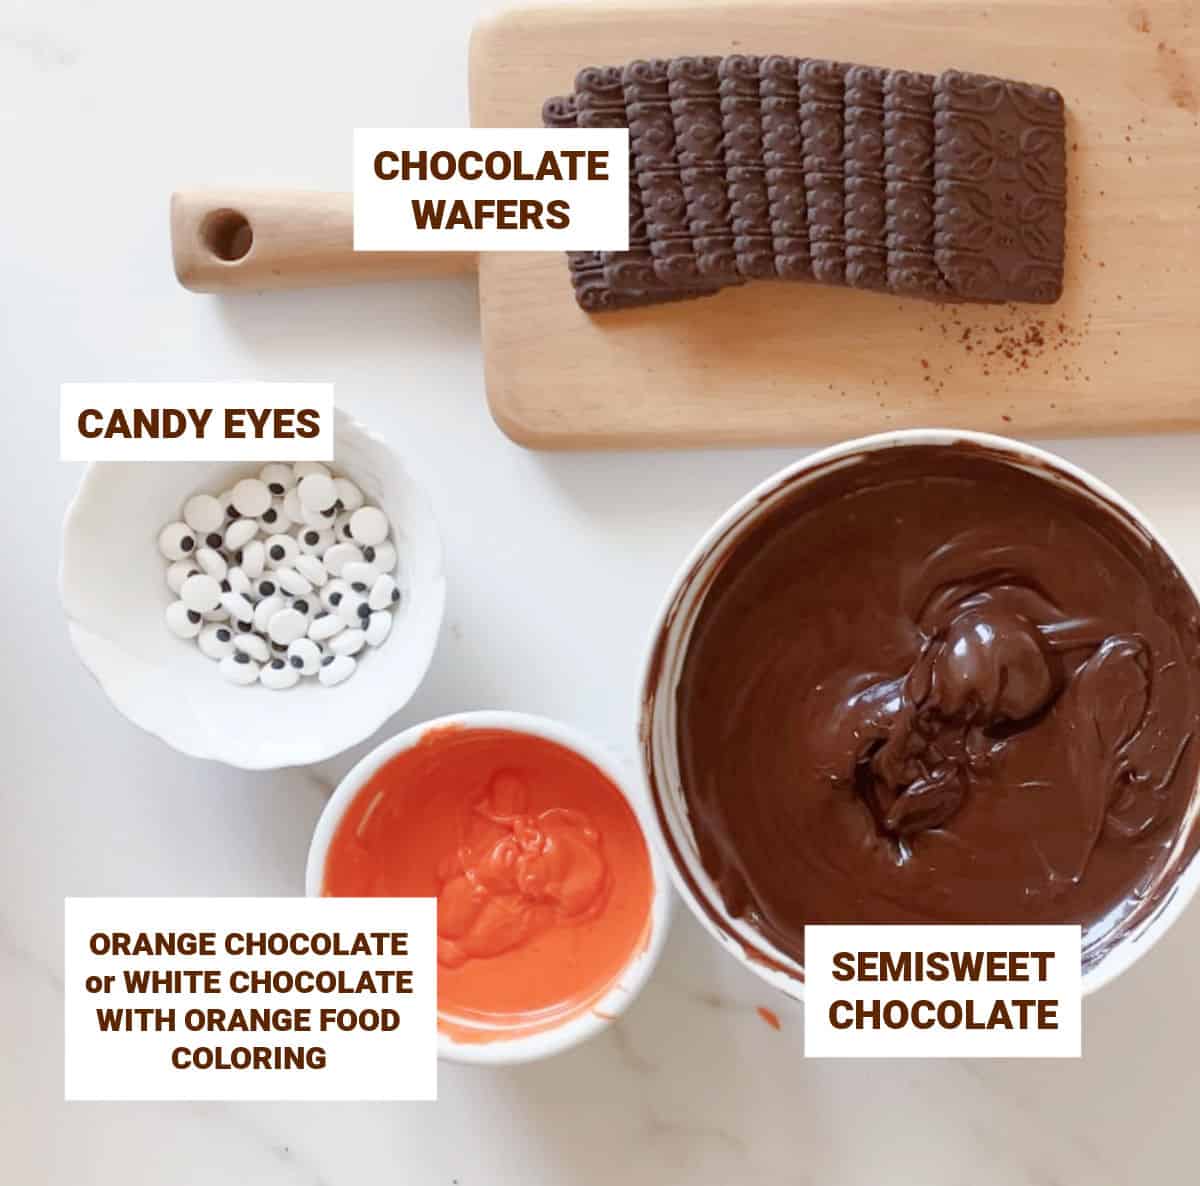
Ingredient list
I like to use melting chocolate for this recipe, the type used for candy-making, because they melt easily (especially white chocolate) and have a good shine. But any baking bar that you normally use and melts well is fine.
- Chocolate: I like to use melting chocolate or a chocolate bar that melts well. If you want a sweeter bark, use milk chocolate (like milk chocolate melting wafers).
- White chocolate: melting chocolate wafers work well.
- Orange food coloring: make sure it's oil-based, or it will not dissolve in the chocolate! I use Dustcolor powder food dye.
- Chocolate wafers.
- Decoration: Candy eyes or maybe a mix of Halloween sprinkles.
Quantities are listed in the recipe card towards the end of this post. The Ingredients page has more details and lists the brands we use.
How to make Halloween bark
I like the contrast of dark and orange chocolate (I colored white chocolate) sprinkled with crushed dark chocolate wafers, graveyard-dirt style.
I used super dark cocoa wafers to add some texture. They contrast well with the orange.
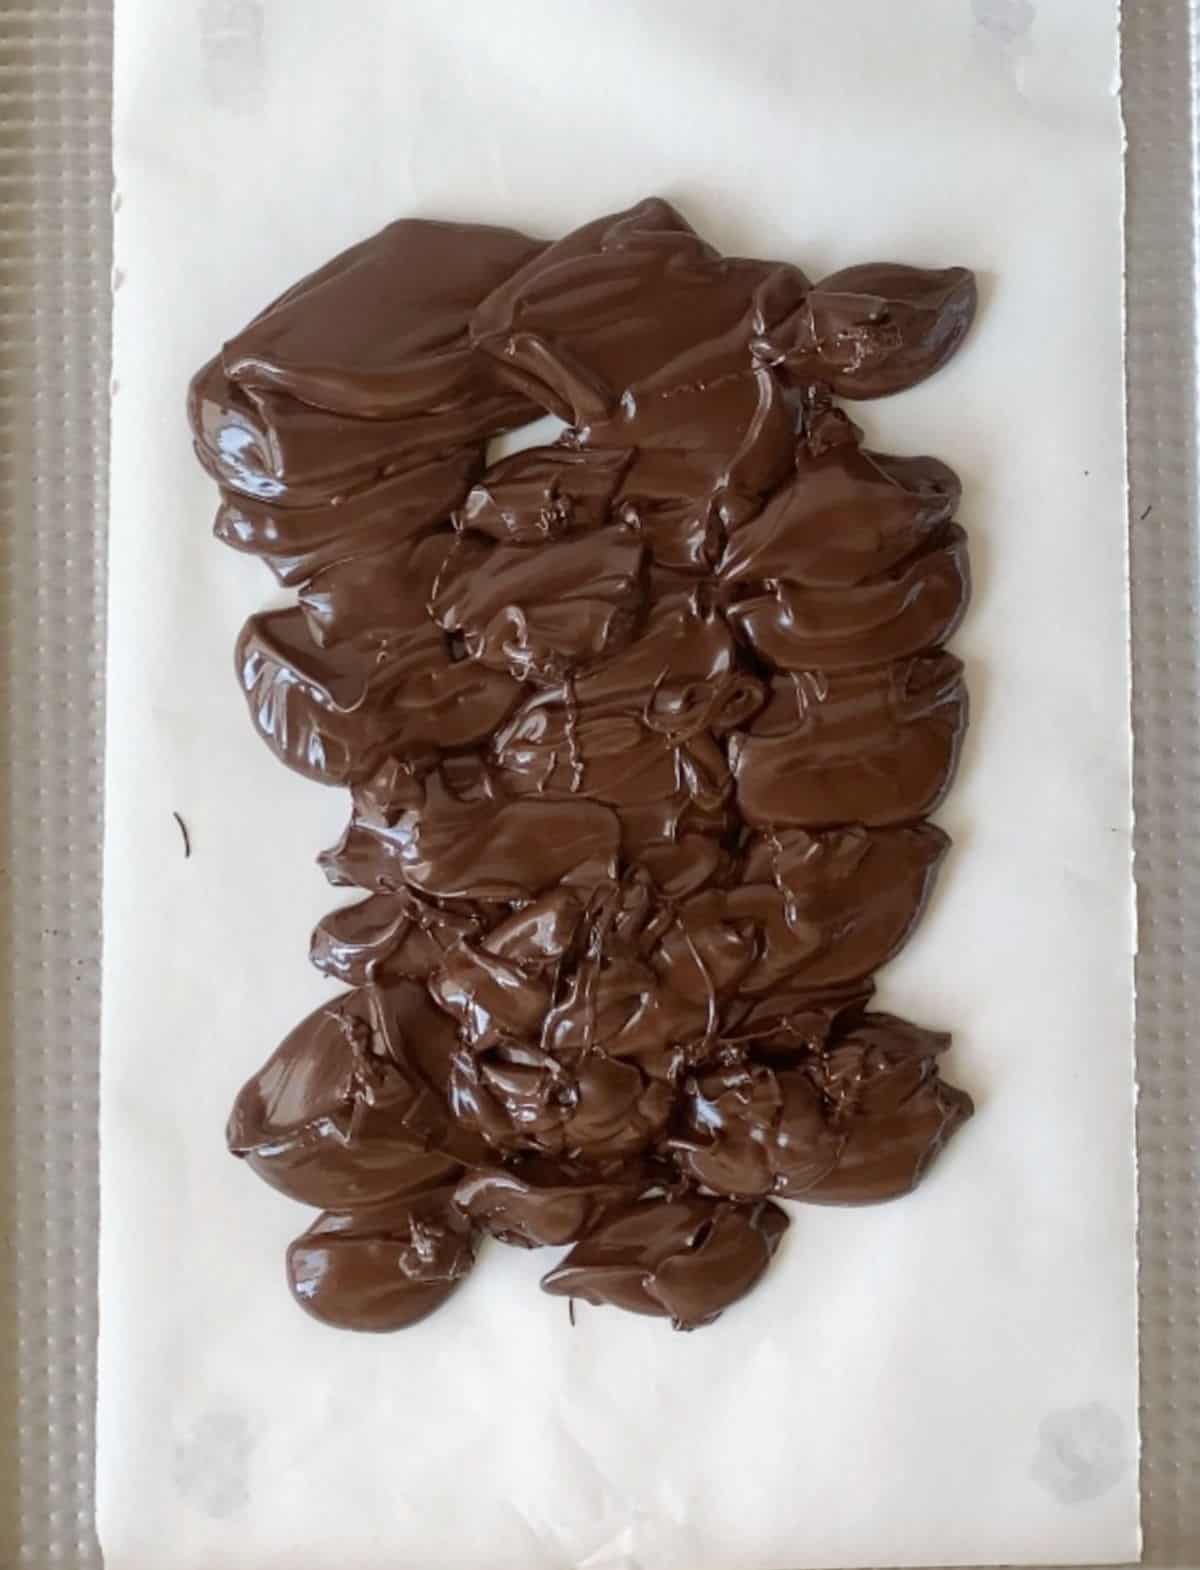
Pour the melted semisweet chocolate on a piece of parchment paper set on a baking tray that fits in your refrigerator.
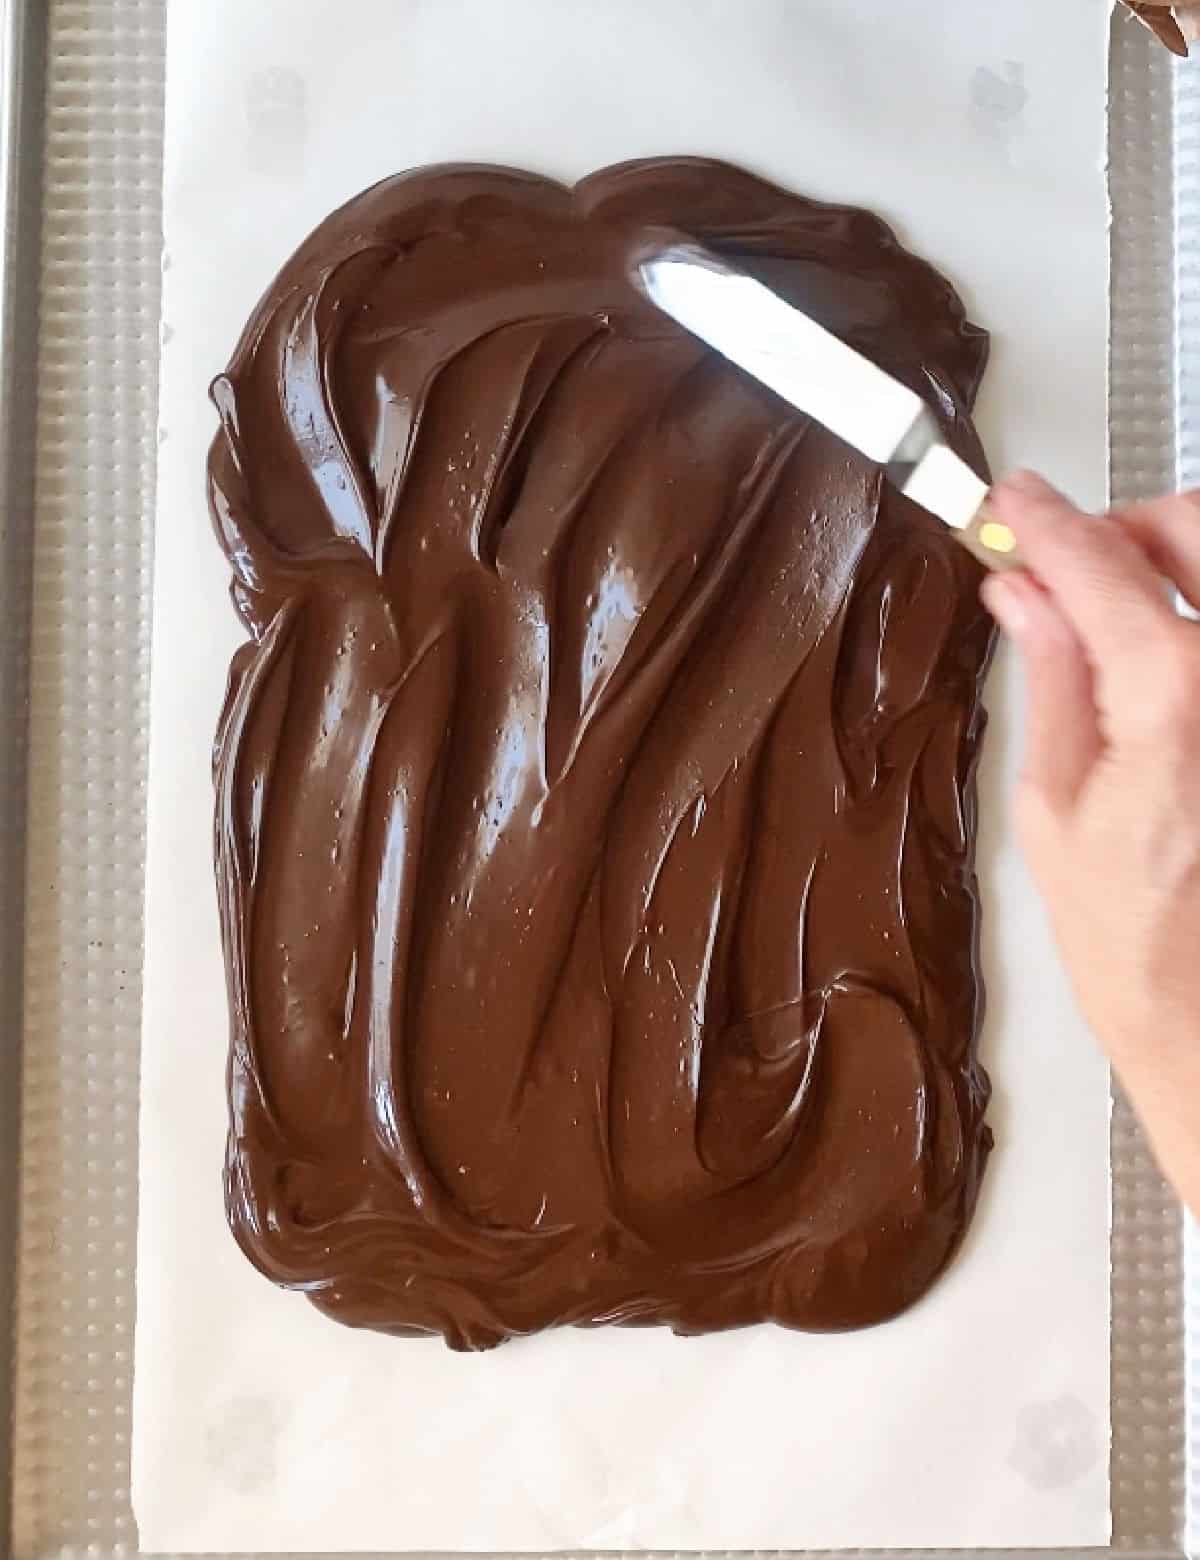
Spread it in a rectangle. I use an offset spatula, but you can use the back of a spoon or knife. It should not be too thick so it's easier to break.
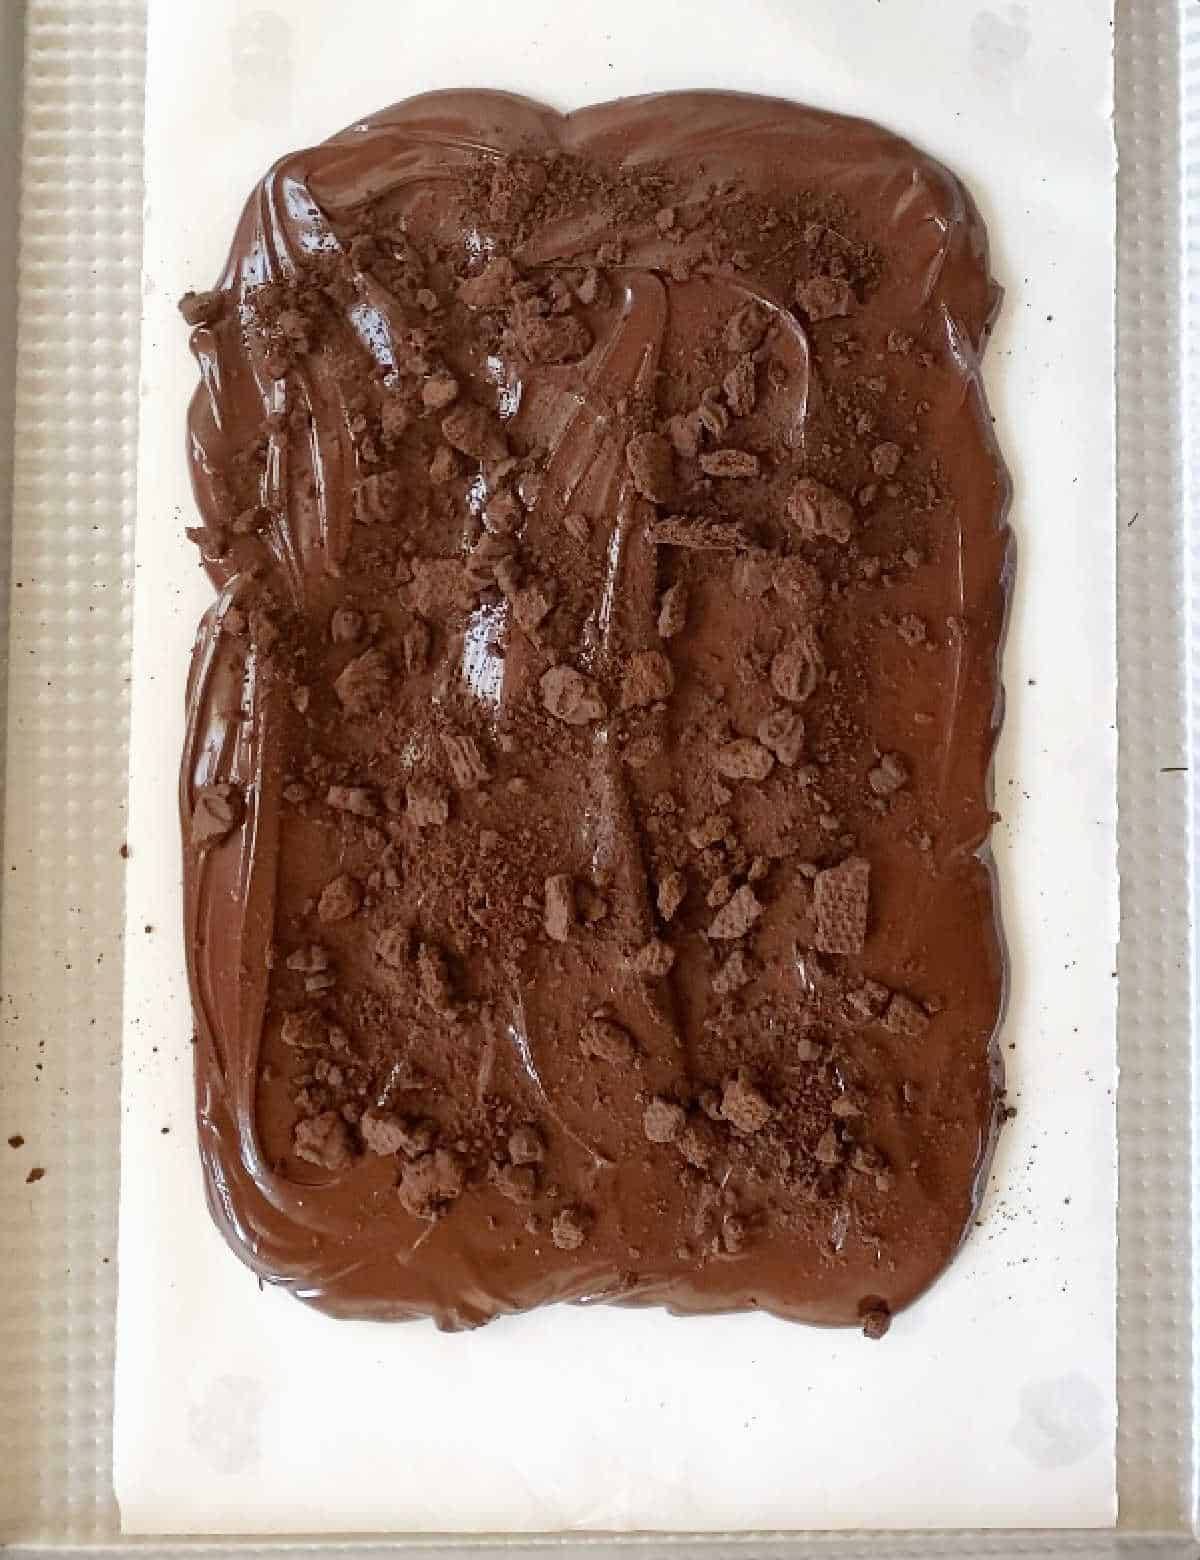
Sprinkle the crushed cookies immediately so it adheres.
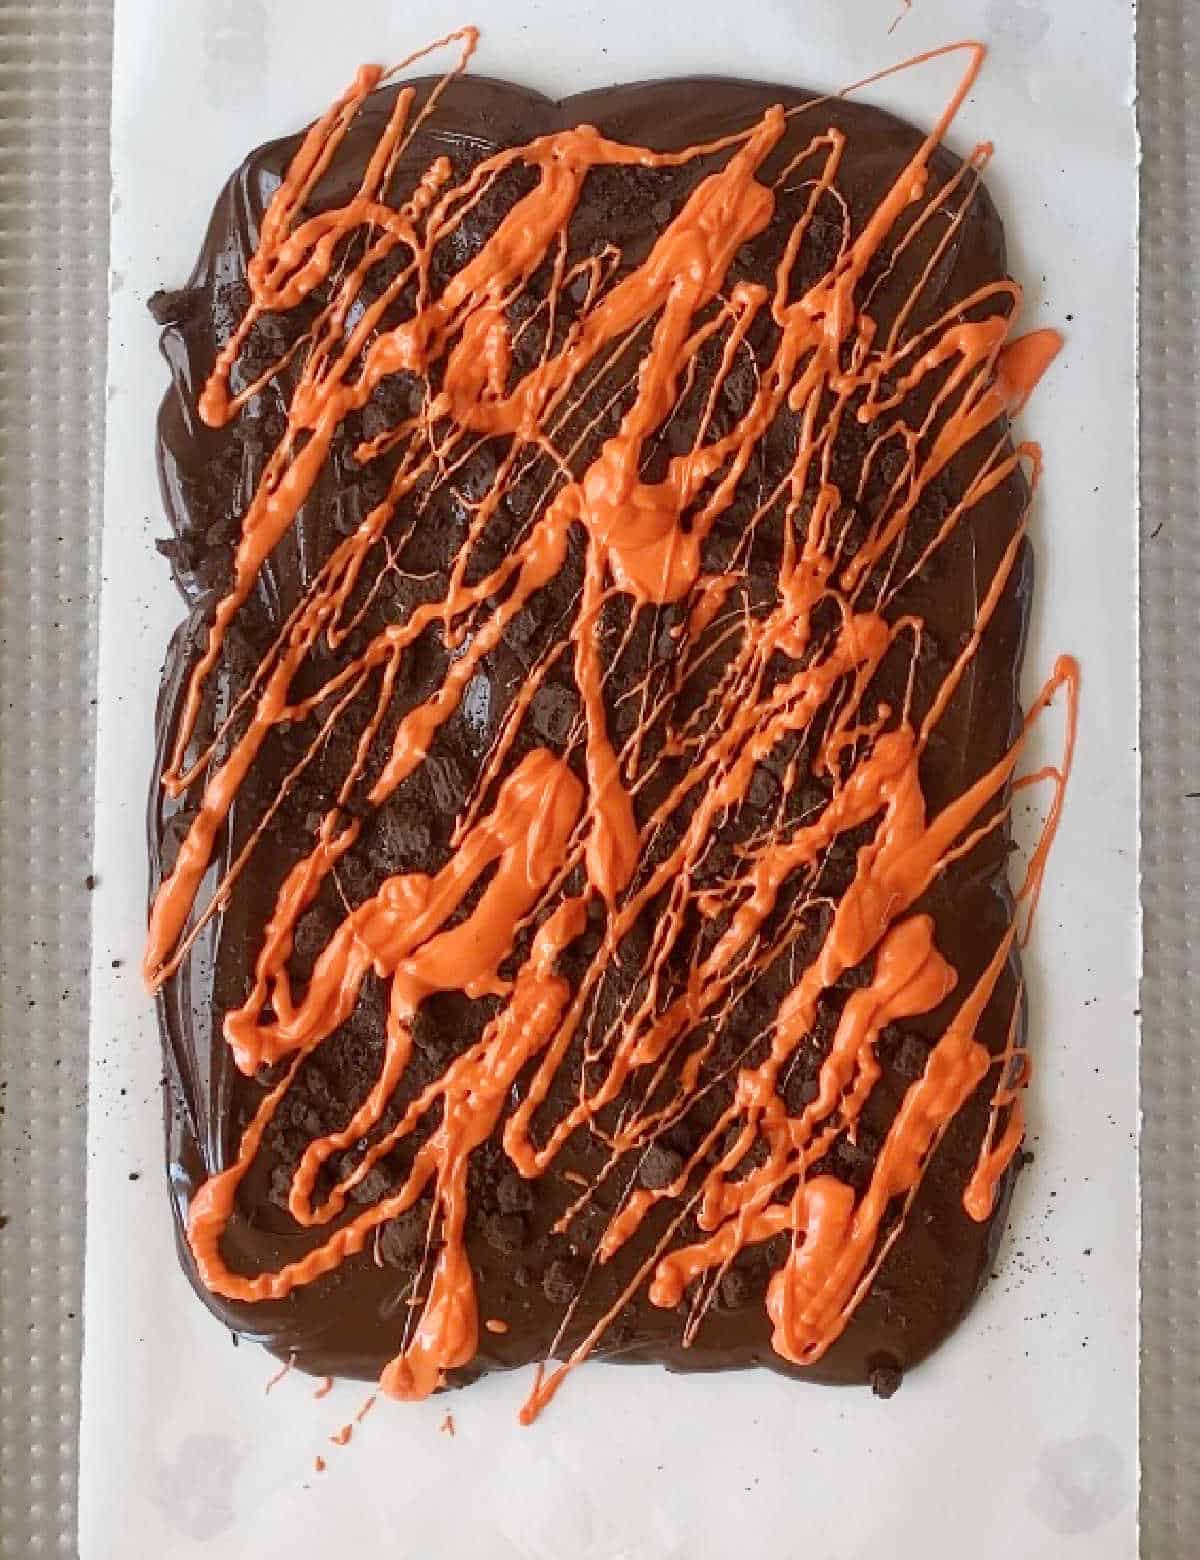
Drizzle the orange-colored chocolate over the dark one.
Add candy eyes before the chocolate sets and chill until completely set.
Vintage Kitchen Tip
Chill it, so it sets up faster. But when you take it out, let it stand at room temperature for about 20 minutes or until it's easier to break up.
Variations
Mix and match any combination of chocolate and cookies. There is no right and wrong.
- Chocolate: use white, milk, or dark chocolate by themselves. Or melt two or three together and use it as one chocolate for a different flavor (my favorite combination is the one I use in the peanut clusters).
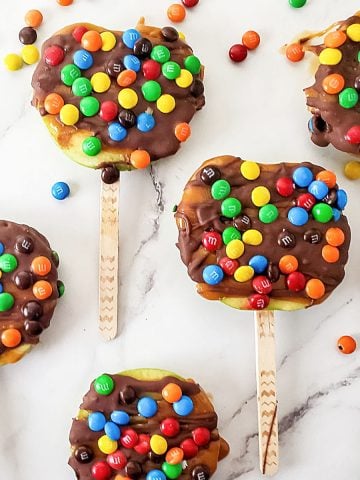
- Add-ons: while I do think the candy eyeballs are essential, you can add chopped candy or candy decoration you like for Halloween (like candy corn) or regular toppings like chocolate chips, Reese's pieces, Oreos or M&M candies.
- Leftover Halloween candy: use them to make bark the day after.
Kitchen notes
- Organization: read the recipe first and ensure you have ingredients at the correct temperature, equipment, and enough workspace. This will make the process so much easier.
- Food coloring: make sure it's oil-based, or will not dissolve in chocolate! I use powder color, but you can use gels.
- Refrigerator: chilling the bark is the easiest and fastest way to solidify it. You can also leave it at room temperature, which will take a while (sometimes hours). The freezer also works if you're in a hurry, but be careful it doesn't get too cold, and it's hard to break up.
- Breaking up the bark: I recommend waiting for about 20 minutes before you cut or break it up with your hands; it'll be easier.
Related recipes you might like:


If you made this recipe and loved it, you can comment below and leave a 5-star ⭐️ review. Also, if you had issues, let me know so we can troubleshoot together.
You can also subscribe to our FREE email series 'Baking the Best' and our regular newsletter. Or follow and save my recipes on Pinterest.
Halloween Chocolate Bark
Ingredients
- 12 ounces dark or milk chocolate, chopped
- 3 ounces melting white chocolate, chopped
- orange food coloring, oil-based, or made for chocolate
- ⅓ cup crushed plain chocolate cookies or wafers
- candy eyes, or other Halloween edible decoration
Instructions
- Line a baking sheet with wax paper that will fit in your refrigerator.
- Melt 12 ounces dark or milk chocolate and 3 ounces melting white chocolate separately in different bowls. I use the microwave (10-second spurts mixing well between each). Or use a double boiler.
- Spread the dark chocolate on the paper with an offset spatula, knife, or the back of a spoon. Don't make it too thick, or it will be hard to break up. Between ⅛ and ¼ inch is what you want.
- Sprinkle ⅓ cup crushed plain chocolate cookies or wafers on top.
- Mix orange food coloring with the melted white chocolate. Depending on your brand of coloring (mine was a powder, Dustcolor), you might need more or less to get the type of orange you want. Start small, with a pinch, mix well and add more if necessary.
- Drizzle the orange chocolate across the dark rectangle, leaving streaks and not covering it completely.
- Top with candy eyes before it sets.
- Refrigerate for about 20 minutes until completely hardened. Depending on the thickness of the orange-colored chocolate, it might take more time to solidify.
- Separate the cold chocolate rectangle carefully from the paper.
- Break into pieces by hand and keep in tins with a tight lid or another airtight container.
Rate and review this recipe