

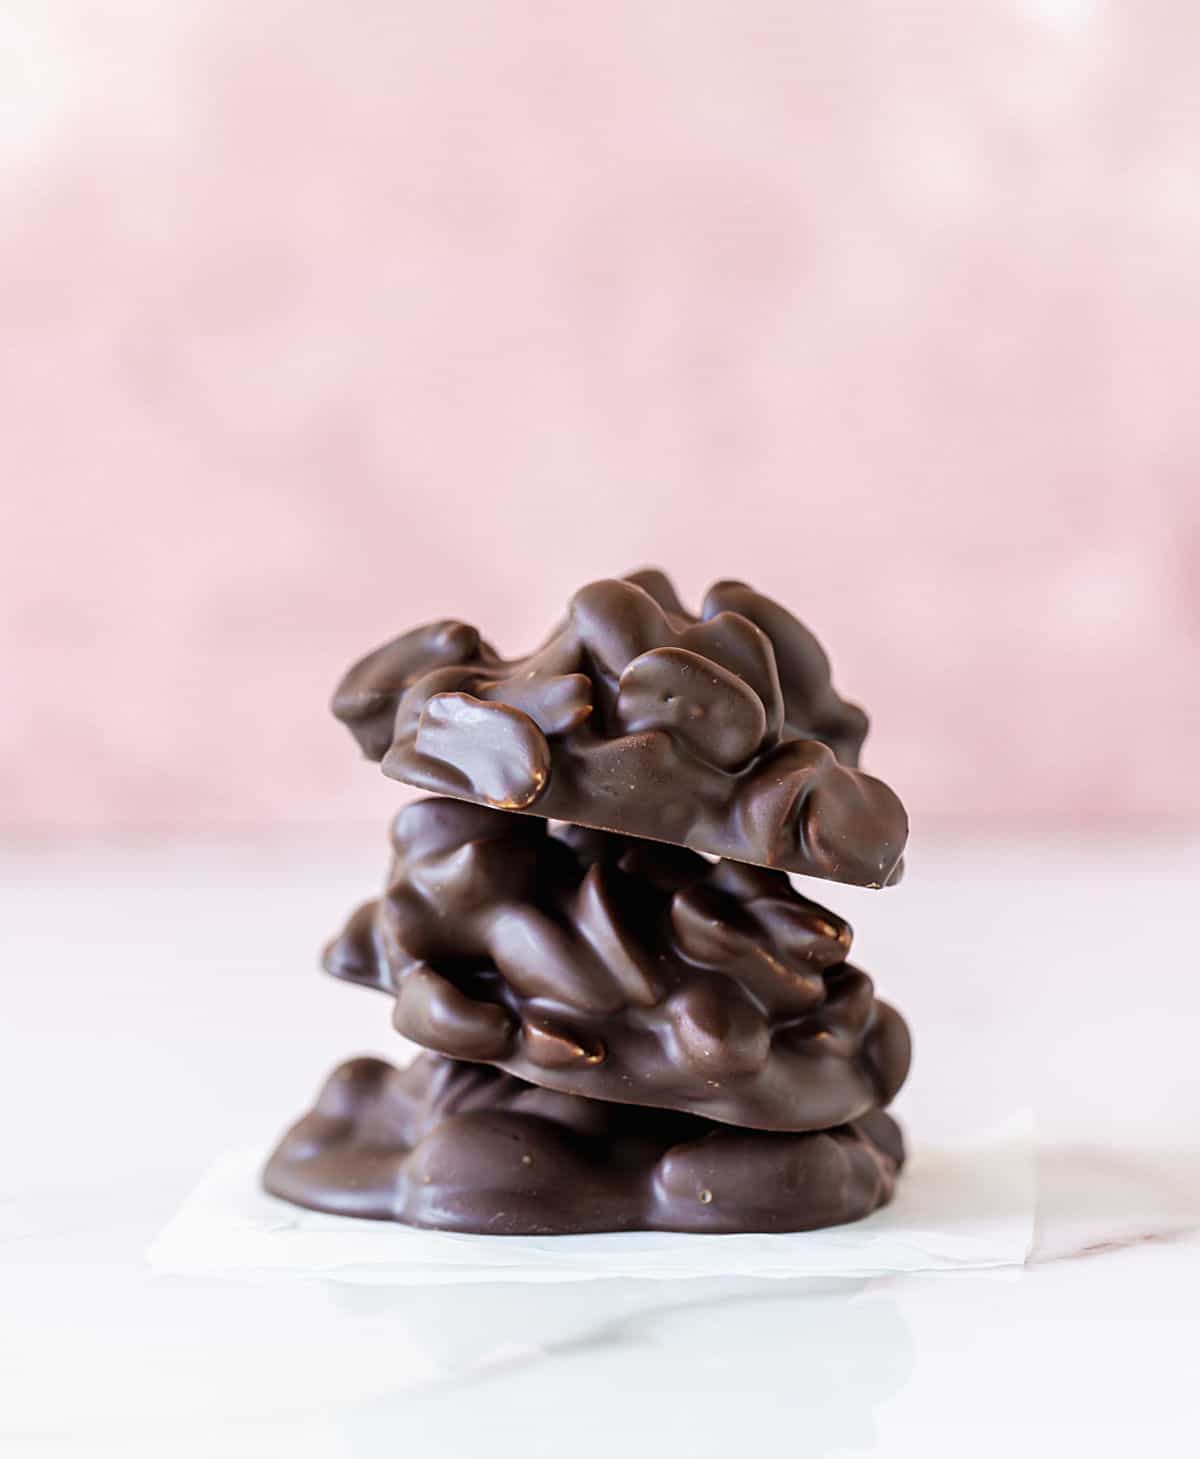
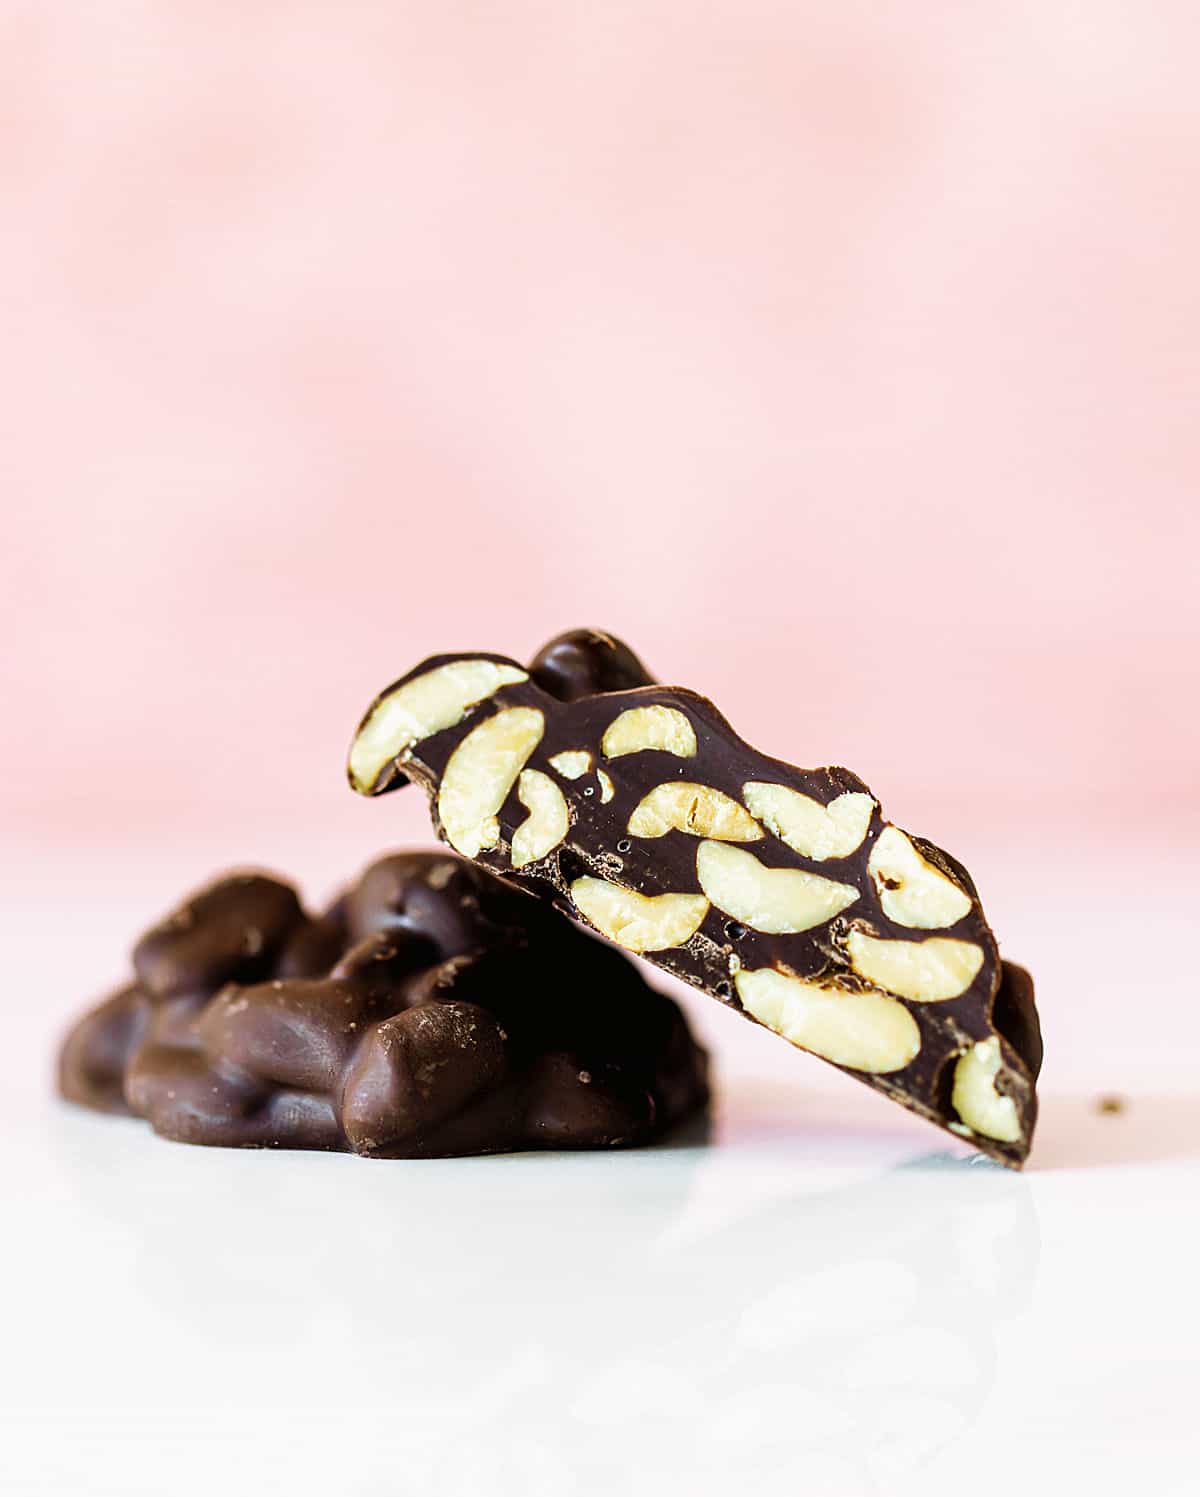
This might be the easiest chocolate candy ever. It's a simple concept of mixing melted chocolate with nuts, and maybe sea salt flakes. They're delicious, ready in 25 minutes, and the perfect treat to make with kids, for kids' birthdays, and as a holiday gift.
SAVE THIS RECIPE
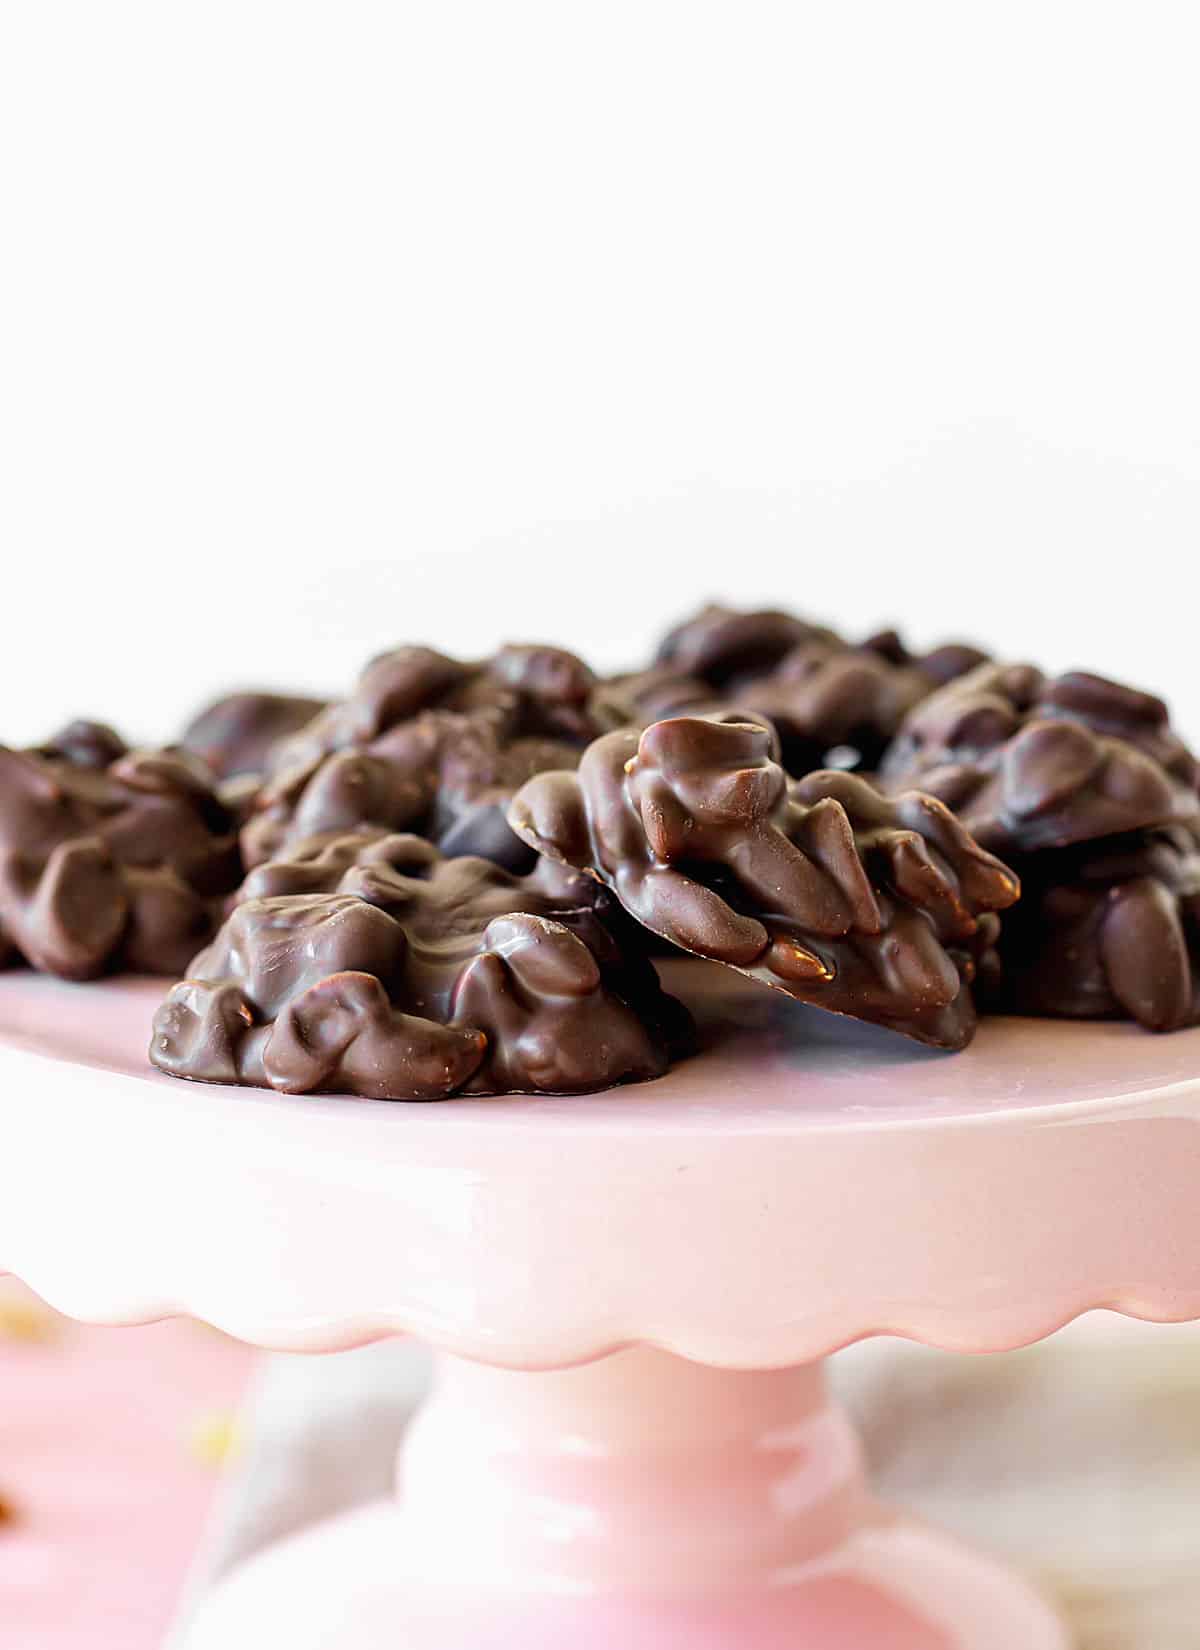
Homemade chocolate candy
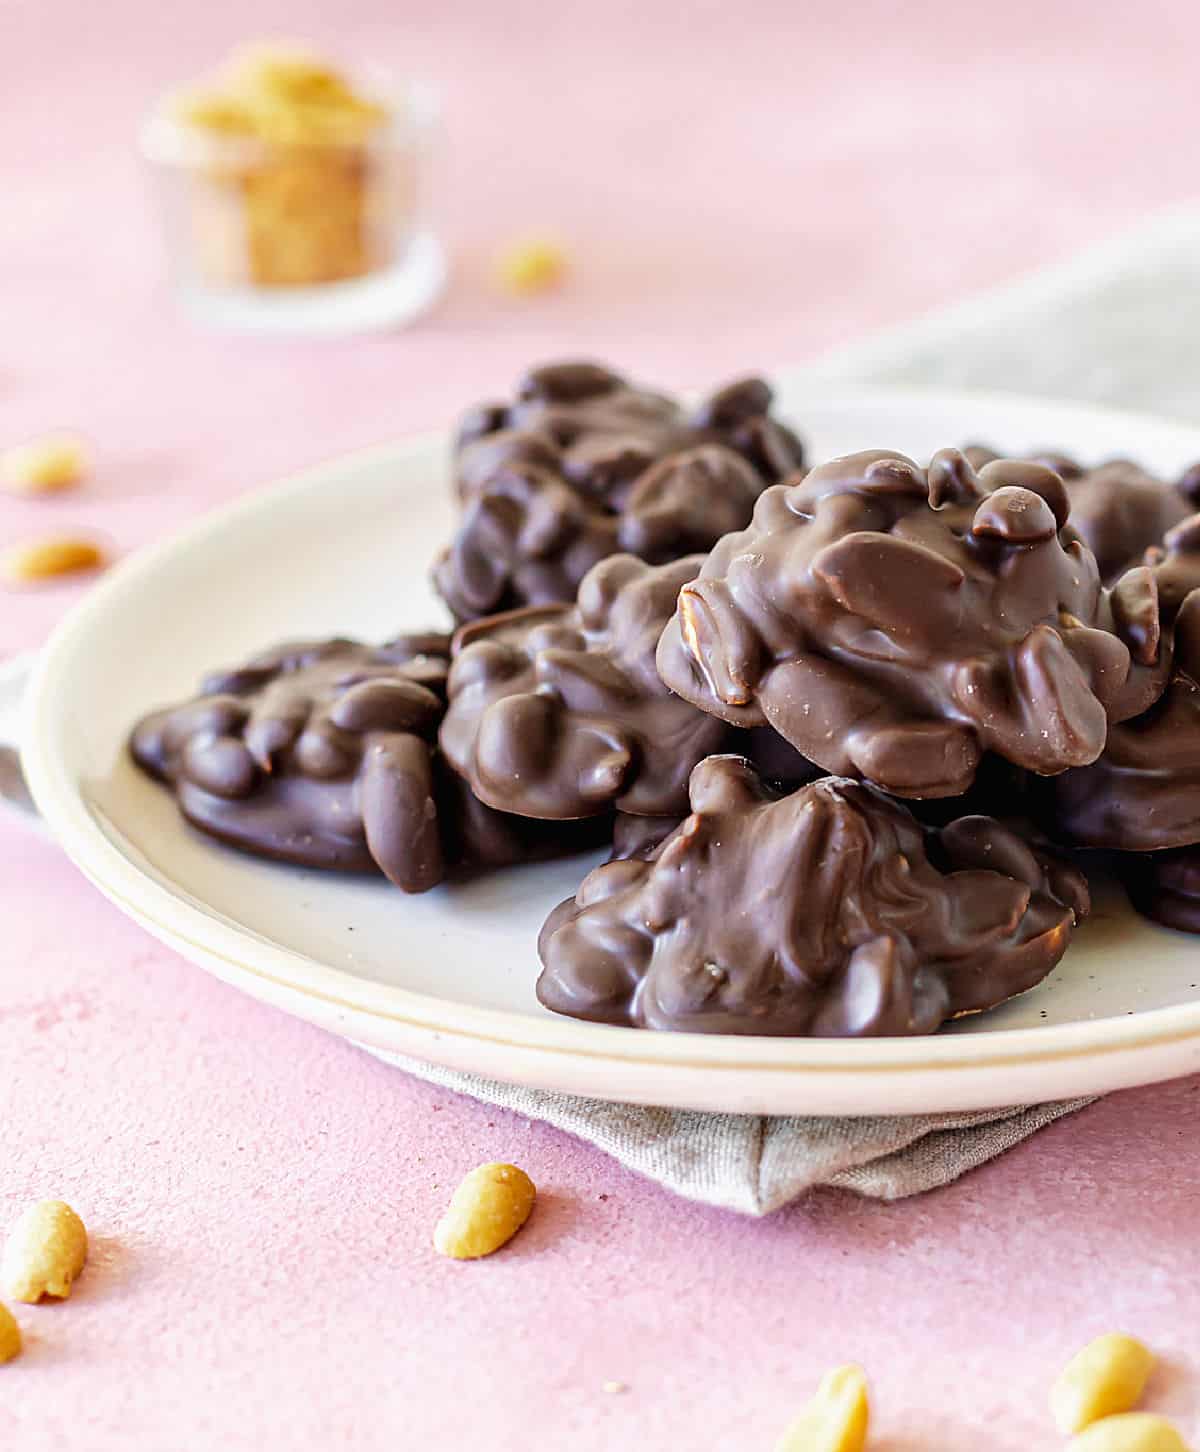
Peanuts or peanut butter and chocolate are a hugely popular and mouthwatering flavor combination.
I tend to pair it with dark chocolate, like the chocolate peanut butter oat bars (no-bake!) and the not-too-sweet peanut butter quick bread with chocolate sauce.
But any chocolate goes.
I use all three for this recipe: dark, milk, and white. The final flavor is different, and I love it. I highly encourage you to find your sweet chocolate spot.
This is a similar concept to chocolate bark.
The idea of making your own chocolate bar is so appealing, in my opinion, and if you also thought for years that certain flavors or candies could only be achieved by huge companies with complicated, expensive machinery, the excitement and surprise after the first bite is multiplied by a gazillion.
They taste superb, and you know exactly what the ingredient list is, which is always a big plus.
Testing notes
Paula's tips that make a difference.
Chocolate: I highly recommend using already tempered chocolate for a better finish. You can buy it as melting chocolate wafers. If using semisweet chocolate bars or chips, you might get a dull finish as they're not tempered. But the flavor will still be great. Tempering chocolate is not advisable for beginner bakers.
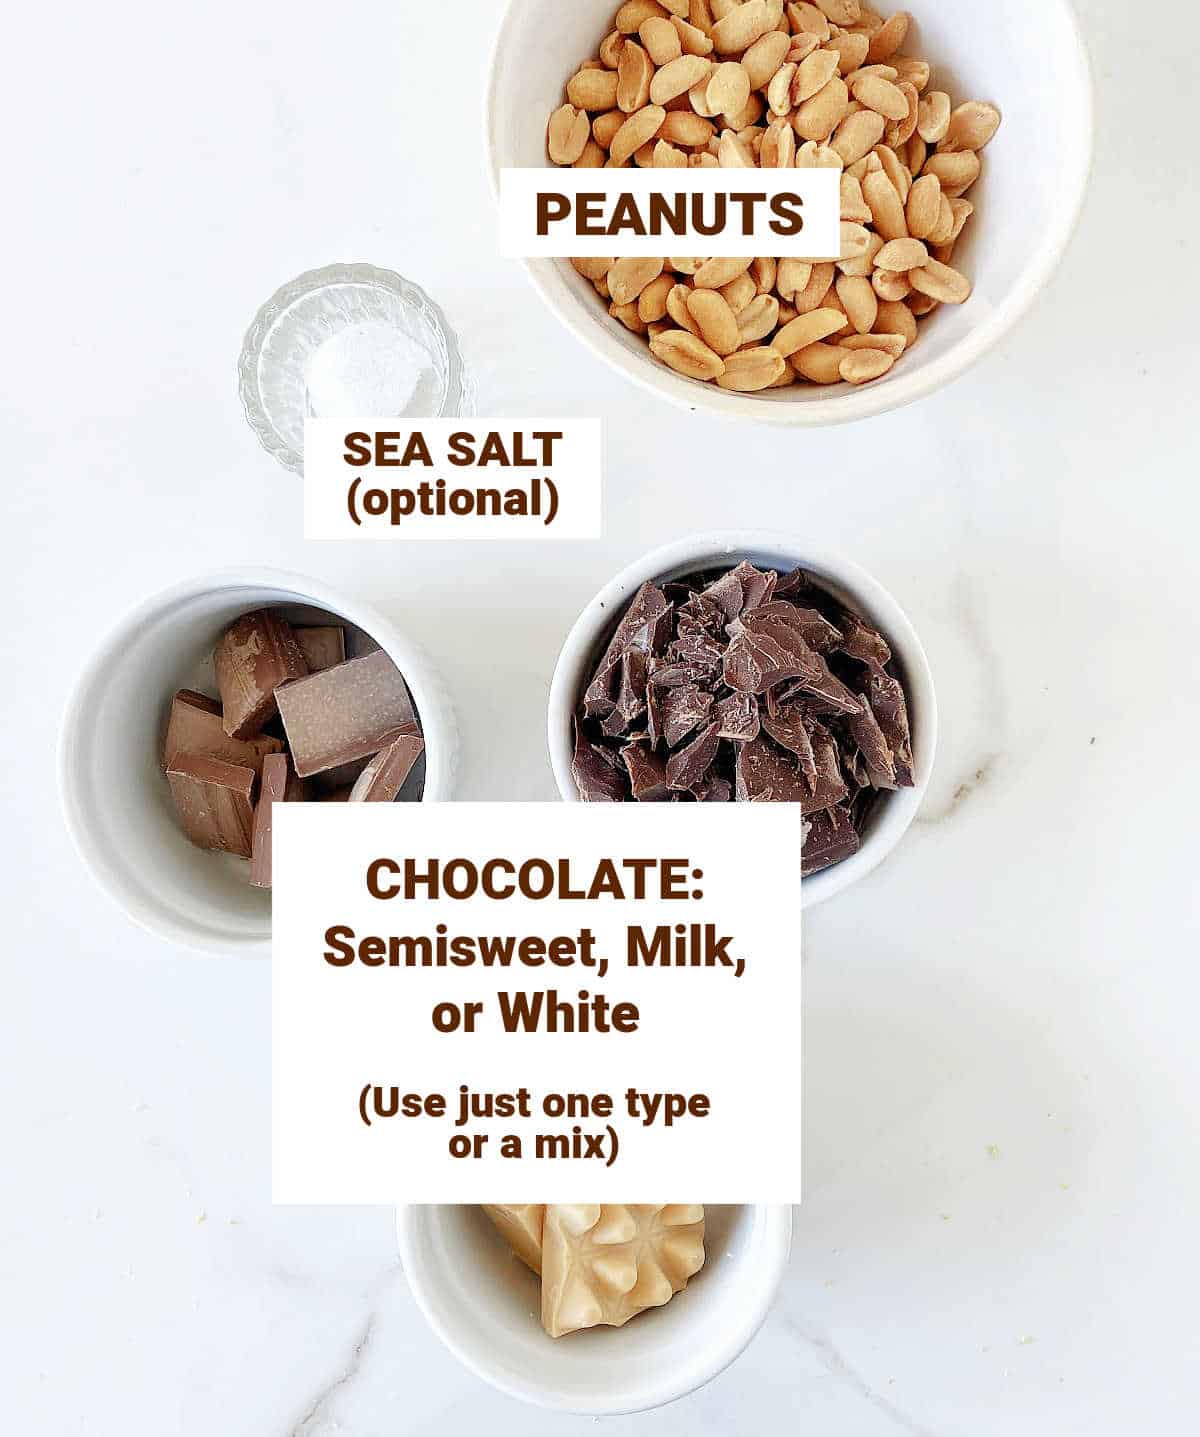
Type of chocolate: I mix the three types (semisweet, milk chocolate, and white chocolate), sometimes only dark and white. But this recipe works with one kind of chocolate also, as I show in this chocolate clusters reel. Whatever you love or are in the mood for.
Peanuts: I highly recommend toasted peanuts because the flavor is more pronounced. I buy them toasted (you can do it at home if you purchase natural nuts) and add some of my favorite sea salt. But to make your life easier, you can use already salted peanuts. The downside is that you can't control the amount of salt.
Easier cleaning: using parchment or wax paper makes it easy to remove once the clusters are dried, and there's no need to clean a baking sheet.
Sea salt is optional, but it adds another layer of flavor that complements the chocolate and peanuts very well. I use and love Maldon sea salt. Kosher salt also works well as it's coarser than regular, fine table salt.
How to make peanut clusters
This process is so simple, quick and easy that it's almost a 'no recipe' recipe.
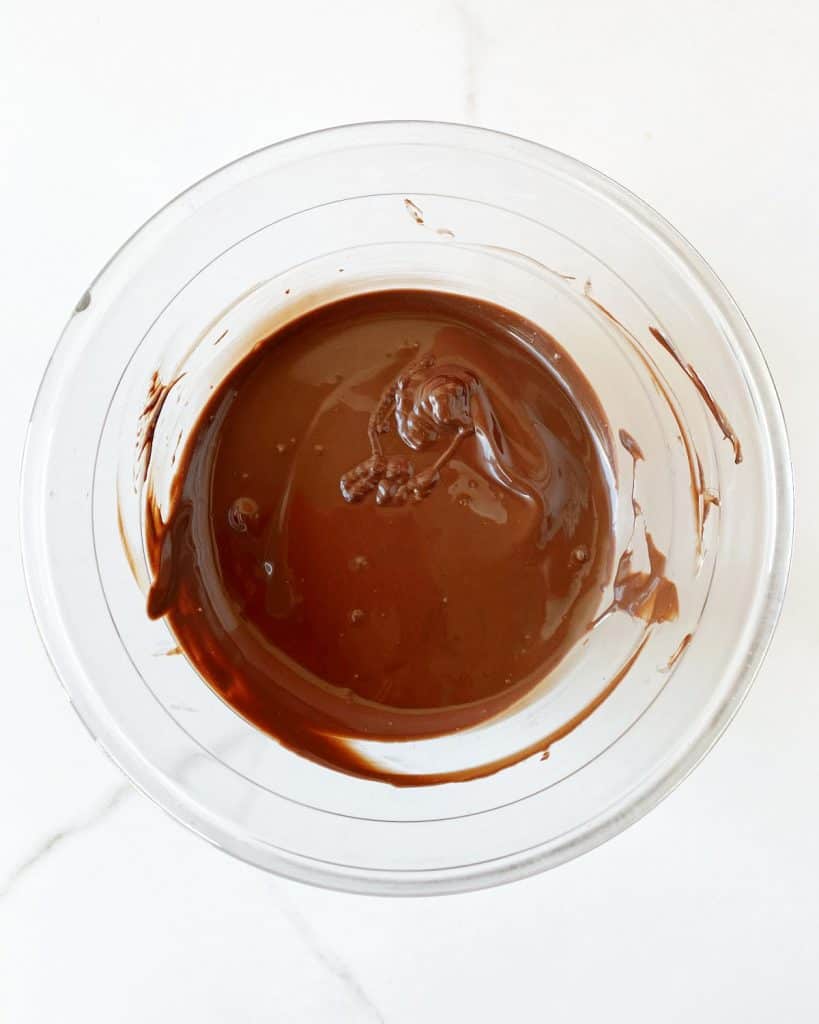
Melt
Microwave. Melt chopped chocolate in 10-second spurts, stirring in between. Be careful you don't scorch it.
Stovetop. Place the bowl with the chopped chocolate over a small saucepan with a few inches of water. Make sure the bottom of the bowl doesn't touch the water and that no water gets into the bowl. If the water boils too much before the chocolate is melted, turn the heat off and let the hot vapor melt the remaining chocolate.
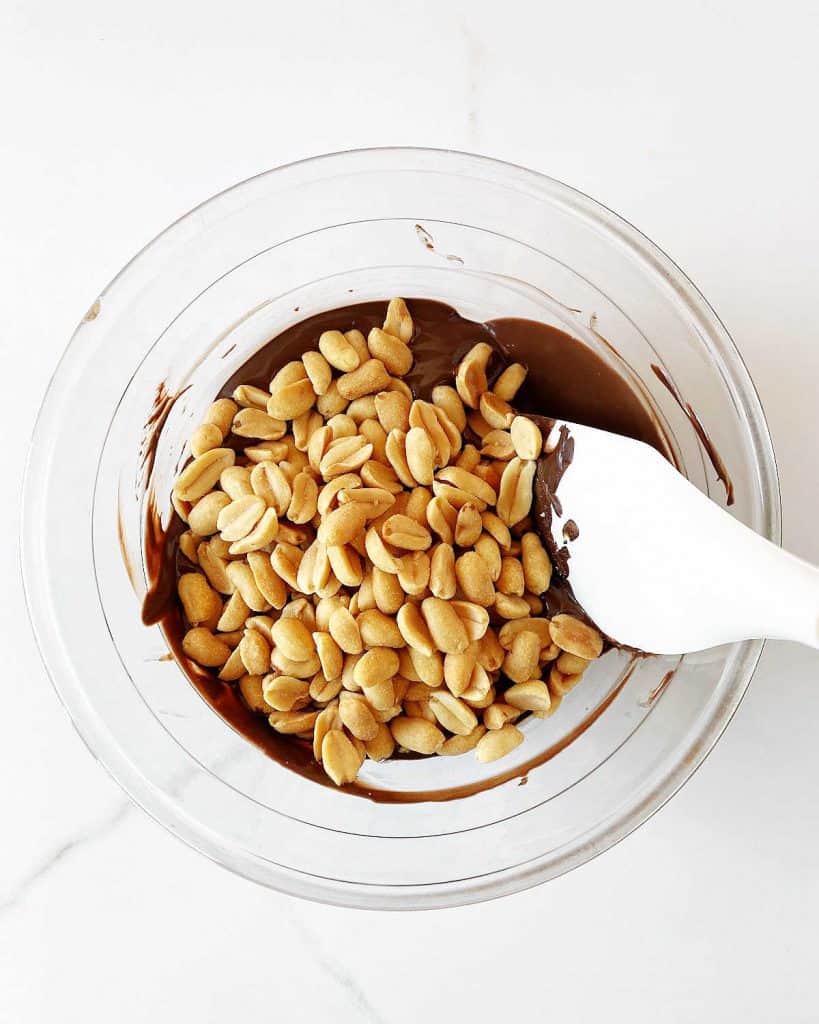
Stir until coated
Melted chocolate and peanuts are combined in a bowl with a spatula or spoon.
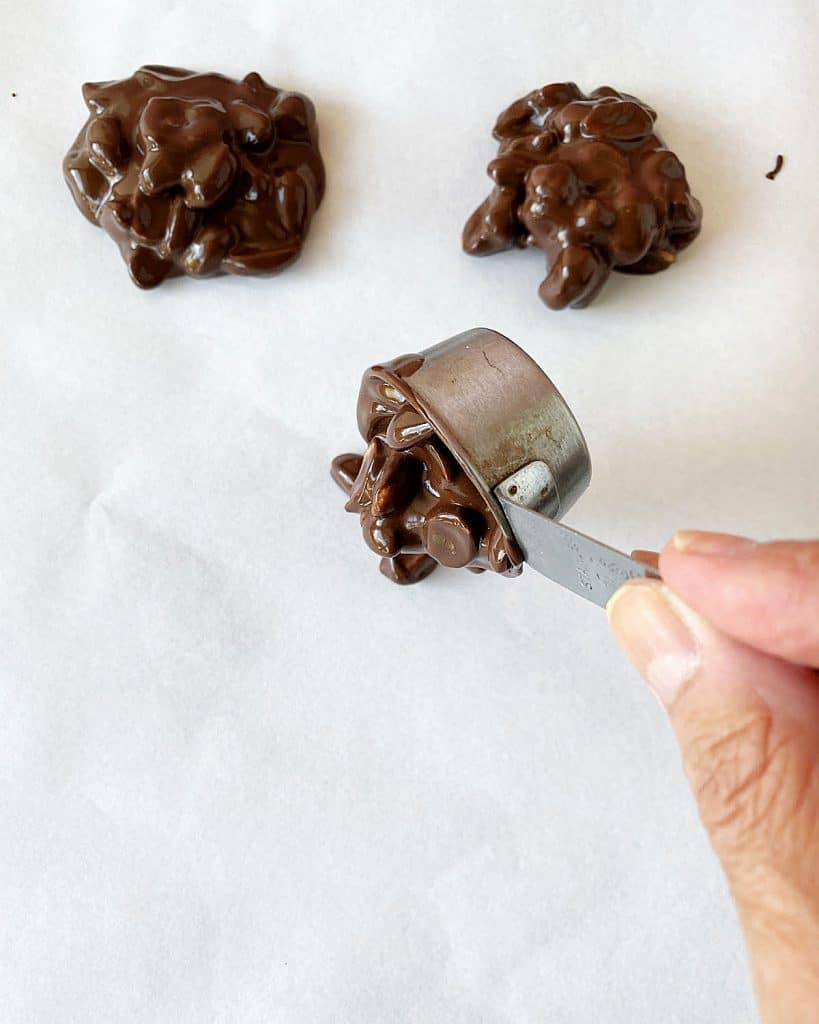
Form mounds
Use parchment paper to line the baking or cookie sheets. I use a ⅛ measuring cup, but you can use measuring tablespoons or regular ones.
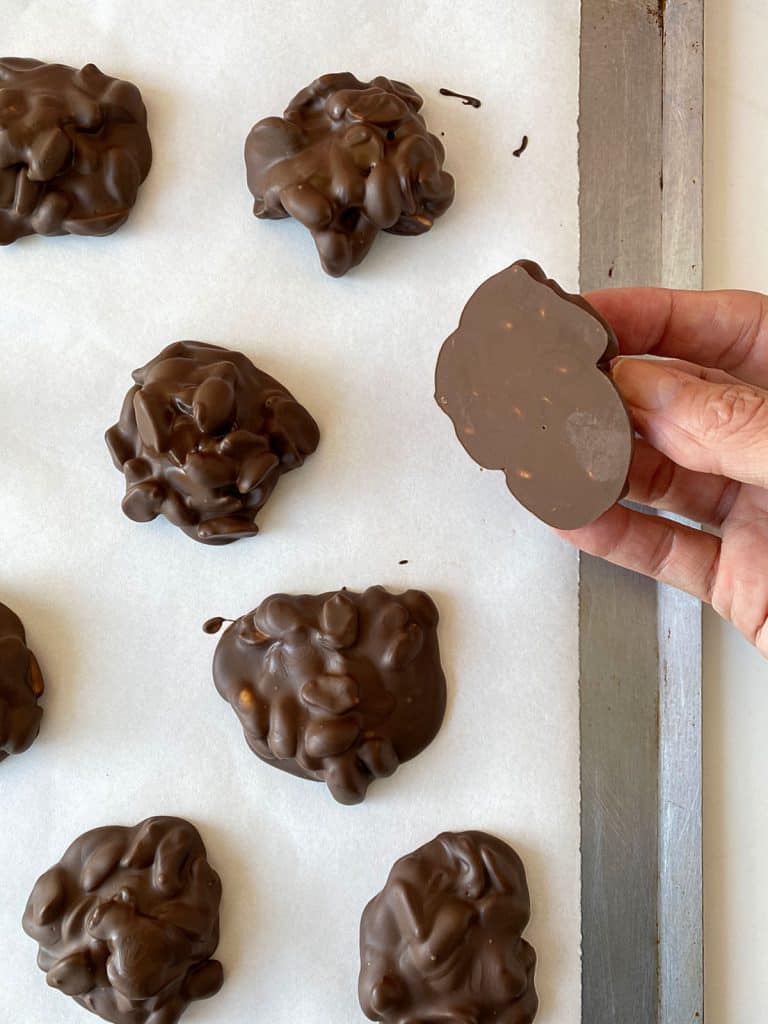
Let the clusters dry
This takes me anywhere from 30 minutes to 2 hours, depending on the size of the mounds, the type of chocolate, and the temperature of the room. They are ready when completely dry and you can remove them easily from the parchment paper.
If you made this recipe and loved it, you can comment below and leave a 5-star ⭐️ review. Also, if you had issues, let me know so we can troubleshoot together.
You can also subscribe to our FREE email series 'Baking the Best' and our regular newsletter. Or follow and save my recipes on Pinterest.
As an Amazon Associate, I earn from qualifying purchases. Read my disclosure policy.

Easy Chocolate Peanut Clusters
Ingredients
- 1 pound chocolate, tempered is best, see Notes below
- 1 ¾ cup toasted or roasted peanuts, see Notes below
- pinch of sea salt
Instructions
- Line 2 baking sheets with wax or parchment paper.
- Melt 1 pound chocolate together in the microwave, in 10-15 seconds (at the most) spurts and whisking it thoroughly until some pieces won't melt before microwaving it again. Stop when it's all mixed, don't overcook it because it goes from smooth to scorched in seconds. Or in a bowl over simmering water, being careful the chocolate doesn't touch the water.
- Add 1 ¾ cup toasted or roasted peanuts and pinch of sea salt, and mix very well, until it's all coated.
- Drop by tablespoons (or with a ⅛ measuring cup) onto the prepared sheets.
- Let dry completely at room temperature, which will take about 15 minutes. Larger mounds will take longer.
- Keep at room temperature, in a cool place. I like to use metal tins, but they disappear fast.
Video
Notes
Adapted from a very old Bon Appetit magazine
L Porter says
My Mom always made these with a jar of Planter's salted, dry roasted peanuts and a bag of chocolate morsels. Yummy. Making today.
Kathy Ocker says
They are delicious!! Everyone loved them! So easy to make! Thank you!
Jan Marie Darroch says
Turned out perfect and so very easy.
Winona says
This is much easier if you just use a crock-pot on low for a few hours. (4 Qt. is ideal) Put all your chocolate and peanuts in the crock-pot, set on low, every hour check if all is melted. (If any condensation gets on inside of your lid, make sure it doesn't drip into chocolate mixture) Then drop by spoonfuls on cookie sheets lined with parchment, as recipe says.
Beverly says
I just made these, easy peasy! They are hardening on the counter now and my husband came into the kitchen and I heard the parchment paper crinkle. Just checked, one has mysteriously disappeared! I used a glass bowl and the microwave. I’m in no way a baker, so I followed the microwave melting. It took a few 15 seconds stirring after each one, and about two ten seconds, I stirred and the chocolate was beautiful. I used 12 oz of chocolate chips that I was going to use with the grandkids for cookies but they aren’t here and hubby and I are. I’m going to change from cookies to clusters for the grandkids. Try it, ever so easy and apparently delicious, hubby said so.
Paula Montenegro says
There's always the sound of paper crinkling when I make these lol! Happy to know you all loved them. They're so easy. Have a great holiday Beverly and happy baking!
B. says
So easy to make! I popped the cookie sheet of them in the refrigerator for 30 minutes. They come out glossy/ shiny.
angiesrecipes says
My husband loves it with white chocolate. Making them are a breeze and taste so good!
Anonymous says
Would love to make these for Christmas gifts and put into cute treat bags or boxes but what about the "keep refrigerated" instruction?
Tina
Anonymous says
Perfect ~ love the liners tip! Thanks so much and thanks for such a prompt reply. Can't wait to make these clusters ~ I know my husband will go nuts (no pun intended) over them! 🙂
Christine @ 24 Carrot Kitchen says
Hi Paula,
I made these the other night and they turned out great! Really easy and tasty.
I hope things are going better since the flood.
Christine
Zoe says
I would assume that the mixture of dark chocolate and white chocolate will produce milk chocolate... Have to try this recipe to see if this is true 😀
Roxana | Roxana's Home Baking says
i could munch on clusters every day. Love your triple version! Beautiful and delicious Paula!
Elizabeth@ Food Ramblings says
These look great- So glad to be posting with your through the chocolate party 🙂
Laura (Tutti Dolci) says
These clusters look so good, Paula! Love the triple chocolate!
Mary Hirsch says
You pull up more old recipes to resurrect, always posting something from an old Gourmet magazine or Bon Appetit. I love that about your Post. Sometimes I think we all (meaning chefs who write cookbooks and we food bloggers) are trying too hard to re-invent the wheel. Some of the recipe concoctions are pretty far out. There is nothing not to like about these heavenly clusters except what they will do to my hips.
mjskit says
Triple chocolate!!! You're killing me! Can I place an order for box? 🙂
wings of sugar says
meravigliosi!! grazie per la ricetta
yummychunklet says
What delicious nut clusters!
Alice @ Hip Foodie Mom says
Paula,
oh my! I honestly love this! I too love chocolate and peanuts together. . perfect pairing. . love that you used 3 kinds of chocolate here. . I love everything about chocolate. . and will take it in any shape or form but especially LOVE peanut clusters! I have all of the ingredients at home now. i'm making these!!
Cocoa and Lavender says
I think this would be good with any nuts! Yours are so pretty, too! ~ David
www.you-made-that.com says
Who doesn't love peanut clusters and with triple chocolate oh...yes! Wonderful pictures and great recipe.
Andrea_TheKitchenLioness says
Paula, what a truly decadent "triple chocolate treat" - these Clusters look delightful. I particularly like the way you arranged them on the cake stand! Very nice presentation indeed!
P.S.: I am looking forward to your Focaccia with the roasted Grapes.