
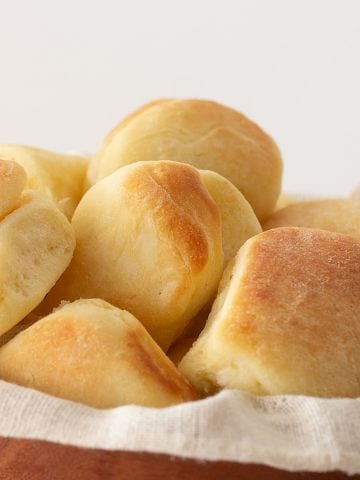
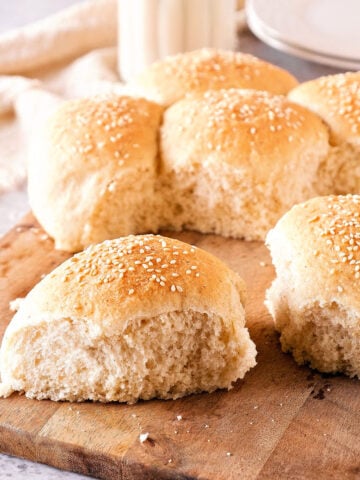
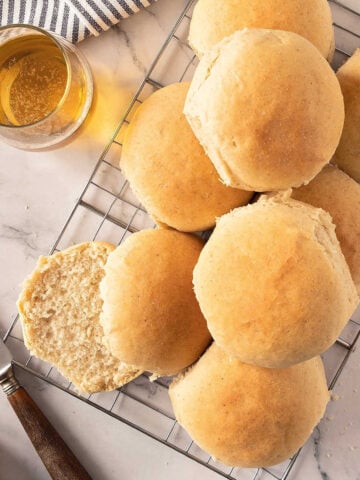
These very fluffy buns have a unique flavor and texture. Their slight sweetness makes them great for brunch tables and afternoon tea, sandwiches, curries and chilis. They're a wink to the popular Hawaiian rolls, keep well for several days and can be frozen.

SAVE THIS RECIPE
Slightly sweet soft buns for multiple uses
These are not so neutral but more on the sweet side. Not exactly the usual Hawaiian rolls from the supermarket, though they can be used as such.
I love homemade small buns with unexpected ingredients, like these simple bread rolls with beer or the semolina buns.
When it comes to coconut, we usually use them for sweet bakes. Well, these coconut buns are just sweet enough and very popular.
- Coconut: use the shredded unsweetened type. Unless you want very sweet buns, then you can use sweet coconut.
- Bread flour: it has more gluten than all-purpose flour and lends a more rustic texture. So it's always the first choice when making this recipe. But you can use all purpose if that's all you have and you'll get very good results.
- I sometimes add ground macadamia nuts to the dough. They add crunchiness and creaminess.
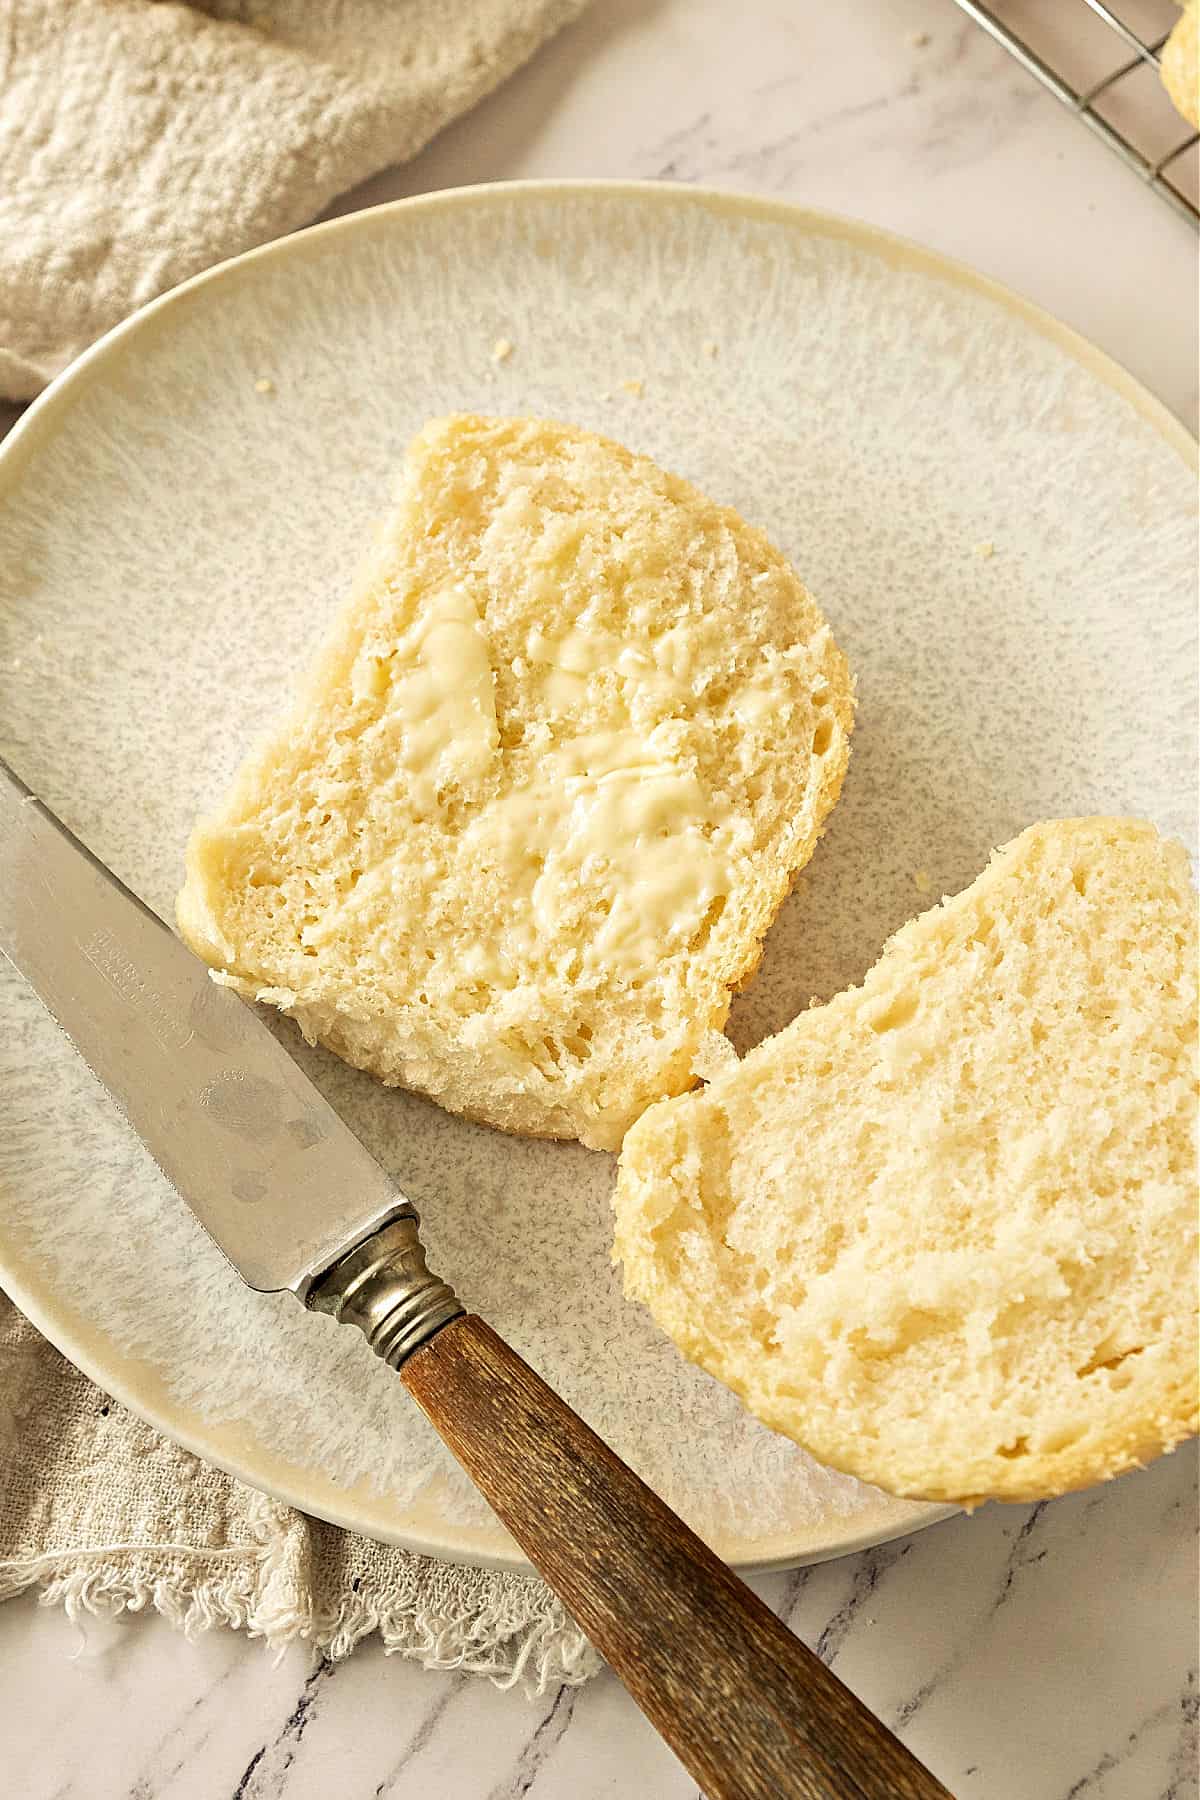
The nice part of this bread is that it's savory with a hint of coconut flavor. It's more of an aftertaste, present but not completely there at the same time.
Some thinly sliced pork tenderloin with mango chutney, or grilled pineapple with ham would go wonderfully with them. Or the carnitas from these taco recipe I'm cooking right now, if there are any left.

How to Make Sure Yeast Works
- Check expiration date: Replace if expired.
- Visual check: Should be beige to light brown and granular/powdery. Avoid if grayish, clumpy, or discolored.
- Smell test: Should have a mild, slightly sweet smell. Strong or unpleasant odors indicate it's bad.
Proofing test: Mix ½ teaspoon sugar in ¼ cup warm water (comfortable to touch). Sprinkle ½ teaspoon of dry yeast on top and stir gently. Wait 5-10 minutes until you start to see some activity. Fresh yeast will foam and bubble more while instant yeast bubbles less than active dry yeast.
Golden Rule: When in doubt, buy new! It's better to be safe than to have your baked goods fall flat and be inedible. You'll have to throw it out and start again.
How to make soft coconut buns
It's a straight dough, which means we use dry yeast, but we make a sponge first.
The dough is easy to work with and can be made in the stand mixer with the dough hook if you don't want to involve ten minutes of arm muscle kneading them by hand.
Resting the dough: homemade bread usually involves a lot of resting or proofing time, where the bread dough rises and the yeast creates a structure together with the gluten that developed during kneading. Respect these times and make sure the dough doubles or rises as specified in the recipe. This will ensure fluffy, well baked rolls.
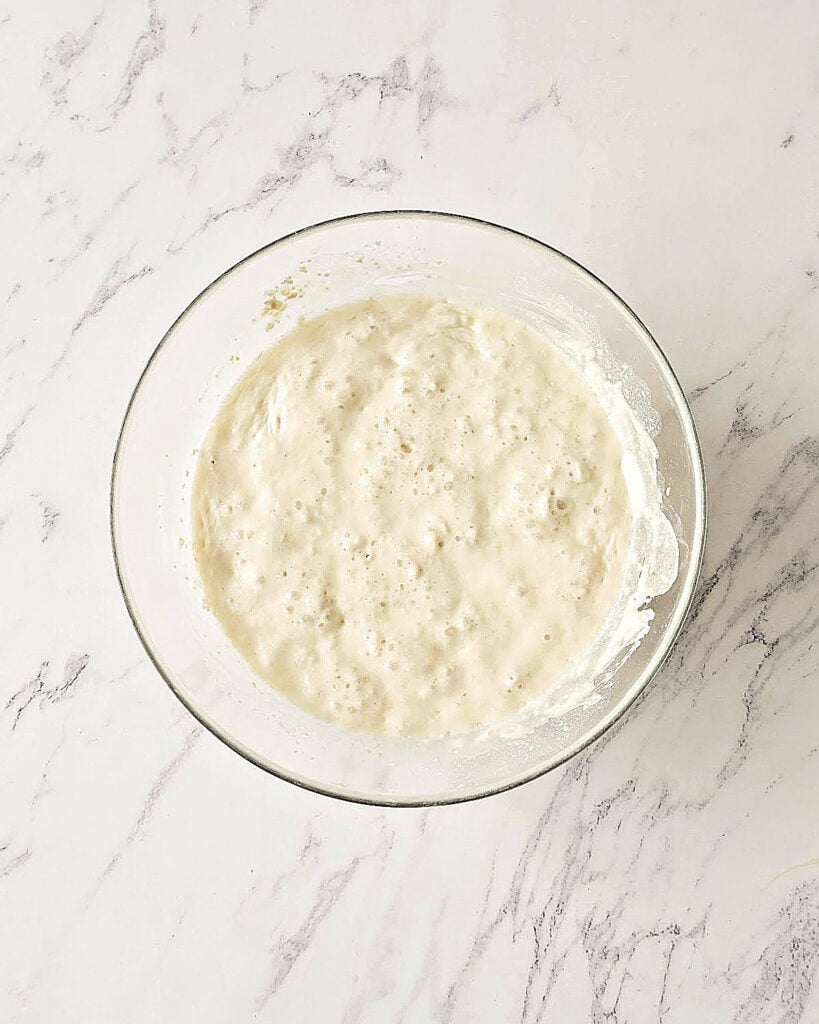
The sponge
The key here is to see bubbles. That means the yeast is working, and the sponge will give the final dough more strength.
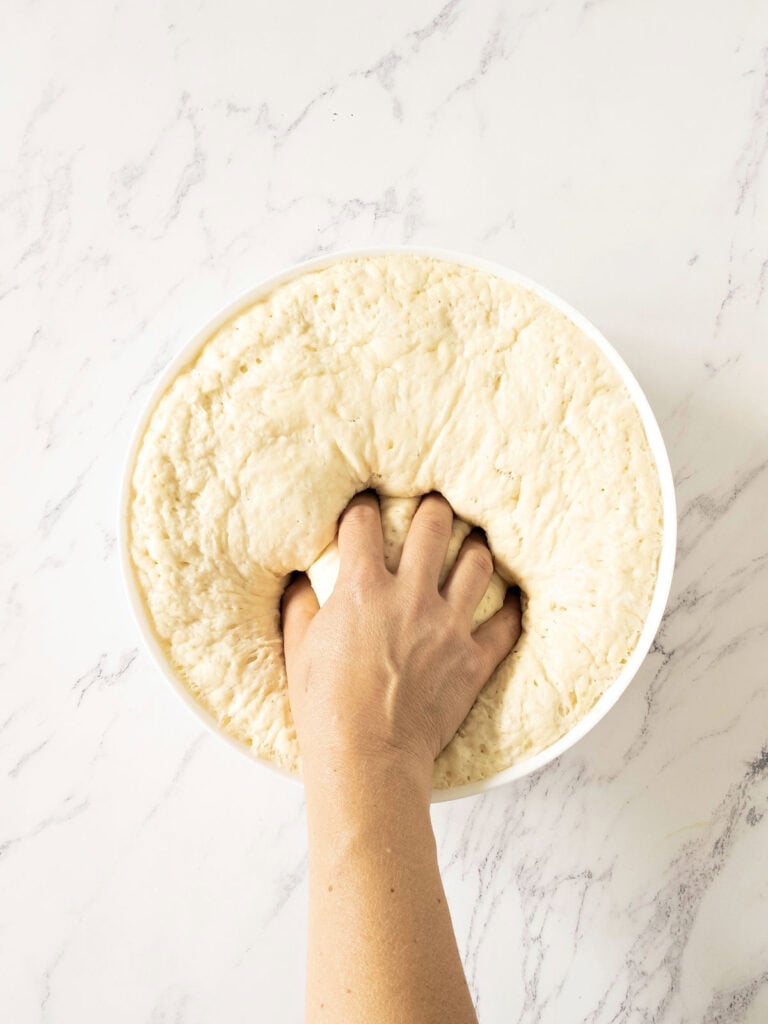
The dough
It will not be completely smooth, as the coconut creates texture. It's important to let it rise until doubled and then gently deflate it with your hand.
Make sure the bowl can accommodate the dough's volume.
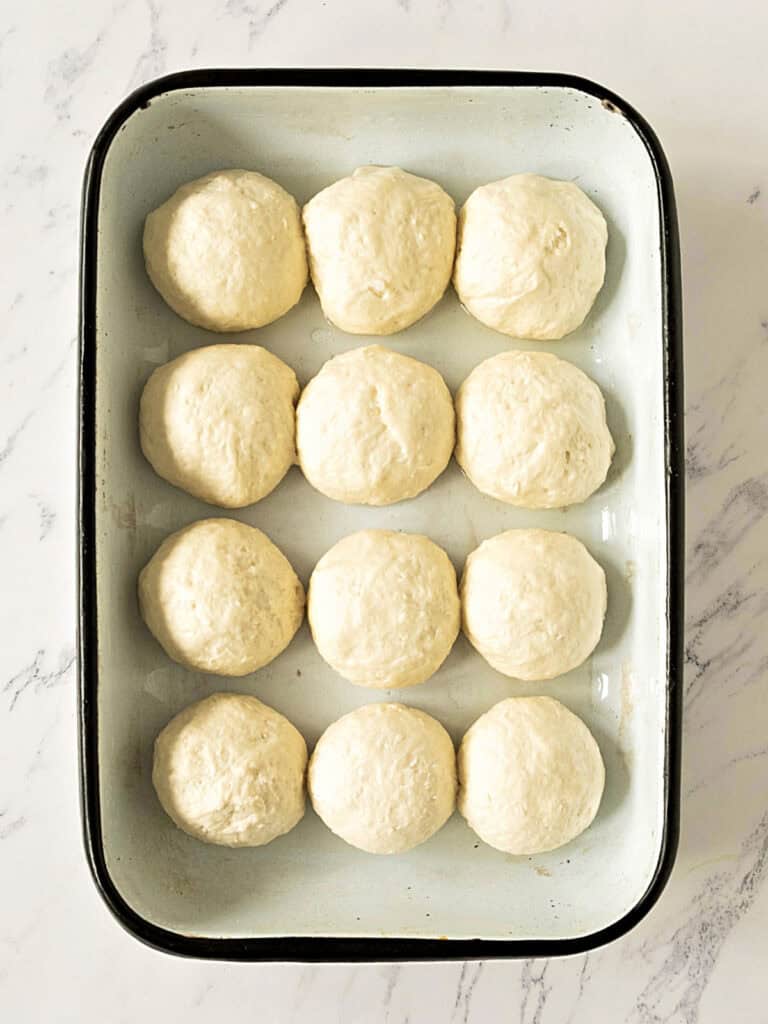
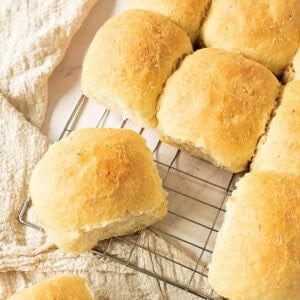
Form and rise
If they fit barely touching in the pan before rising, after baking they will have more sides with a soft crumb except for those sides touching the edges. So choose accordingly.
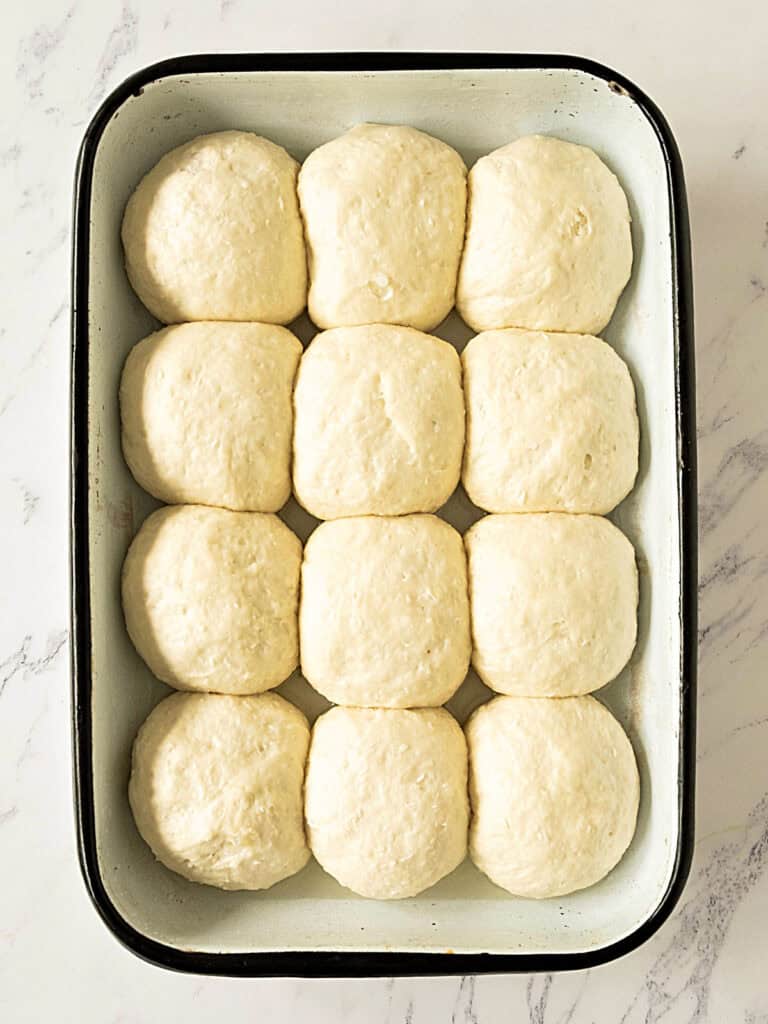
Final rise
They might not double, but they will be noticeably puffed and a tad wobbly.
They will fit snuggly before baking.
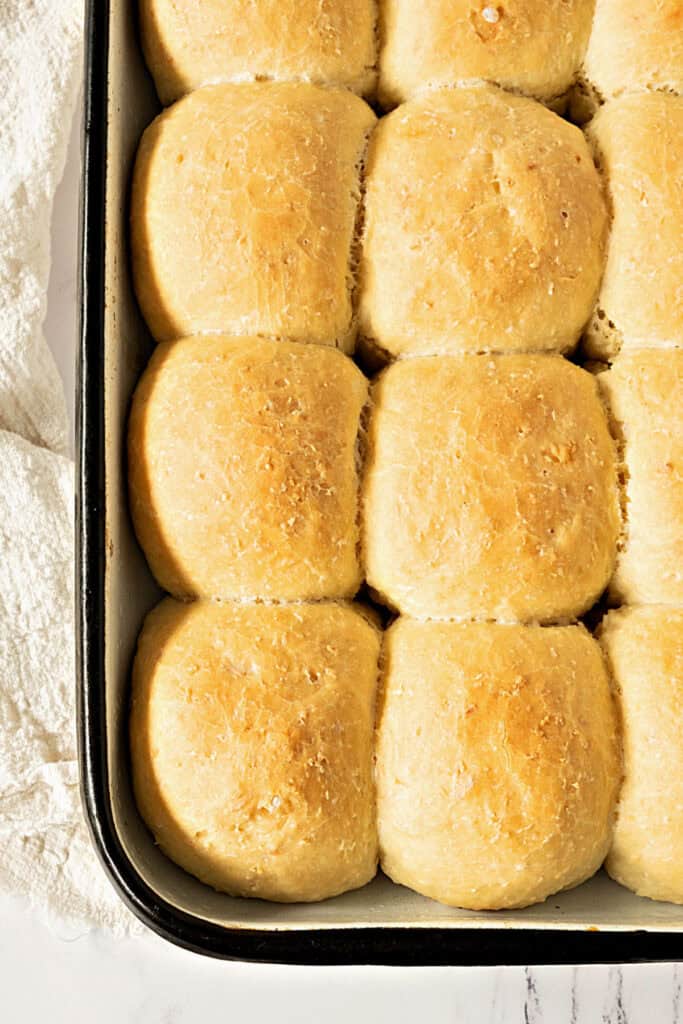
Baking
Besides the tops being golden brown and dry, you can partially lift a bun and see if it still has wet strands attached and gently open one with a fork to check inside. The middle ones take a bit longer.
Related recipes you might like:
If you made this recipe and loved it, you can comment below and leave a 5-star ⭐️ review. Also, if you had issues, let me know so we can troubleshoot together.
You can also subscribe to our FREE email series 'Baking the Best' and our regular newsletter. Or follow and save my recipes on Pinterest.
Coconut Buns (yeasted rolls)
Ingredients
For the sponge:
- 1 tablespoon active dry yeast
- ⅛ teaspoon sugar
- 1 ½ cups bread flour, or all purpose flour
- 2 cups warm water, not hot
For the bread:
- 4 cups bread flour, or all purpose flour
- 3 tablespoons vegetable oil, I use sunflower oil
- 1 teaspoon salt
- 1 tablespoon sugar
- ¾ cups unsweetened shredded coconut, you can lightly toast it; let cool completely before using it
Instructions
For the sponge:
- In the bowl of the stand mixer (or large bowl if doing this by hand), put 2 cups warm water and sprinkle ⅛ teaspoon sugar and 1 tablespoon active dry yeast over.
- Add 1 ½ cups bread flour and mix well with a wooden spoon until most lumps are gone. Some will remain. You can do this with the paddle attachment, but I think it's too much trouble.
- Cover with a clean, dry kitchen towel and let stand until bubbly and puffed, about 30-40 minutes.
For the bread:
- To the sponge, add 1 cup flour, 3 tablespoons vegetable oil, 1 teaspoon salt1 tablespoon sugar and ¾ cups unsweetened shredded coconut.
- Attach to the mixer and, using the dough hook, start mixing everything, adding 3 more cups of flour, ½ cup at a time. After 3 or 4 minutes of kneading, the dough should be soft but not sticky. If needed, add up to an extra ½ cup of flour. But don't end up with a dry dough. I used 4 cups total in my recipe.
- If kneading by hand, do so for 5 to 7 minutes on a clean surface, lightly flouring as necessary after the dough comes together.
- Transfer dough to a greased deep bowl, turn to grease on all sides, cover with plastic wrap and let stand in a warm place until doubled, about 1 ½ to 2 hours.
- Gently deflate the dough with your fist and dump it onto a lightly floured surface. Give it a few kneads and divide it into 12 equal pieces of dough using a kitchen knife or dough scraper. The amount can vary if you want more smaller buns or fewer larger ones. You can also weigh the whole dough, divide it by the amount of rolls you want to make, and weigh each piece to have very even buns; I never bother to do that, I just eyeball it.
- Shape each piece into a ball, pinching the bottom. Cover it with the palm of your hand, and, moving your hand counterclockwise to your left (or the other way, it doesn't matter), shape them into balls, as tight as you can.
- Grease a baking pan, and put the dough balls next to each other, barely touching. Cover with a clean, dry towel and let rise until almost doubled, about 30 to 40 minutes.
- Preheat the oven to 400ºF/200°C about 20 minutes before baking.
- Bake the buns for 20 to 25 minutes, until the tops are dry and golden and the rolls sound hollow when lightly tapped on the bottom.
- Let cool on a wire rack.
Notes
Nutrition
Adapted from Bread for all Seasons, by Beth Hensperger
Karen Kerr says
The carnitas sounds like they would be awesome with these rolls! Way to hang in there. Your rolls came out just beautifully in the end!
Guru Uru says
That determination will take you far my friend - after all, these results are magic 🙂
Cheers
Choc Chip Uru
Liz Berg says
You are a trooper...but glad the 3rd batch was perfect! They look tender and irresistible! Excellent summer buns!
Angie Schneider says
These buns look so soft and perfect...they must taste fabulous with added coconut and macadamia!
Abbe@This is How I Cook says
Two great ingredients! They look so soft and fluffy! And I wanted to let you know that I tried your parmesan green onion mini scones for a bridal shower I gave this weekend. They were awesome! I would call them biscuits though and not scones as they were soft and flaky, salty and tender. Perfect with our cheese souffles!
Nancy @ gottagetbaked says
Lol, *groan* I hate those days when nothing seems to go right. And you know right away, first thing in the morning, because everything you touch just goes wrong. Your persistence paid off - these rolls look perfect, Paula! They're exactly the kind of roll I love having around the house, so that I can tear a bun off whenever I want to nibble on something. The macadamia and coconut sound delicious in there. I'm definitely going to try this recipe.
Deb says
I have no comment on the socks in the shower! But I will comment on the sweet Macadamia Coconut Buns!
I love to make bread and sweet is one of my favorites. The tropical pairing of macadamia and coconut is just irresistible!
Patty Price says
Did I read socks in the shower!!! How funny 😉 I have Bread For All Seasons and it is full of things I want to bake!
Your rolls turned out beautifully, love this #twelveloaves group-so many creative recipes to check out 😉
Jeannie Tay says
What lovely rolls...I am sure the nuts gave these a very nice crunch with every bite! I would love to try some if I may:D
Christine @ 24 Carrot Kitchen says
These buns look so delicious. I am constantly buying rolls but I bet homemade are much better. I love reading your stories. The photos are great.
Karen (Back Road Journal) says
They say the third time is the charm and clearly it was right in your case. The rolls sound terrific.
Anne ~ Uni Homemaker says
I love homemade bread/buns, anything! This sounds like a delicious combination. YUM!
yummychunklet says
These buns sound sweet and fantastic!
Dionne Baldwin says
I love your beautiful little summer buns! Macadamia and coconut definitely have my attention. I'm sorry for your struggle but thank you for all that you do for the group! I need to pin these for later...
Lora CakeDuchess says
3rd time is the charm...giggling at the host on your palate part reminder. Can't believe how gorgeous they are and that you had a hard time with them. Delicious, as always! Thanks for you do with our group, Paula! xx
Miss Messy says
I'm sorry what.. ?! eee i would never have dreamed of this combination and it sound so so amazing! 🙂
GK Adams (The Life I Live...) says
These look scrumptious! I'm thinking...hot out of the oven with a little butter. Yum!
Silvia says
Hola, Paula. Te cuento que preparé el pan hawaiano (y luego lo hice sandwich con salsa inglesa y todo)y en mi casa fue éxito absoluto. Nunca lo había visto y mucho menos lo probé. Pero me encantó apenas supe de él a través de pinterest: acá en casa todos reclaman una segunda vuelta.
me apunto el tuyo con coco porque creo que será igual de exitoso.
Cariños !
P/D: mi hija acaba de pasa y comentó que tus panes le recordaban al pan hawaiano (¡¡!!).
Krista Low says
These look fabulous! I love the idea of using the macadamia nuts with coconut. Perfect flavors for summer! Yeah, I'm glad these worked! Krista @ A Handful of Everything
Renee Dobbs says
Socks in the shower - hilarious!!!
Anyway, I'm glad the third one was such a success and they look marvelous!