
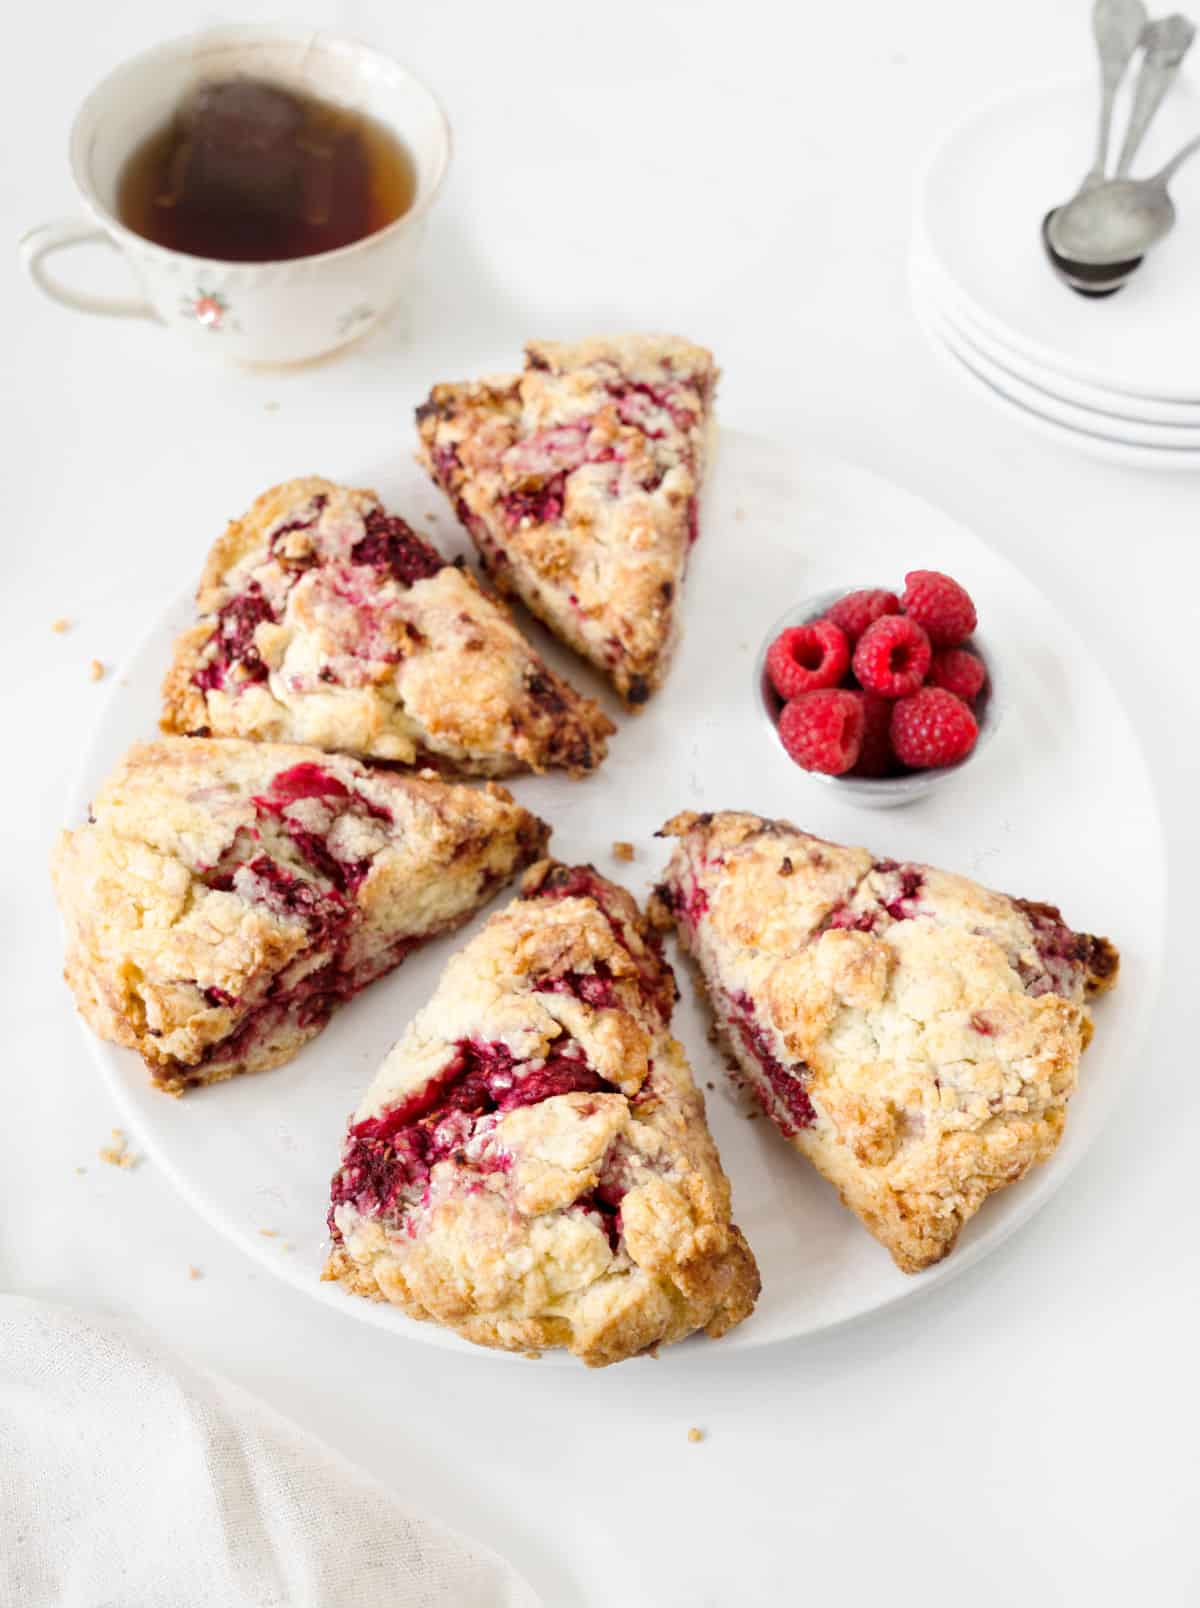
Soft and buttery, this recipe is ready in under an hour. They have a tangy burst from the sweet raspberries, and the formed scones can be frozen for a month so you can bake them to order. This post contains all my tips for making the best scones.
SAVE THIS RECIPE
Soft and juicy
A cross between a coffee cake muffin and a biscuit, these floury berry triangles are a great afternoon snack, tea time, breakfast or brunch table addition.
Scone recipes are favorites around here, and we love adding new ones. Raspberries add tanginess and freshness, making a simple cream scone a wonderful treat.
If you follow the tips below (also on the recipe card), you'll master the scone-making process and be able to whip them up whenever the craving hits.
Tips for scones and biscuits
- Baking powder: It's essential to help the scones rise, so make sure it's not expired.
- Very cold ingredients: I'm not kidding when I say very cold butter. I cut it and put the pieces in the freezer for 5 minutes before using it. And don't take the liquid ingredients out before you start mixing the scones. They belong in the fridge until you need them.
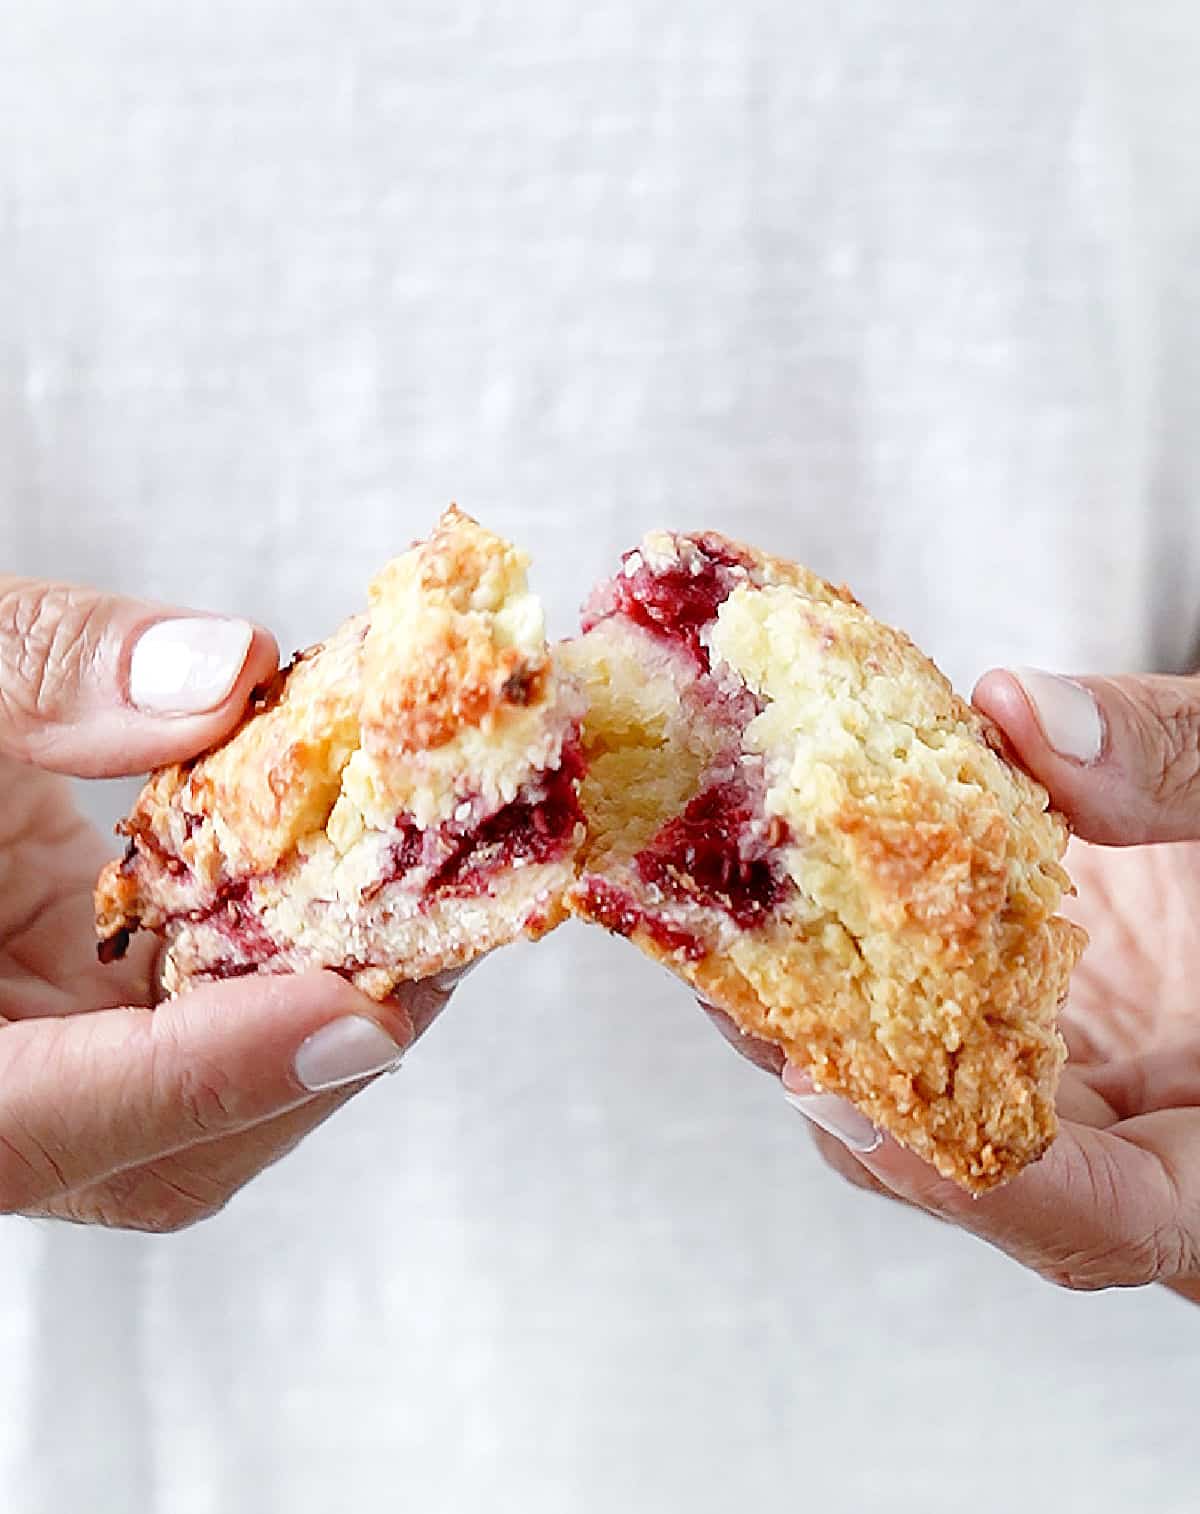
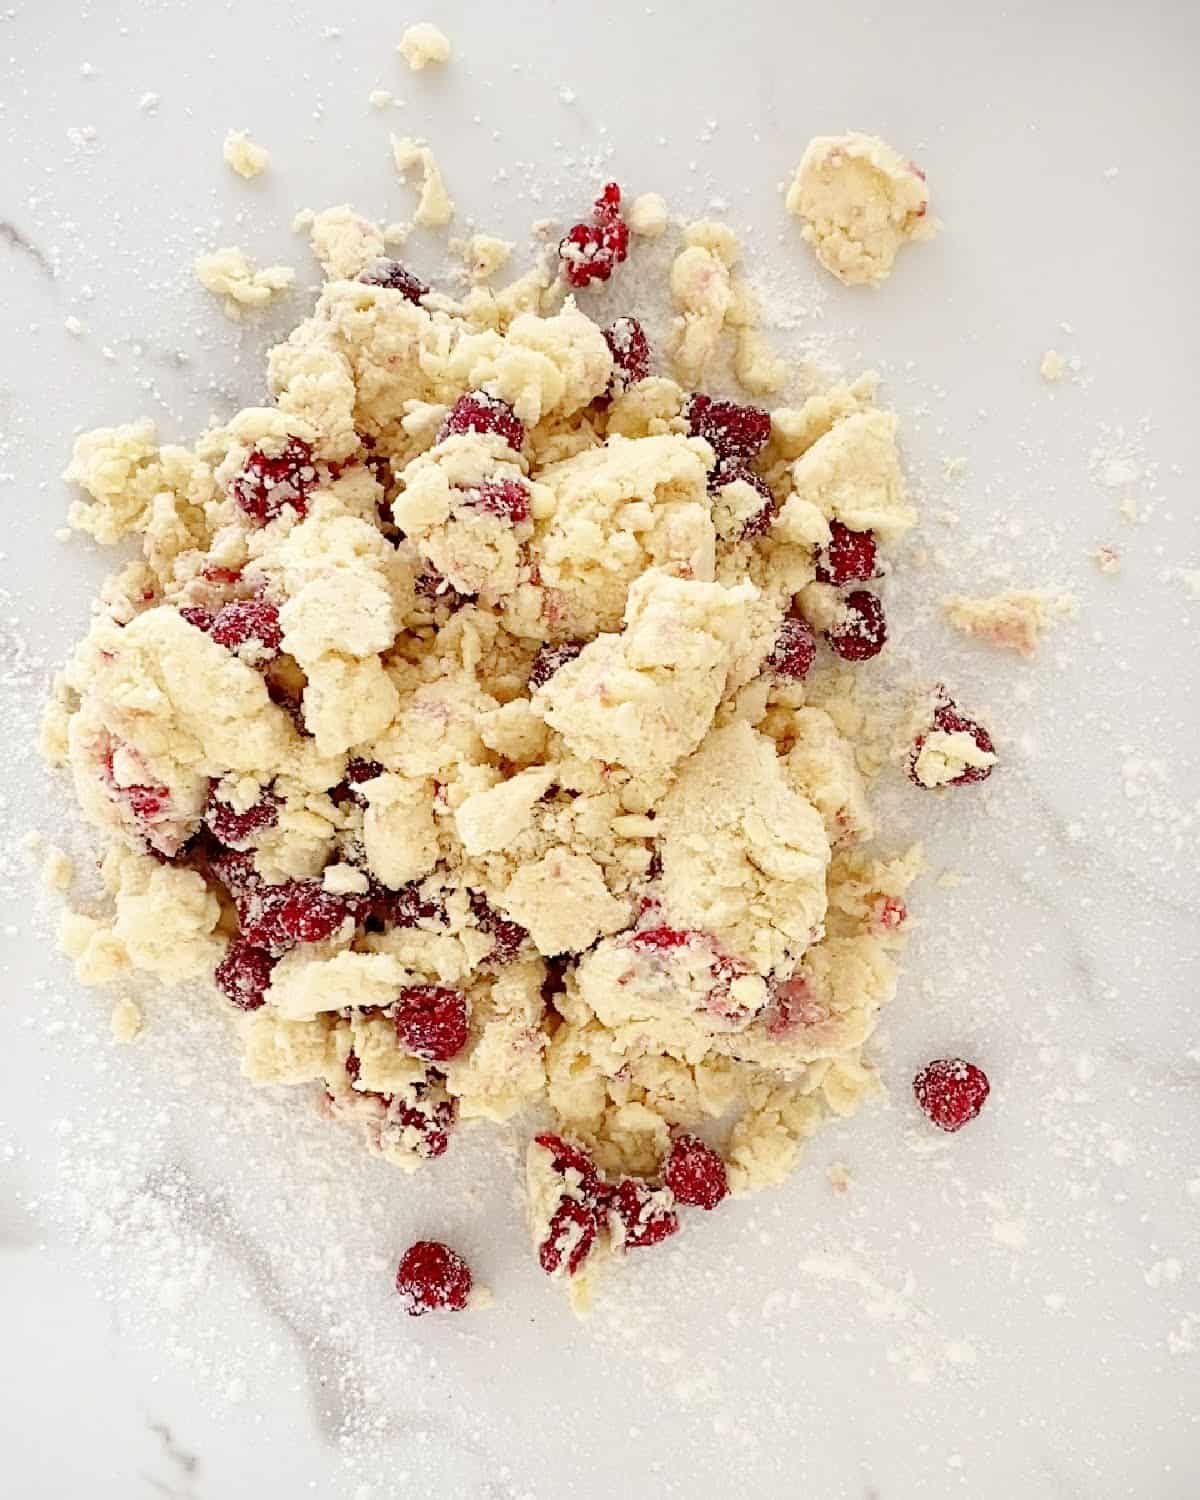
- Don't work the dough much. It should come together but might still have floury patches. You don't need to work it until it's smooth, like pie dough. It is uneven, with dry spots sometimes, and that's good for flakiness later.
- A rather high oven is necessary: they need that extra heat (and baking powder) to rise. If you happen to forget to turn the oven on before you start mixing, please don't leave the baking sheet with the cut scones waiting on the counter. Put them in the fridge or freezer for the ten or fifteen minutes it takes for the oven to reach its temperature.
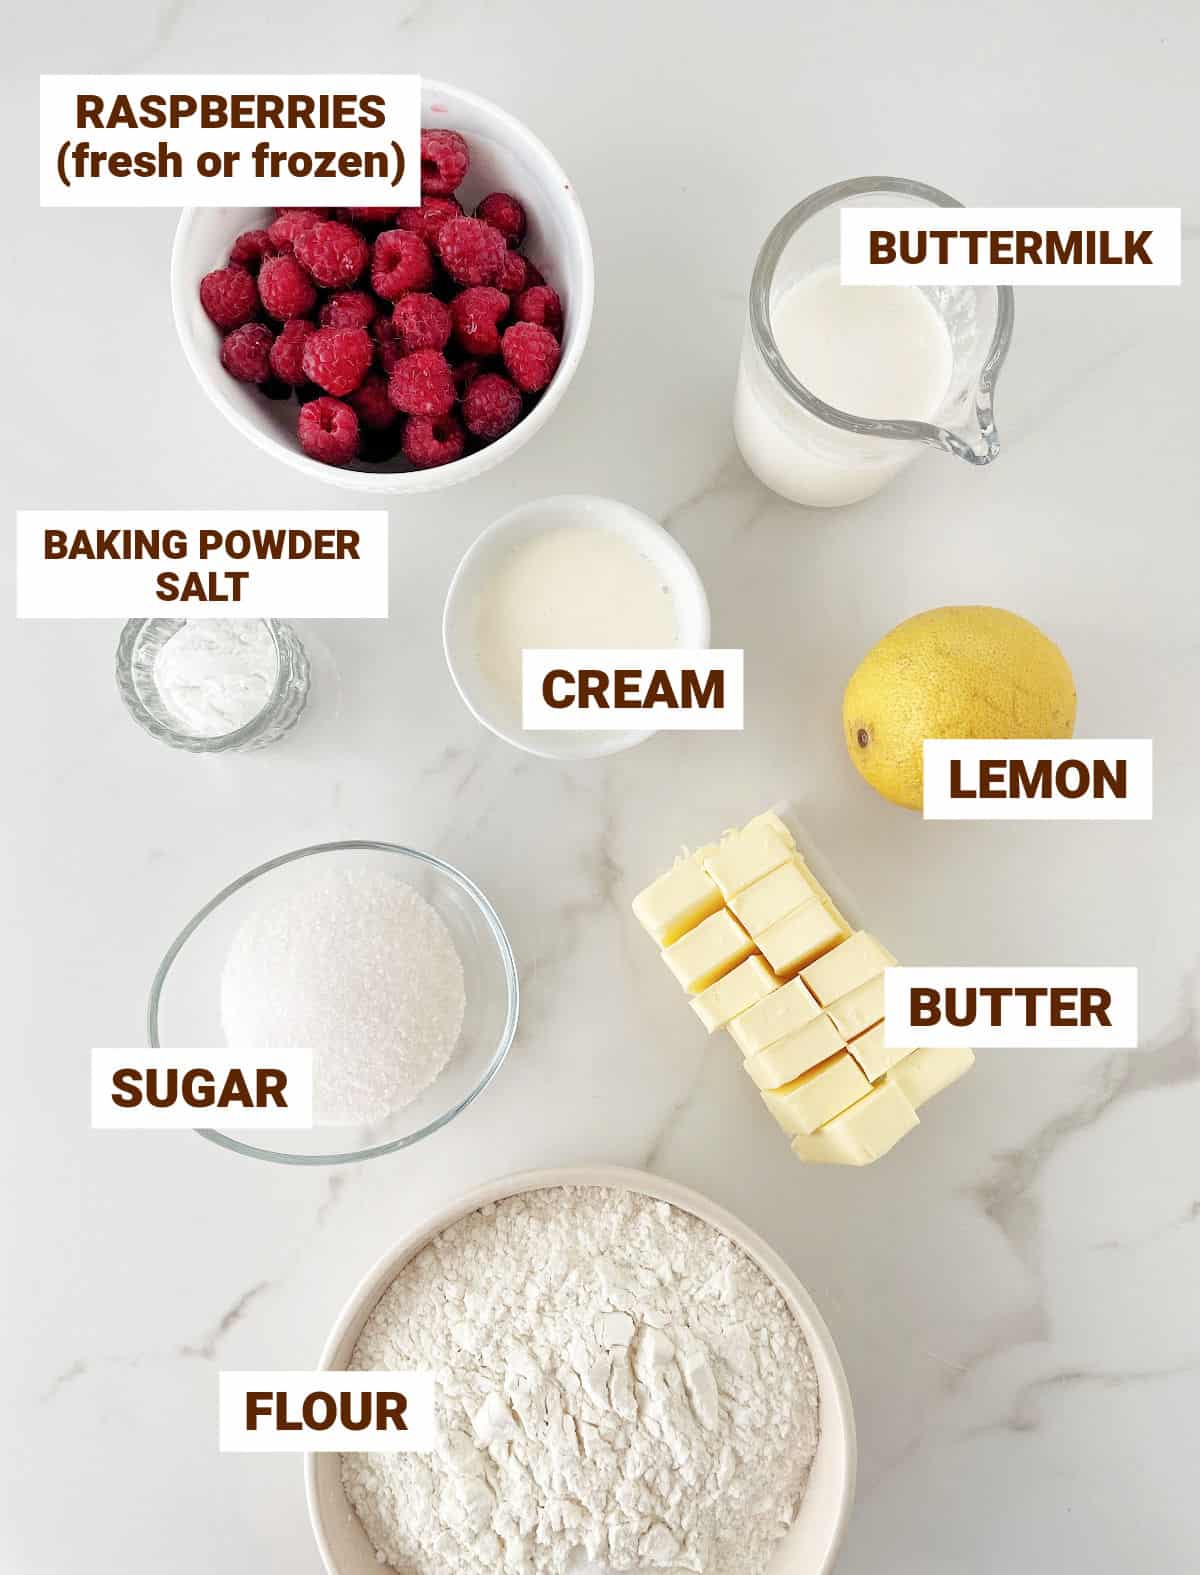
Ingredient list
- Raspberries: fresh or frozen (unthawed).
- Buttermilk: if you don't have buttermilk, you can buy buttermilk powder and prepare it as needed. Or make homemade buttermilk (it's VERY easy; see Notes in the recipe card for details).
- Cream: whipping, heavy whipping or heavy cream work for this recipe.
- Unsalted butter.
- White granulated sugar.
- All-purpose flour.
- Baking powder: make sure it's not expired.
- Salt.
- Lemon zest: it's optional, but lemon raspberry scones are a great flavor combination.
Quantities are listed in the recipe card towards the end of this post. The Ingredients page has more details and lists the brands we use.
Variations & substitutions
- Yogurt: substitute the buttermilk and cream for natural Greek yogurt at the same volume (cups and tablespoons).
- Vanilla extract: for a mellower flavor, use ½ teaspoon in addition to or instead of the lemon zest.
- Spices: add some ground cinnamon or cardamom.
- Glaze: top the room-temperature scones with a citrus powdered sugar glaze, using orange or lemon juice as the liquid.
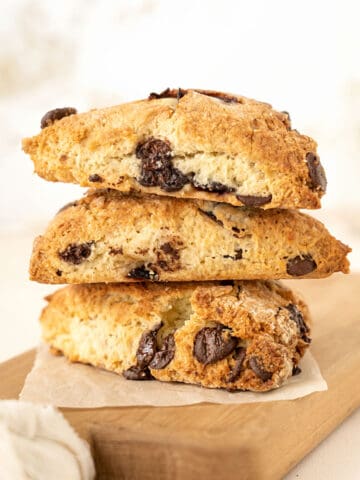
- White chocolate raspberry scones: add white chips or chunks to the dough or a white chocolate ganache glaze after baking.
- Raspberry almond scones: instead of lemon zest, add ¼ cup coarsely chopped or sliced almonds, about ¾ teaspoon almond extract and ¼ teaspoon vanilla to the dough.
How to make raspberry scones
You mustn't overwork the scone dough. The butter should remain as cold as possible, and the gluten in the flour should not develop. This is how you get the scones to rise well and be tender, not flat and tough.
That's why we refrigerate or freeze the formed scones before baking.
- Working surface: the dough will have dry patches, so don't flour it from the beginning.
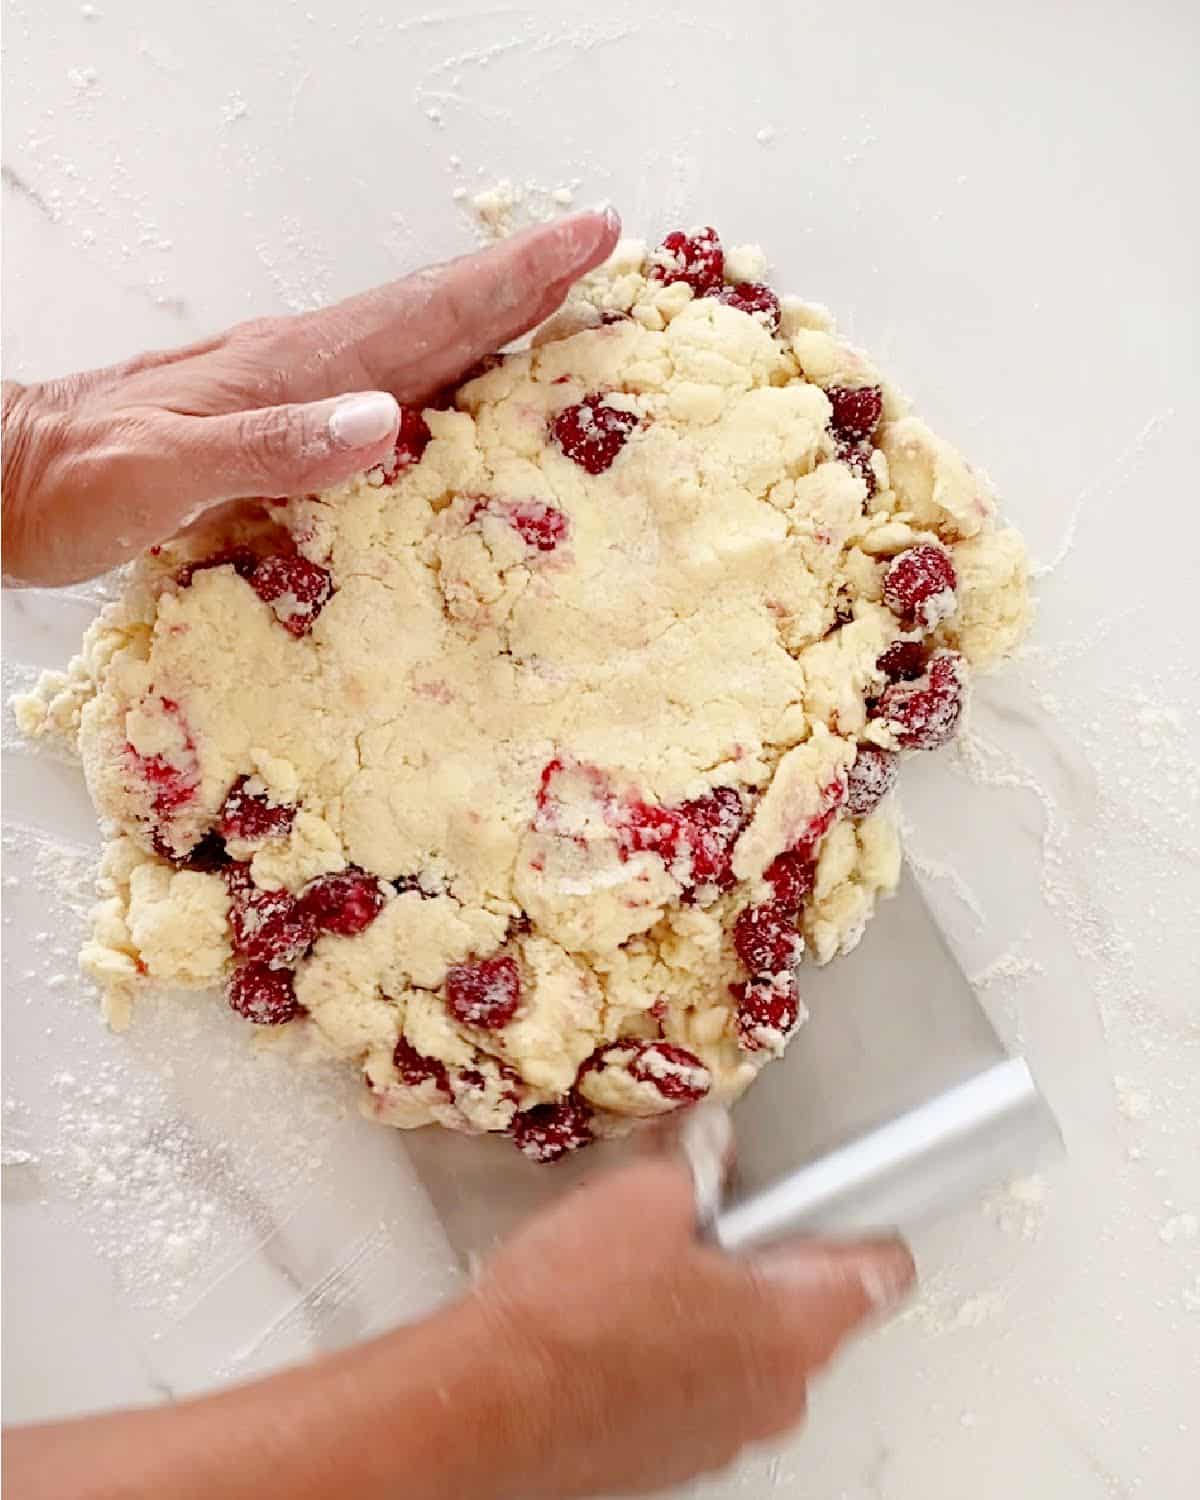
- Dough scraper: it's a great little tool to help you fold the shaggy mass onto itself so it slowly comes together. With each fold, it will be more formed. Pat the dough into a circle, but do not overwork it! You can also use a metal spatula to help you with the dough.
Cutting and baking
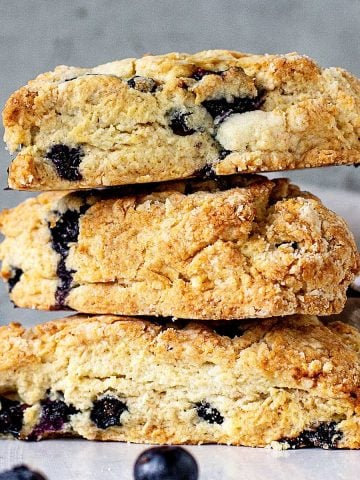
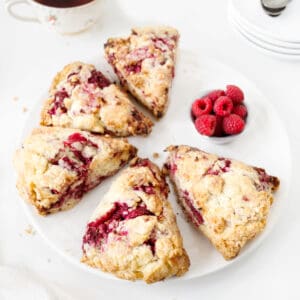
- Shape: I like triangles for fruit scones, but you can use a round cutter like we do for the buttermilk scones.
- Size: eight triangles is the perfect amount. Although the scones might seem relatively small, they will expand and grow during baking. Cut six pieces if you want very large scones.

- Cutting the disc of dough: I cut it into 8 triangles with the dough scraper or a large kitchen knife. But you can use a round cookie cutter.
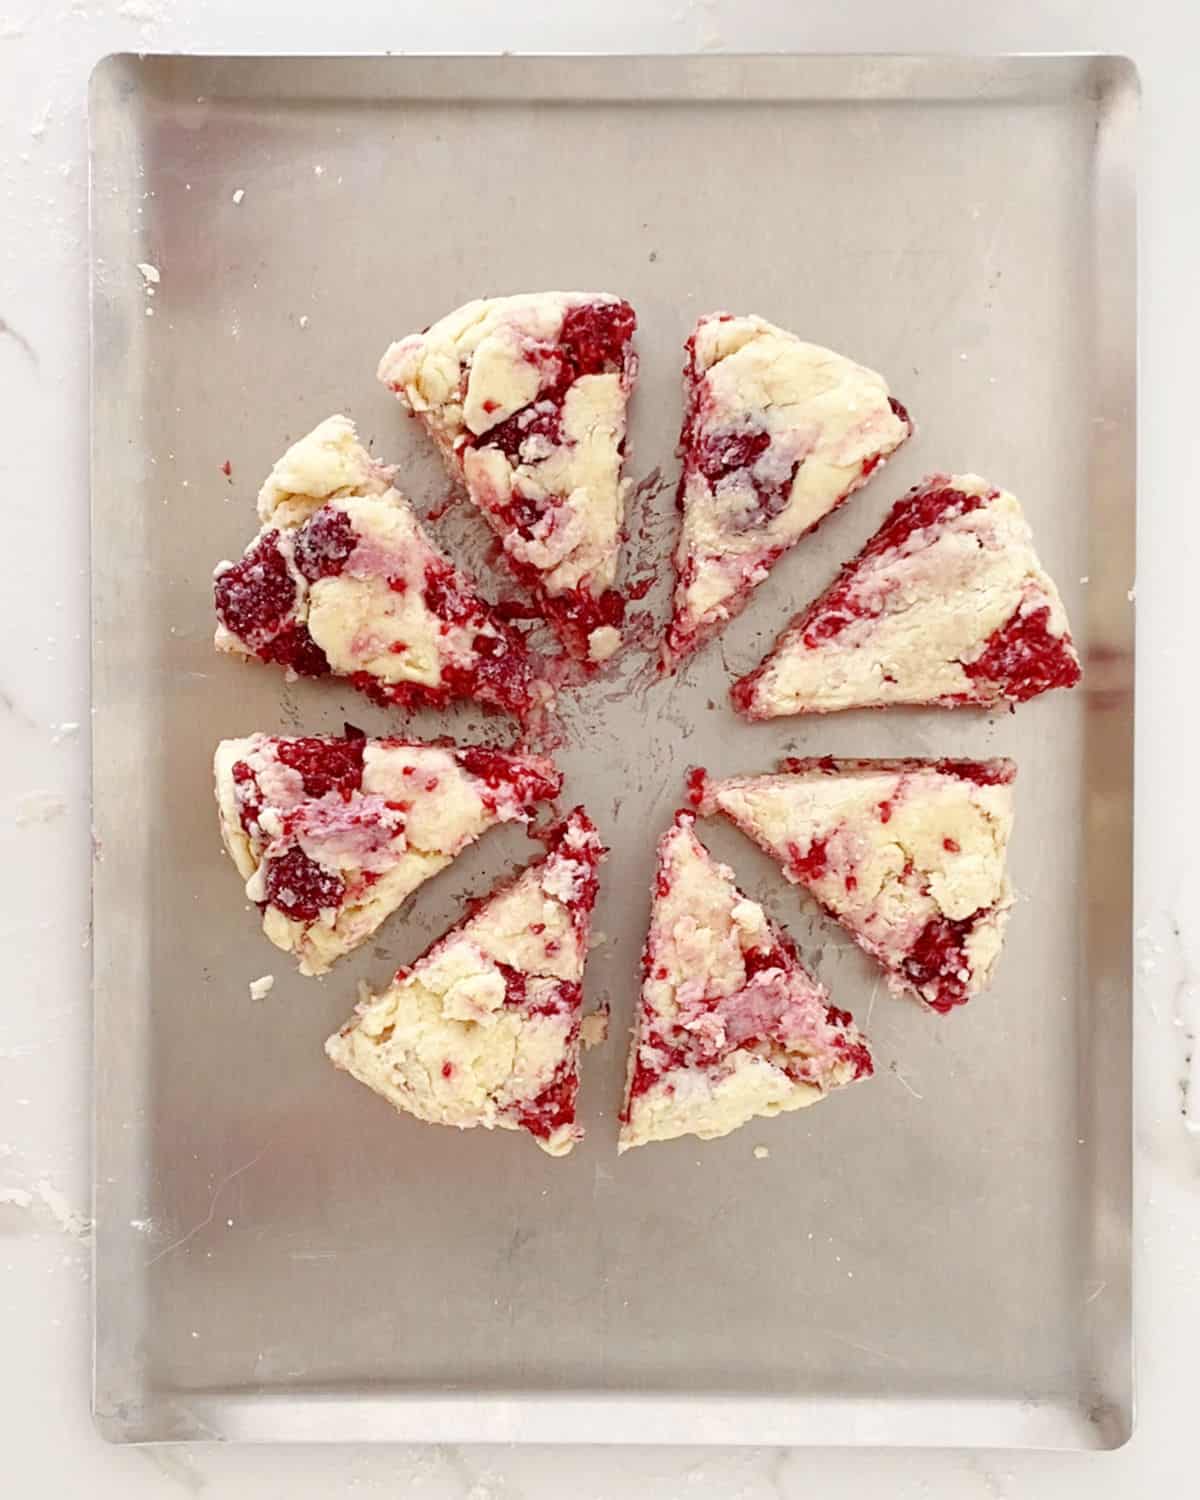
- Separate the triangles: this is necessary so the scones have space to expand during baking.
Vintage Kitchen Tip
For a crunchier top, sprinkle a little sugar (white or light brown) on top of the scones before baking.
Freezing scones
Scones freeze like a dream. You can keep a batch in the freezer and bake to order!
- You can freeze them at room temperature or barely warm. The latter tends to hold moisture better, but that can be debatable.
- Freeze the already cut scones on the baking sheet until they are rock solid, and then transfer them to a freezer bag or airtight bag Ziploc-style. That way, they will be covered and occupy much less space in your freezer.
- Bake them directly from the freezer in a 375°F/190°C oven for ten minutes. Turn down the oven to 350°F/180°C and continue baking until fully done. They might take a few more minutes.
Kitchen notes
- Organization: read the recipe first and ensure you have ingredients at the correct temperature, equipment, and enough workspace. This will make the process so much easier.
- Baking time: consider that all ovens and pans are different, even if they look similar. The baking time in my recipes is as accurate as it can be, but it might take you more or less time. You can use a thermometer (like the OXO oven thermometer) to check that your oven is at the right temperature. I recommend tracking how your oven works and what tiny details you might need to adjust.
- Different sizes: for a brunch table, tea time, or that type of gathering, you might want to make smaller scones, and round ones at that (check out the parmesan chive scones as a guide to the shape) as they are usually easier to handle and bake more evenly. Use a round cookie cutter.
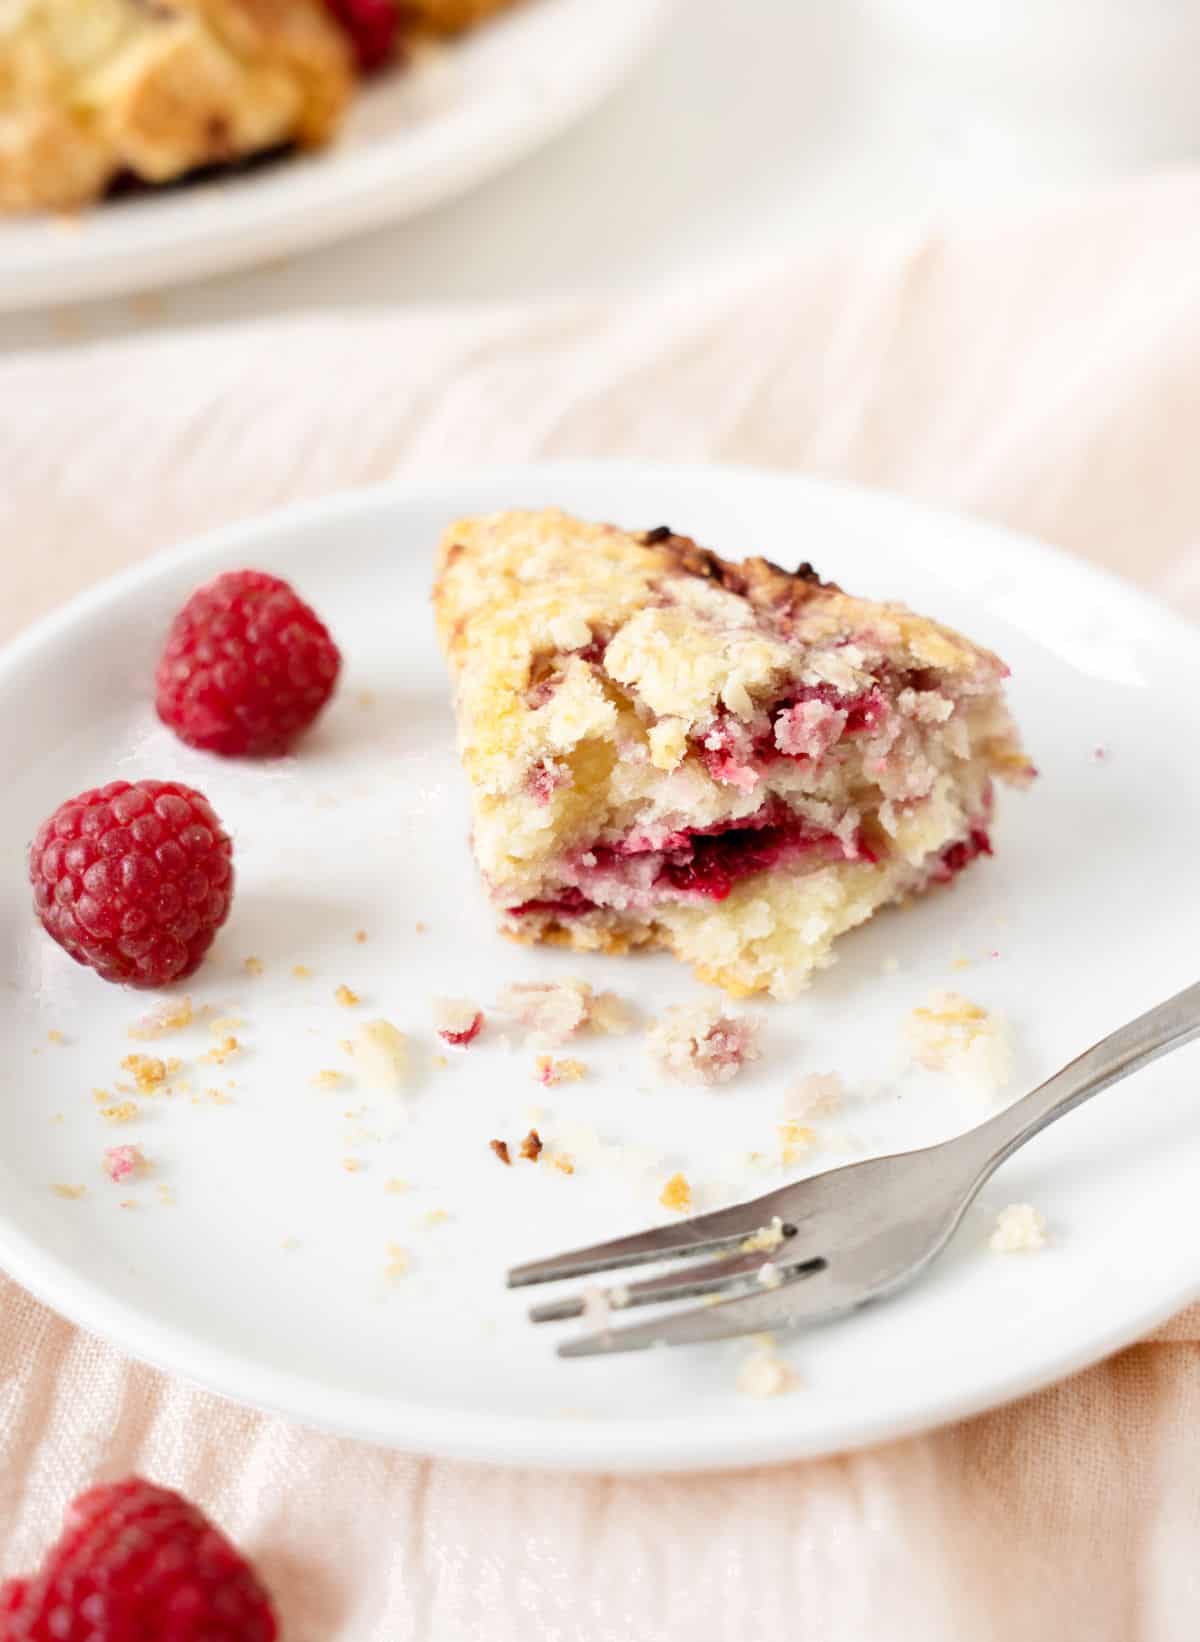
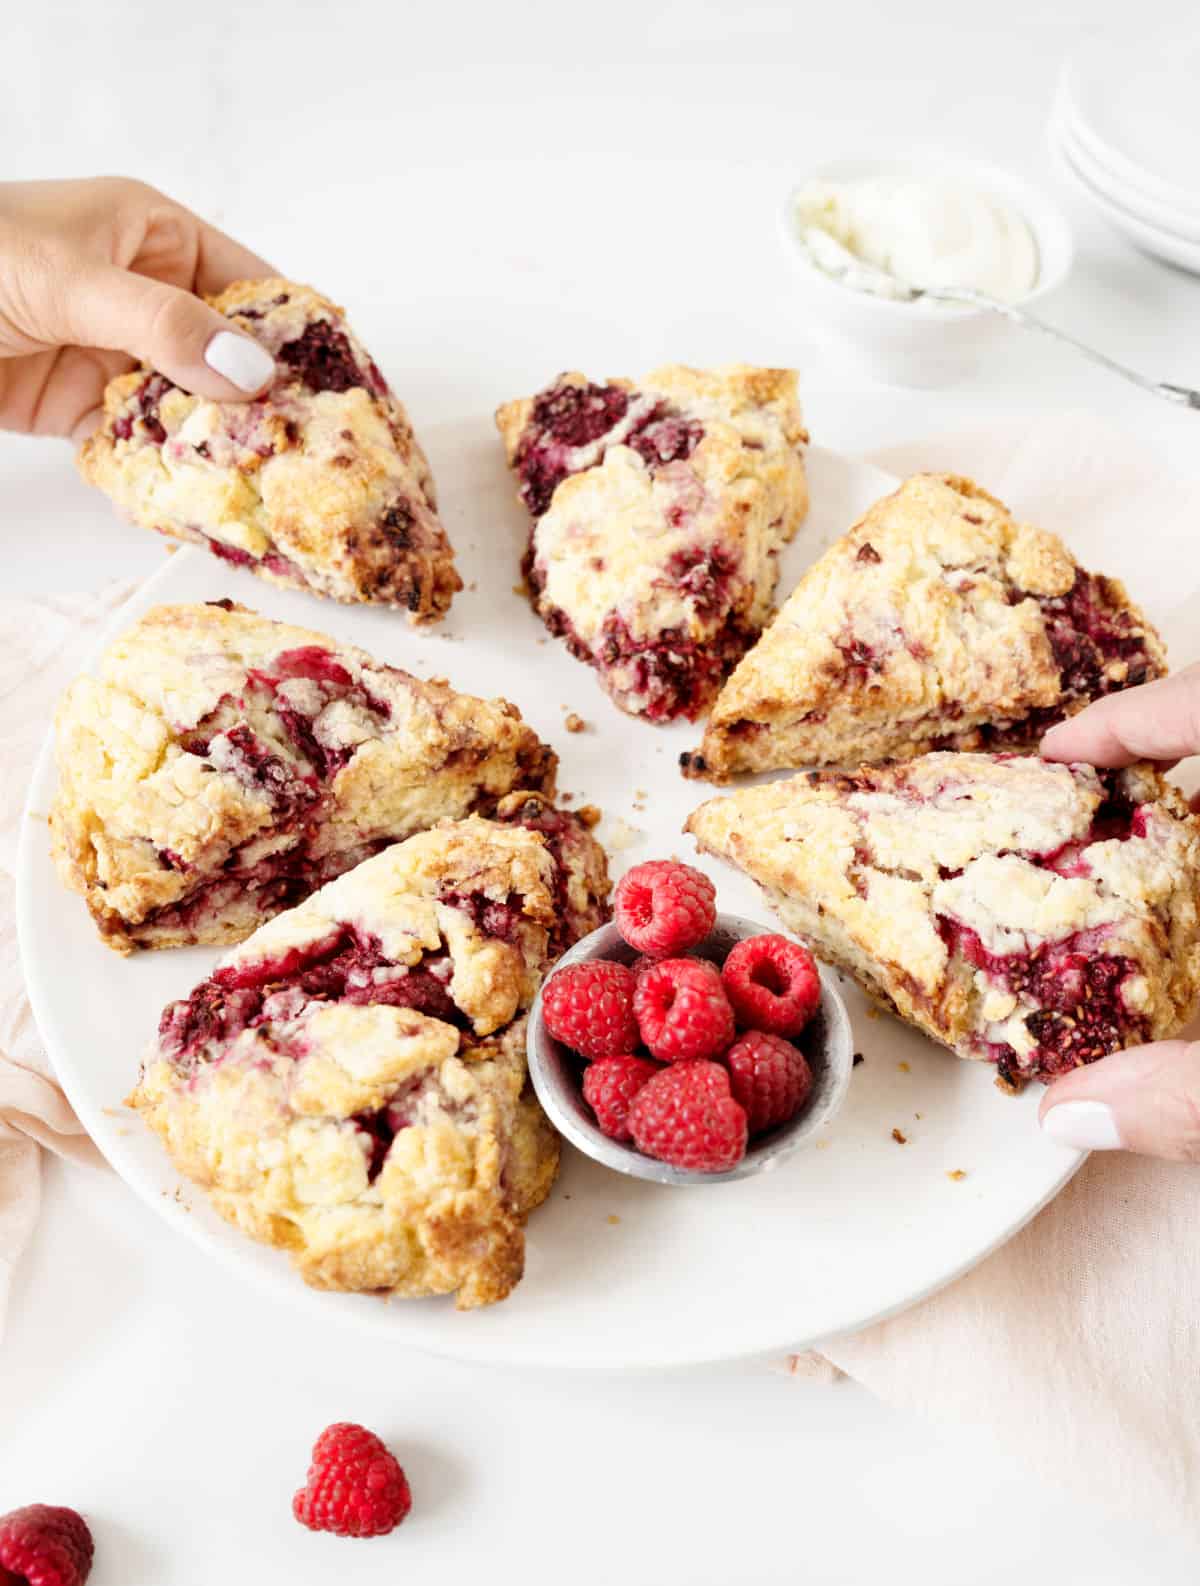
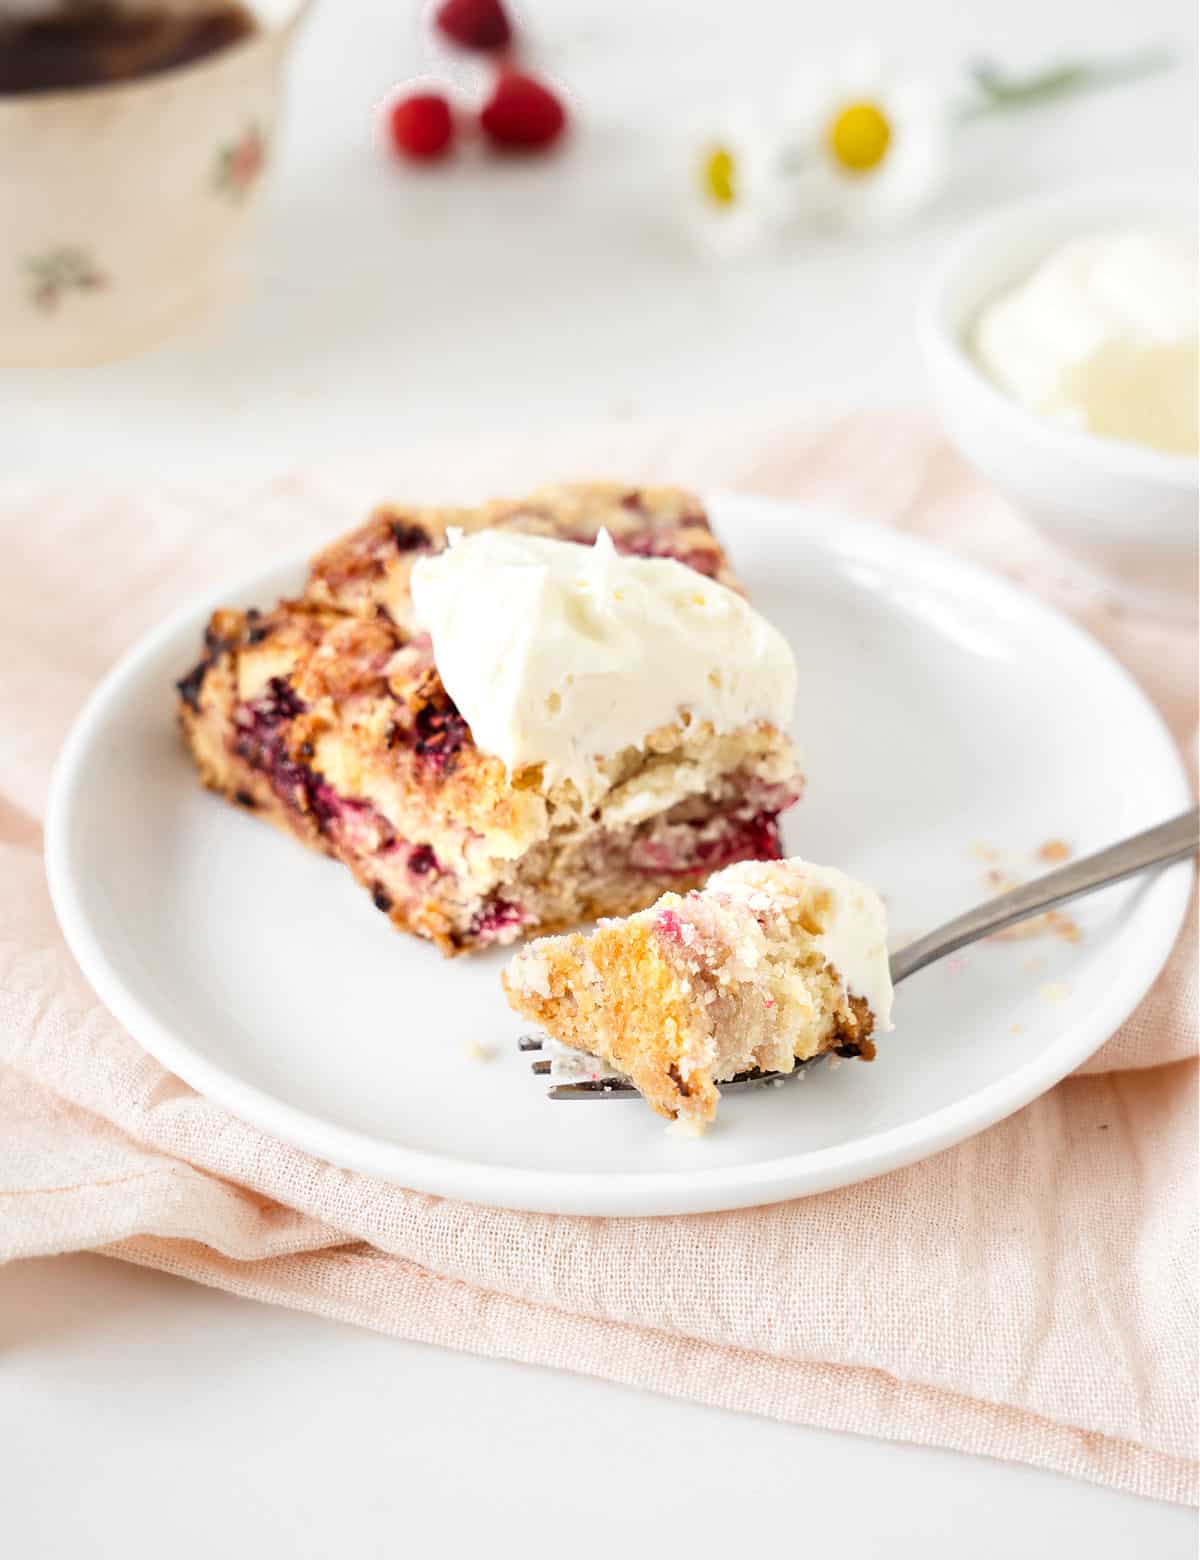
- Serving scones: eat them warm or at room temperature, preferably within a few hours of baking. Serve them plain, with a dollop of whipped cream or a drizzle of lemon glaze. Each variation is a different experience, so try them out and find your favorite.
Related recipes you might like:


If you made this recipe and loved it, you can comment below and leave a 5-star ⭐️ review. Also, if you had issues, let me know so we can troubleshoot together.
You can also subscribe to our FREE email series 'Baking the Best' and our regular newsletter. Or follow and save my recipes on Pinterest.
As an Amazon Associate, I earn from qualifying purchases. Read my disclosure policy.
Raspberry Scones
Ingredients
- 2 ¾ cups all-purpose flour
- 1 tablespoon baking powder
- ¼ teaspoon salt
- 7 tablespoons sugar
- ½ teaspoon lemon zest
- 6 ounces unsalted butter, cut into cubes, very cold
- 1 ½ cups raspberries, fresh or frozen (directly from the freezer)
- ½ cup buttermilk, very cold
- ¼ cup heavy cream, very cold
- extra sugar, for sprinkling
Instructions
- Preheat oven to 400ºF (200ºC).
- Line a baking or cookie sheet with parchment paper or grease the bottom.
- In the food processor: place 2 ¾ cups all-purpose flour, 1 tablespoon baking powder, ¼ teaspoon salt, 7 tablespoons sugar and ½ teaspoon lemon zest in the bowl of a food processor fitted with the steel blade. Pulse a few times to mix.
- Scatter the cold butter cubes on top, and process on low until the mixture is grainy and the butter the size of peas. Don't overprocess.
- By hand: stir to mix 2 ¾ cups all-purpose flour, 1 tablespoon baking powder, ¼ teaspoon salt, 7 tablespoons sugar in a large bowl. Add ½ teaspoon lemon zest and stir to mix with a spoon or rubber spatula.
- Scatter 6 ounces unsalted butter pieces on top and integrate by hand or with a pastry cutter. The pieces of butter should be the size of peas and beans. It will be irregular.
- For both methods: transfer the mixture to a large mixing bowl and add 1 ½ cups raspberries. If using frozen raspberries, don't thaw them. Mix lightly with a spoon or rubber spatula.
- Drizzle ½ cup buttermilk and ¼ cup heavy cream over the flour mixture.
- Mix with a fork until it barely comes together, but don't mix too much, or the scones will be tough and flat.
- On a lightly floured surface, transfer the mixture and pat it together, folding it unto itself a few times until you have a circle of dough that holds together (I use a dough scraper). It will still be shaggy in places. Don't be tempted to overwork it as you would a pie crust. I don't use a rolling pin, but if you want to, roll it very lightly, you don't want to press it down, simply pat it so it holds together.
- Make a circle with the dough, about 2 inches high.
- Cut it in half, and then cut each half into 4 triangles. You should have 8 pieces or triangles.
- At this point, they can be frozen, well covered, for up to a month, and baked directly from the freezer. They might take a few more minutes.
- Transfer to the prepared baking sheet, and sprinkle the tops with extra sugar.
- Bake for 15 minutes, turn down the oven temperature to 350°F (180°C) and bake for an additional 20-25 minutes, or until golden brown and dry. If you need to check, with the tip of a fork lift the top of a scone and see if the inside is dry. Depending on the size and height, the bake time might vary, so start checking at the 30-minute mark.
- I recommend eating them within a few hours of being baked.
- Store leftovers in an airtight container for a day, maybe two, but the texture is much better the day they're baked.
Toni Brockington says
I'm afraid your paid ads are ruining your recipe. It's impossible to print it with the plethora of ads that spread across it. I won't come to your page again.
Paula Montenegro says
Thanks for letting me know Toni. They're not supposed to be there, and I contacted my ad agency to have them removed. Have a great week.
Seana says
These are awesome
Steven King says
I was fortunate to find this recipe when fresh raspberries were available. My scones looked very much like the ones pictured and were delicious. I didn't have lemon zest but did use real buttermilk and 18% cream. Simple but tasty.