
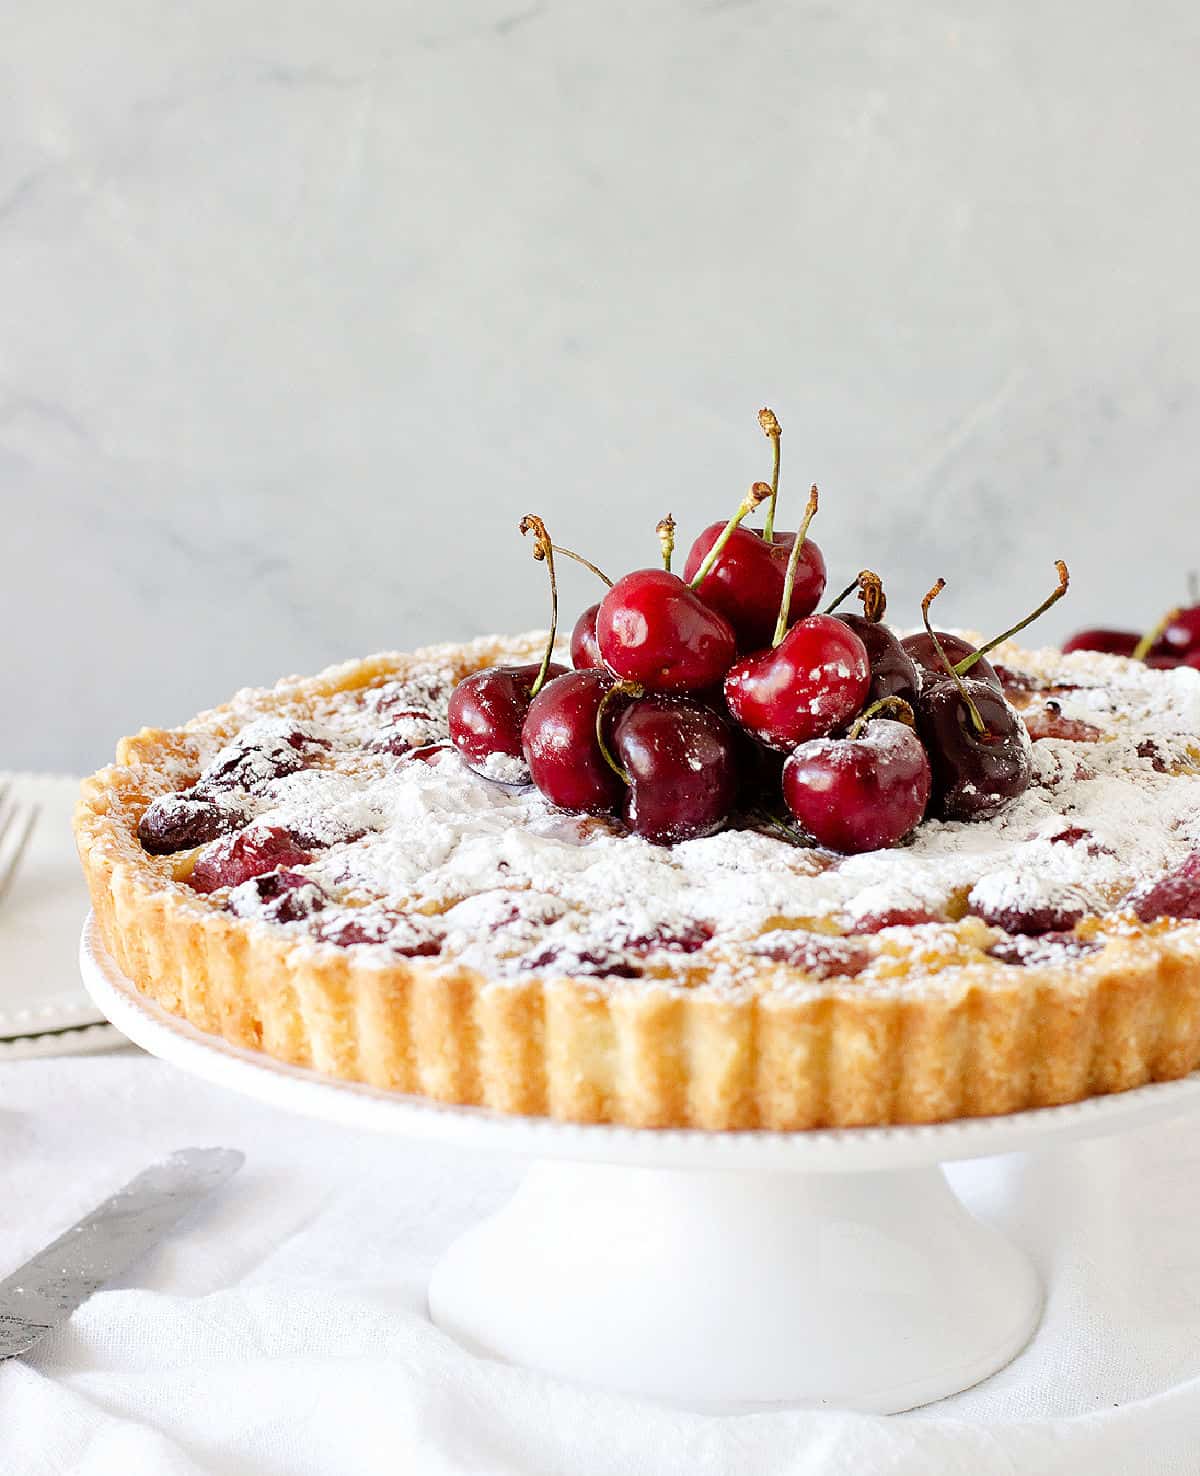
With a creamy vanilla custard filling, fresh cherries, and a crust that doesn't require refrigeration or rolling before use, this cherry tart is a must-bake! A great recipe for beginner bakers or those who don't want the hassle of traditional pie crust making. It's a dessert that comes together quickly and looks sophisticated.
SAVE THIS RECIPE
Easy cherry dessert
This cherry tart recipe caught my eye because of the method for making the crust and because I earnestly await the cherry season to make fresh cherry dump cake and cherry caipiroska.
Sometimes, I think nothing beats eating cold fresh cherries by themselves. Yet, some recipes make it worth baking them. This is one of them. And I urge you to try it.
A quick crust and creamy cherry pie filling that comes together in a few minutes. The only laborious part is pitting cherries.
The method for making the crust is different and quicker: no need to let it rest in the fridge before rolling and no need to work with cold butter. A definite keeper.
The recipe hails from Bill Granger, a perpetually grinning Aussie with a great television show I watched earnestly before the internet was a thing. Update: he recently passed away at an early age, so this is a recipe I'll cherish even more.

Ingredients
Quantities are listed on the recipe card towards the end of this post. The Ingredients page has more details and lists the brands we use.
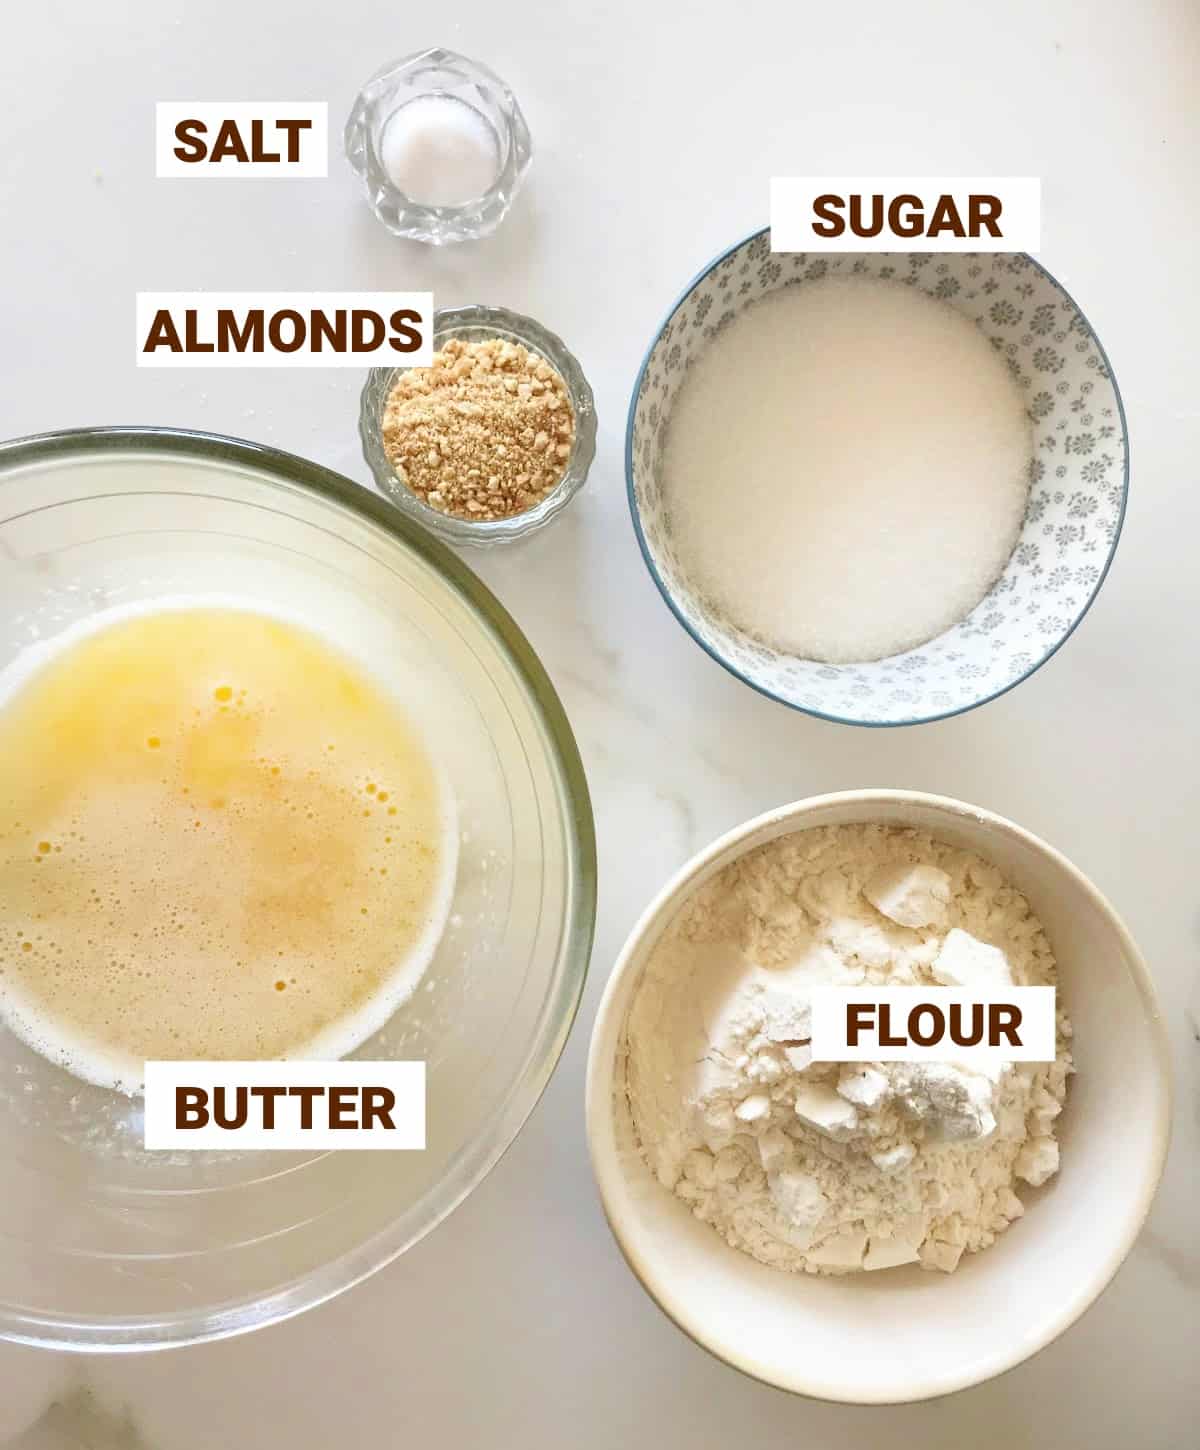
For the crust:
- Unsalted butter.
- Granulated sugar.
- All-purpose flour.
- Salt.
- Ground almonds: will act as a barrier to prevent liquid from seeping into the crust as much as possible.
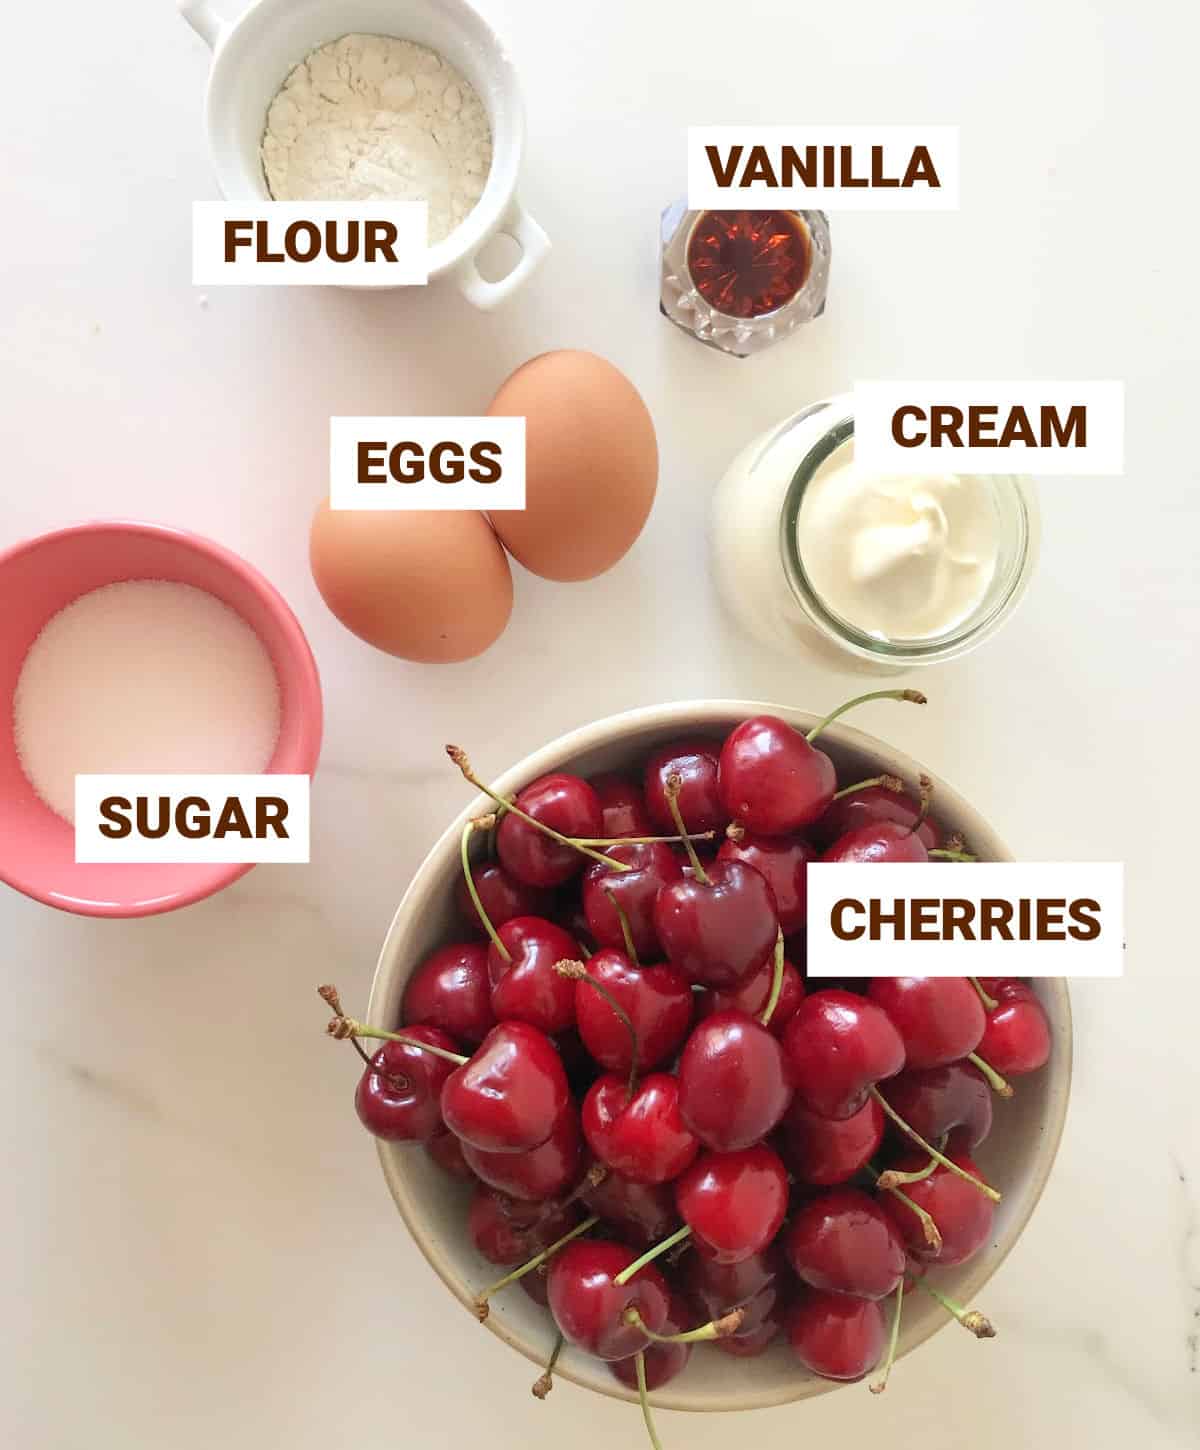
For the filling:
- Cherries: fresh or frozen, pitted.
- Vanilla extract or paste.
- Cream: use heavy, whipping, or heavy whipping cream.
- Sugar: white or light brown sugar, both work.
- Eggs: fresh, large.
- Flour: all-purpose or cake flour, both work.
Variations & substitutions
- Stone fruit: apricots, peaches, nectarines, plums, they all work here. Choose fresh fruits with a little acidity to counterbalance the butter and cream.
- Berries: blueberries, blackberries, and raspberries work very well in this recipe.
- Flavorings: use spices, citrus zest, or extracts to flavor the custard to complement the fruit you use.
- Oil: I have a friend who makes this crust with coconut oil instead of butter, the same amount. She says it's great. I never tried it, but I thought you might want to know, just in case.
- Cherry tarts: make individual desserts. This recipe will yield 4 mini tarts, maybe more.
Tart crust
Pie and tart crusts usually require a stay in the refrigerator and involve a rolling pin, a floured counter, etc.
This one defies everything we're taught in pastry school or what you read about crust making. It starts with melted butter and doesn't need to chill before baking.
Pan size: if you use the right-sized pan specified in the recipe card, there should be no pie dough leftovers, and the cherries and custard should fill it to the top without overflowing.
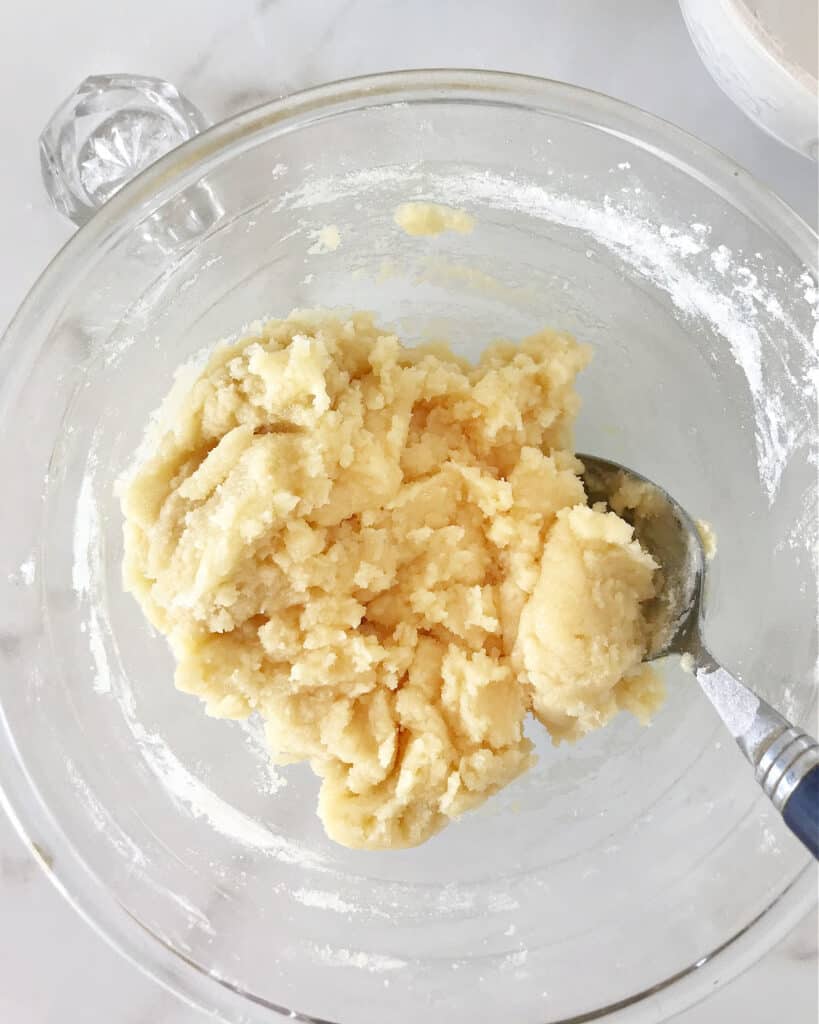
Mix
This dough starts with melted butter and doesn't need to chill before baking. You need a large bowl and a spoon or spatula.
The final mixture is soft, without floury spots, and ready to use.

Press
Scatter small pieces of dough all over the bottom of the pie pan.
Press the dough: start with the side and angles, and then work to cover the bottom.
Vintage Kitchen Tip
The crust mixture might seem insufficient, but it's not. You'll have enough dough to create a thin layer.
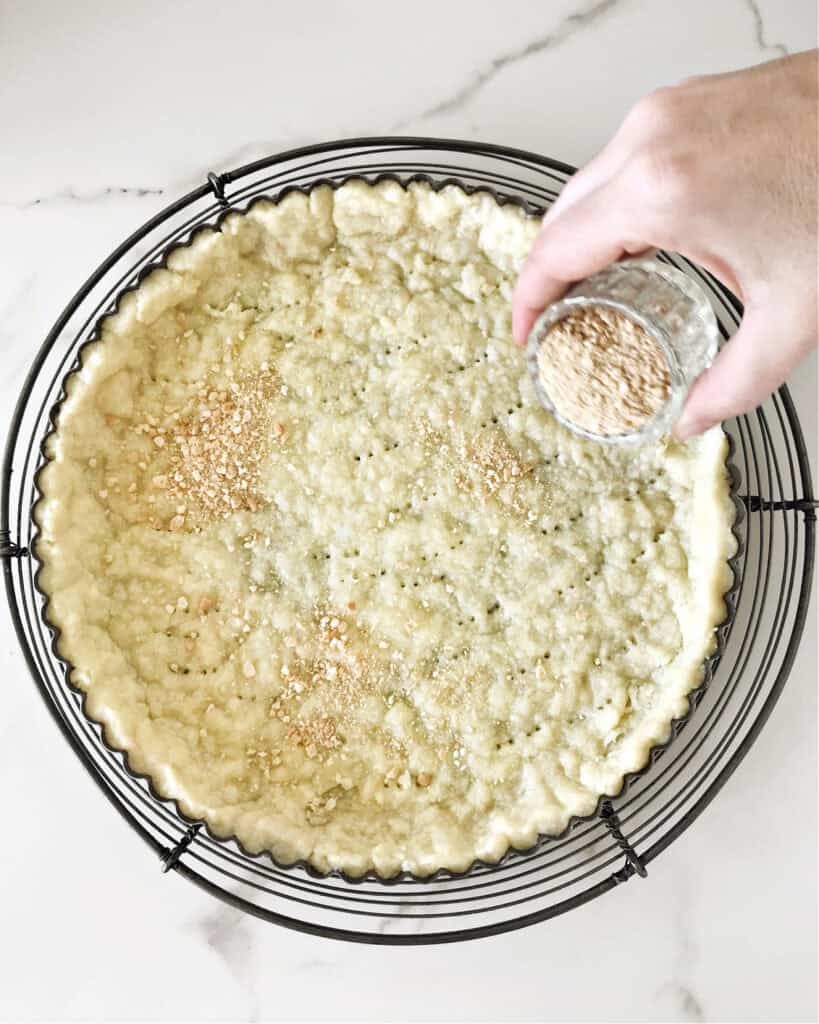
Pre-bake the crust
This is necessary to achieve a crisp crust. It will still be light-colored, but the surface will have started to dry.
Ground almonds are scattered on the bottom to avoid sogginess as much as possible.
The cherries
You can use sweet or tart cherries.
This pie works way better with fresh cherries, but you can also use frozen ones. It's such a pretty holiday tart that we should all be able to make it year-round.
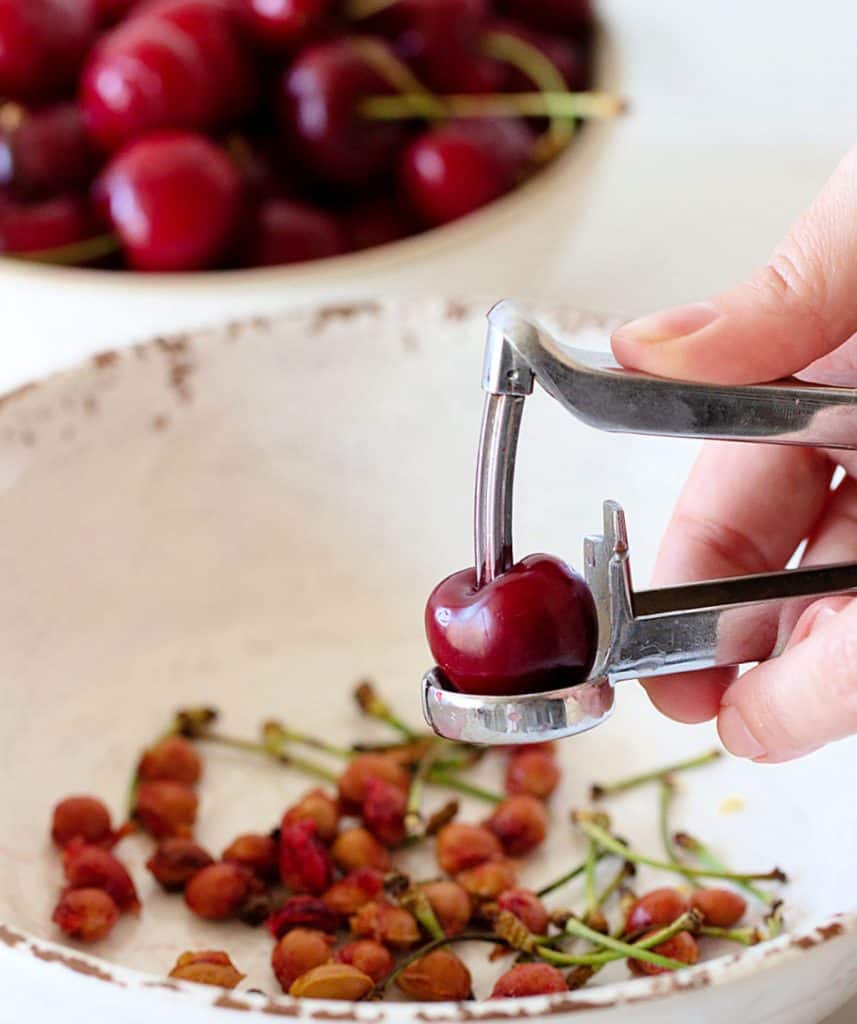
Pit them
Even if you only bake with fresh cherries a few times a year, I recommend you buy yourself a cherry pitter.
It's a handy gadget for removing the stone in seconds while keeping the fruit whole.
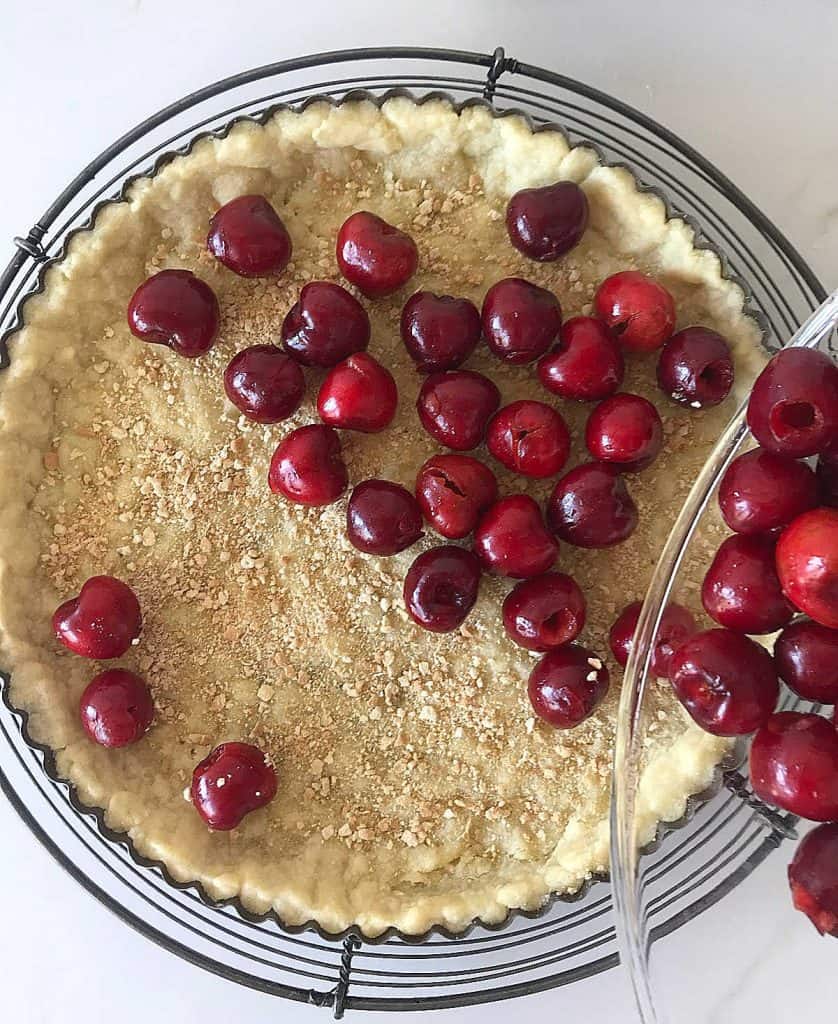
Scatter
They will not fill the surface, which is fine; you need space for the custard.
I use them whole, but you can halve them.
Vanilla custard
This cherry pie has a creamy, sweet, creamy filling similar to pastry cream but easier to make and comes together in a few minutes.
- Simply mix all ingredients with a hand whisk in a large mixing bowl. That's it. No stove or beating is involved.
- Sugar: I have occasionally used brown sugar instead of white, and it works well. However, the color is more of a light beige. Feel free to use whatever sugar you have or like.
- Filling mixture: as with the amount of crust, if you follow the recipe, you will have exactly the amount of filling you need to fill this tart crust.
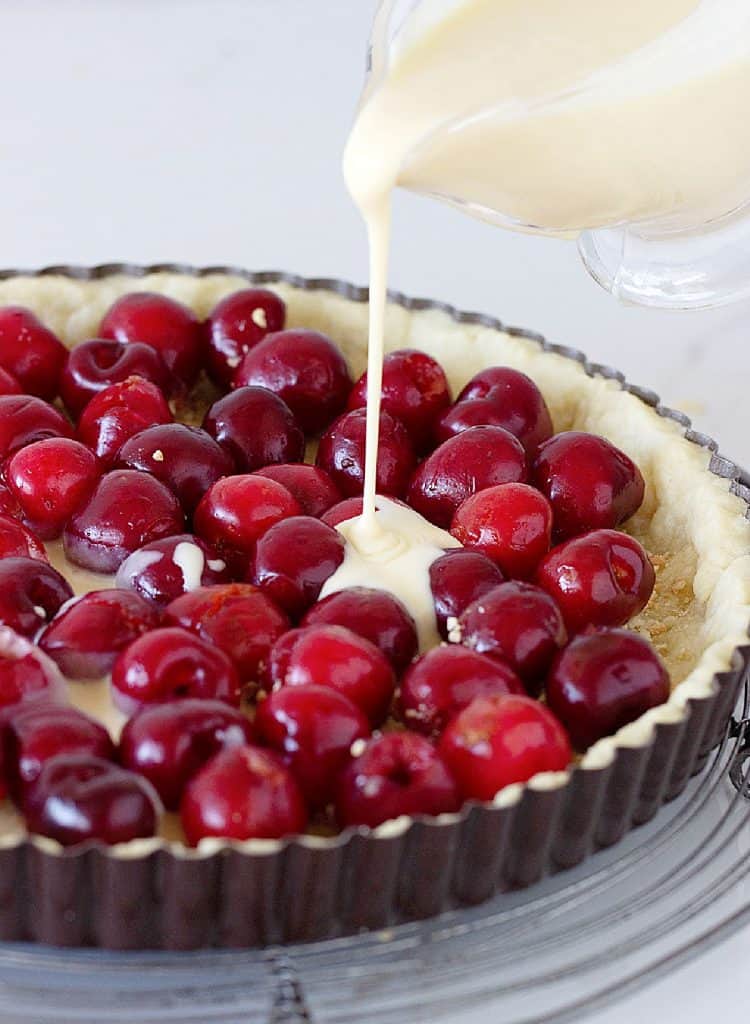
Pour
I transfer the custard filling to a jar for easier pouring. Be careful and distribute it as evenly as possible.
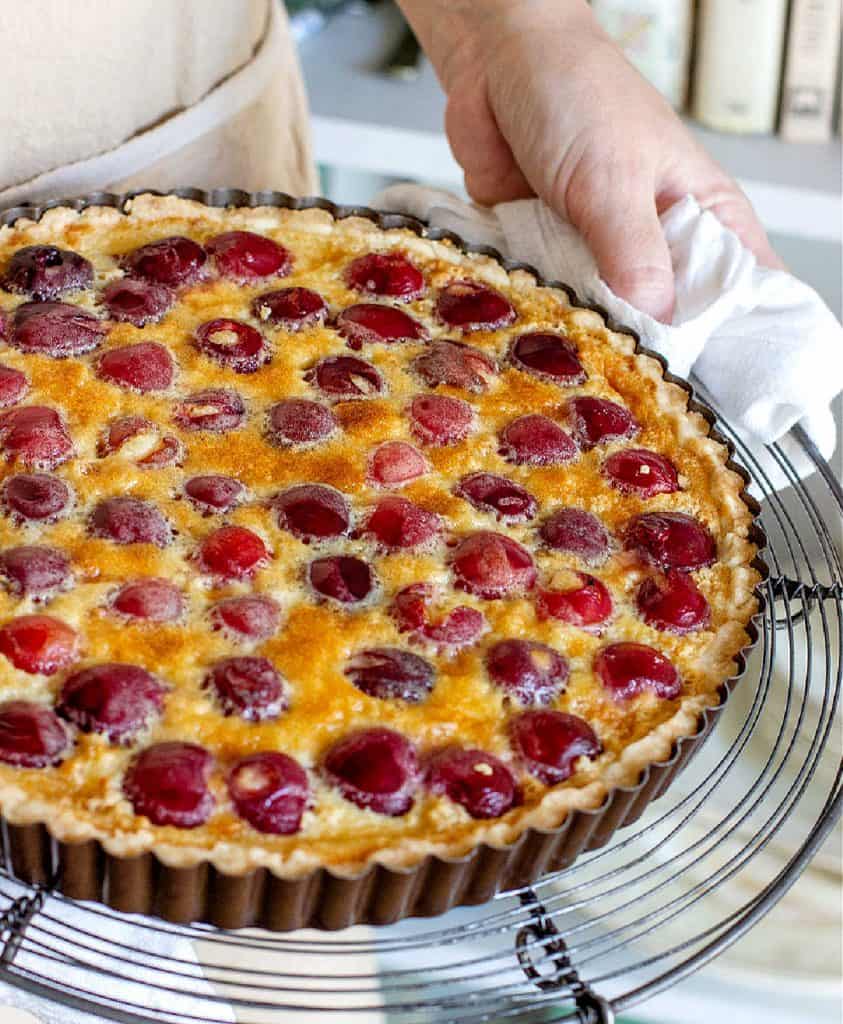
Bake
When custards are involved, I recommend baking it until it barely jiggles in the center. The custards will continue to bake and set while the dessert is cooling, making the filling creamy.
If you wait until the filling is too firm, it will have a thicker consistency when it cools and not be as creamy, especially if there's refrigeration involved.
Kitchen Notes
- Organization: read the recipe first and ensure you have ingredients at the correct temperature, utensils and equipment needed, and enough workspace. This will make the process so much easier.
- Baking time: consider that all ovens and pans are different, even if they look similar. The baking time in my recipes is as accurate as possible, but it might take you more or less time. You can use a thermometer (like the OXO oven thermometer) to check that your oven is at the right temperature. I recommend keeping track of how your oven works and what tiny details you might need to adjust.
- Don't rush the cooling process: the cooling down period and chilling times are needed to achieve the creamiest filling.
- Fresh cherries are highly recommended over frozen ones.
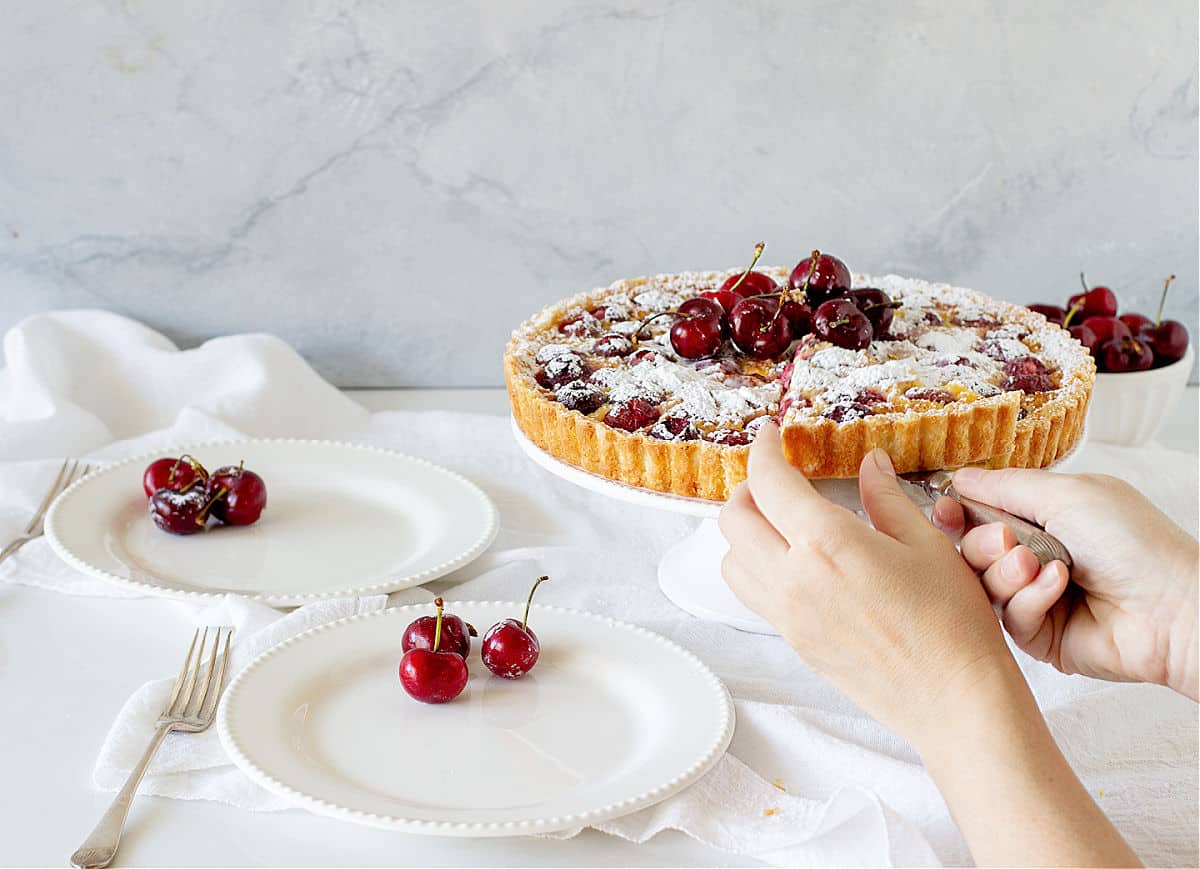
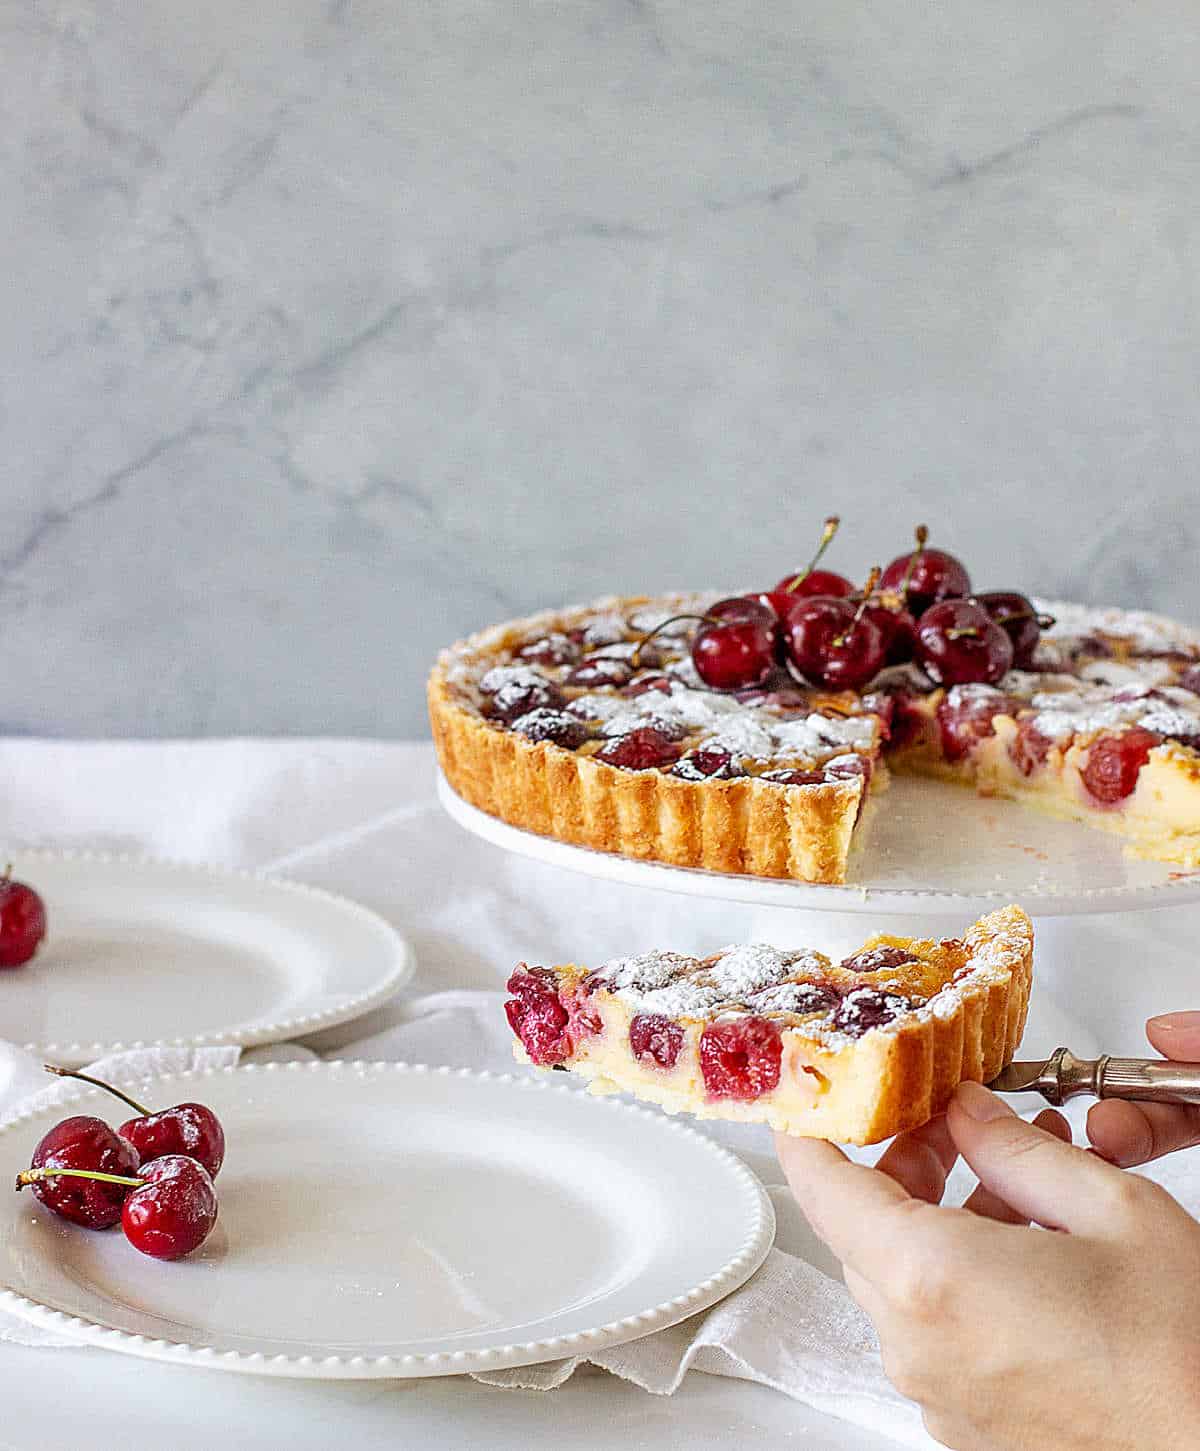
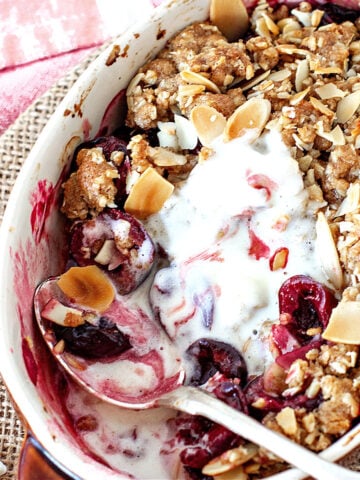
- Serving: I suggest sprinkling powdered sugar and a small pile of wonderful fresh cherries. A spoonful of fresh whipped cream and some grated chocolate on top of it can also work well if you want an over-the-top presentation.
Related recipes you might like:

As an Amazon Associate, I earn from qualifying purchases. Read my disclosure policy.

Cherry Tart (easy crust method)
Ingredients
For the crust:
- ½ cup unsalted butter, melted and cooled
- 7 tablespoons sugar, scant ½ cup
- 1 ¼ cups all-purpose flour
- pinch of salt
- 2 tablespoons finely ground almonds or almond flour, or ground plain vanilla cookies
For the filling:
- ¾ cup heavy cream
- 2 eggs, at room temperature
- 1 teaspoon vanilla extract
- 3 tablespoons granulated sugar
- 2 tablespoons all-purpose flour
- 1 pound cherries, pitted (fresh are best)
Instructions
- Preheat the oven to 350ºF (180°C).
- Have ready a 9-inch (24cm) round tart pan with a removable bottom.
- Pit 1 pound cherriesin a bowl.
For the crust:
- Stir together ½ cup unsalted butter and 7 tablespoons sugar in a large mixing bowl. I use a spatula.
- Add 1 ¼ cups all-purpose flour and a pinch of salt and stir to make a soft dough. Don't overmix it or handle it with your hands.
- Transfer the dough to the pan in small pieces, distributing them on the bottom, and press evenly into the sides first, and then the base, with your floured fingertips. The dough seems like it's not enough but it is.
- Bake for 15-18 minutes, until beginning to brown. Remove from the oven and sprinkle 2 tablespoons finely ground almonds or almond flour over the base.
For the filling:
- Whisk together ¾ cup heavy cream, 2 eggs, 1 teaspoon vanilla extract and 3 tablespoons granulated sugar.
- Add 2 tablespoons all-purpose flour and whisk until well mixed. Don't beat, just stir well until incorporated.
- Arrange the pitted cherries over the pastry base and slowly pour the cream filling evenly over the cherries.
- Return the tart to the oven and bake 40-50 minutes until the filling is barely firm, still jiggling slightly in the center.
- Cool completely on a wire rack and serve dusted with powdered sugar and fresh cherries.
- I like to refrigerate it for a 1-2 hours, well wrapped, before serving.
- Refrigerate leftovers, wrapped so it doesn't dry out.
Taylor R says
More concise instructions regarding the butter would be helpful. It is MELTED not cold and cubed.
Paula Montenegro says
Hi Taylor, yes, the butter is melted and I address it specifically several times, because it's the part that sets this tart crust apart. I don't fully understand why you thought it was cold and cubed. Can you explain it further?
Anonymous says
I found the baking time for the second bake to be FAR too long, mine was solid in the center after 20 minutes, so I took it out after 20. Worked well otherwise! My cherries weren't very flavorful to begin with, but after baking tasted astoundingly of nothing, I would consider tossing cherries in sugar first, or making sure whatever fruit is being added has more intense flavor before cooking.
merrilyn says
Can you freeze this tart?
Paula Montenegro says
Yes, it can be frozen after it's baked, well covered. It should last for a month or so.